Category Archives: techniques

6 year old Quilter

sewing blocks together

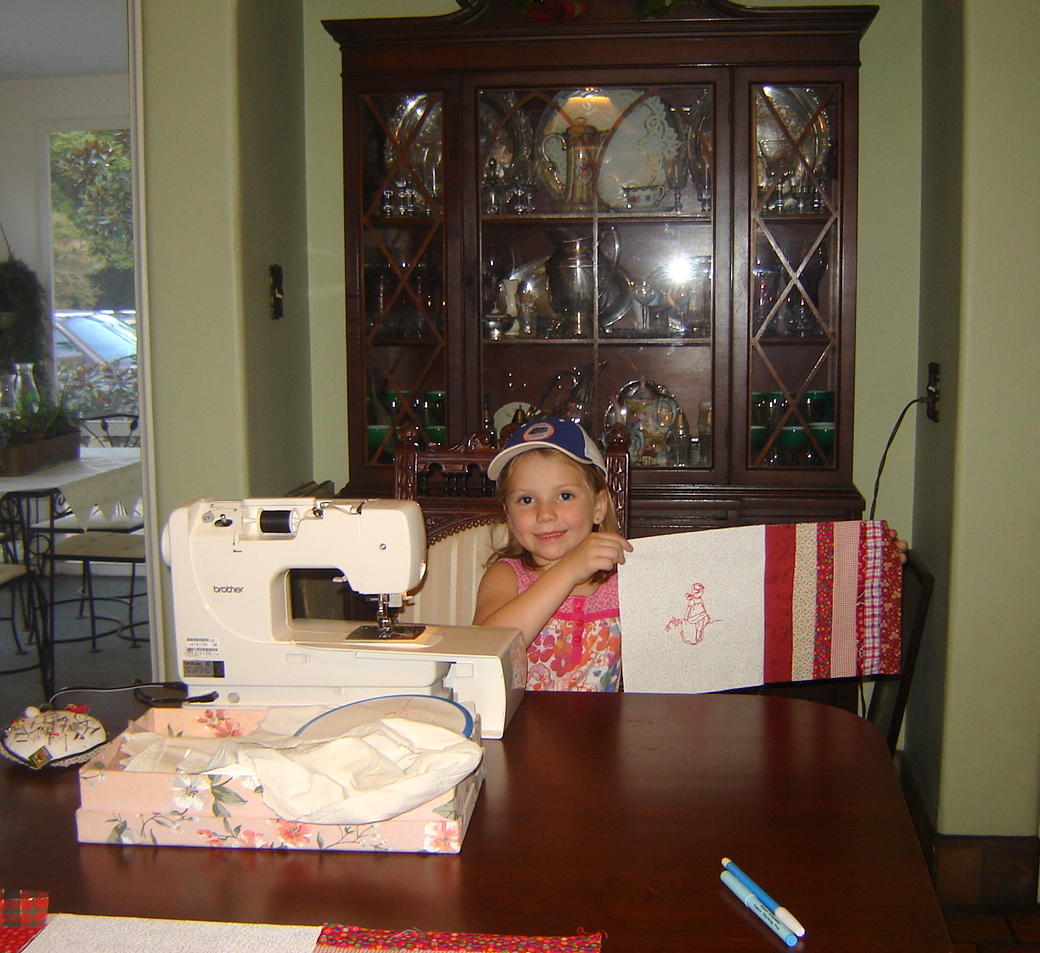
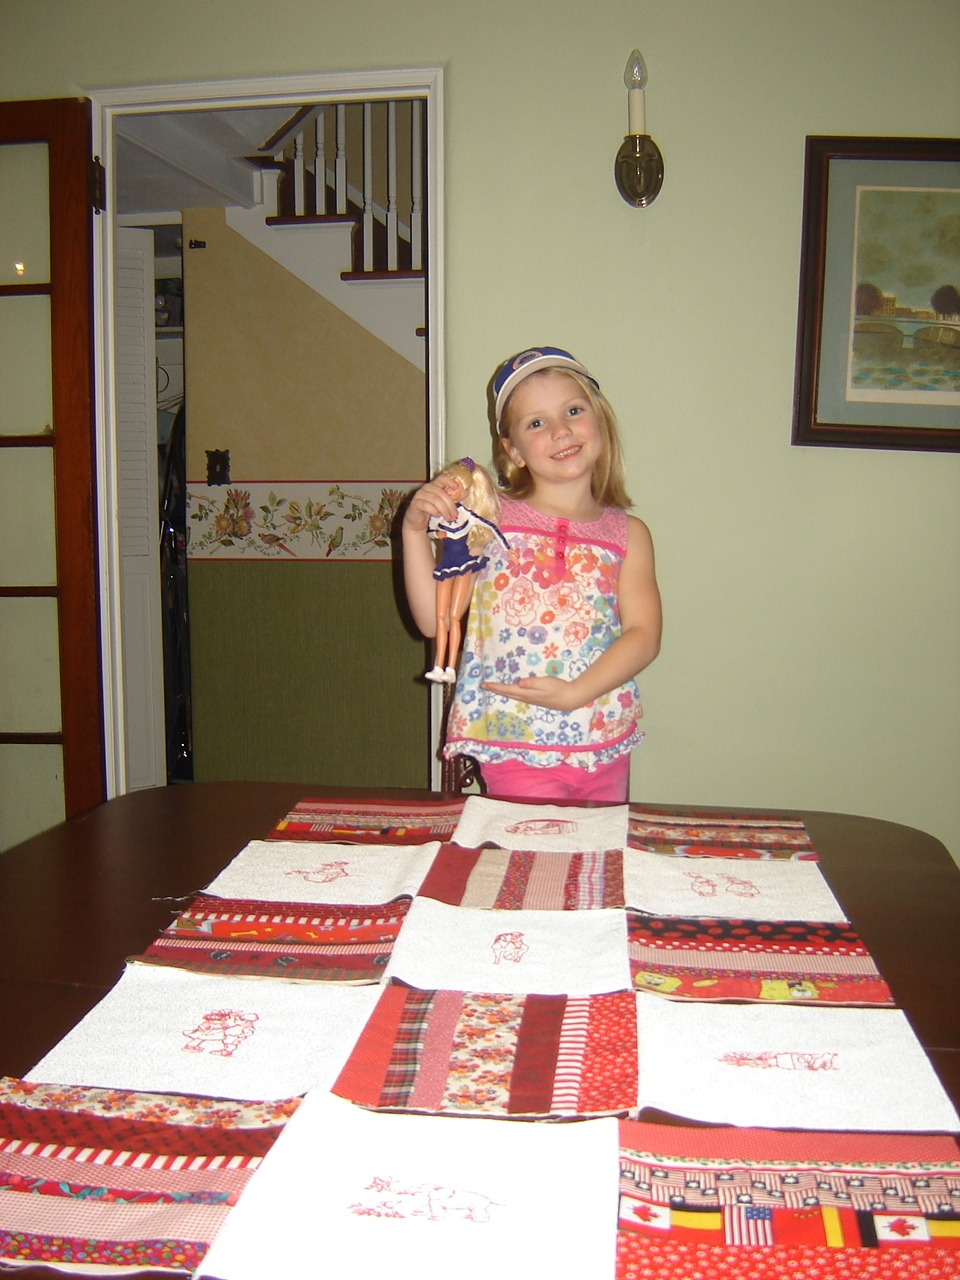
Laurel  is making her first quilt.  I don’t know who is more excited, my little granddaughter or her Nana.

We started this project mid-summer as part of our homeschool curriculum.  While she sewed, 5 year old Robert had shop class with  Granddad.  But one thing and another seemed to impede our progress and by the end of September, she had only embroidered 9 blocks, more than enough for this quilt.  But piecing had not yet begun.

Children do not have great attention spans. I learned long ago when teaching my Rebecca to sew that they need completion in a relatively short period of time.  By Oct. 1, Laurel’s quilt was already in overtime as we began piecing.  She absolutely loved selecting the fabric strips and sewing up those blocks.   I knew we had to keep our momentum and wrap this up soon.

But it’s football season.  On Saturdays, our family gathers here to watch the  day’s games so very little sewing gets done.  The Florida had a bye this week—a blessed relief for the Gator Nation considering the way the season is going—so we could enjoy college football without biting our nails and groaning and wailing.  This also gave me a chance to sew today with Laurel, whose limited but growing knowledge of college football prevented her from understanding that the Gators did not play today.  Still, she arrived decked out with her Gator cap and ever-faithful game day companion, Gator Barbie.  Continue reading

Margaret Tully Sews

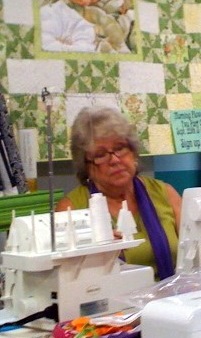
This past weekend Margaret Tully taught a class at the Sewing Garret in South Daytona.  As always, she was delightfully entertaining while she teaching her students fabulous techniques and tips.

I was unable to stay for the sit and sew portion, but snapped these pictures of some of her inspiring samples.

Margaret is best known for her serging expertise, but she is equally adept with sewing.  The creativity and variety of her samples shows just how diverse her talents are. Continue reading

Peach Bishop

PeachBishopwholeBriteX

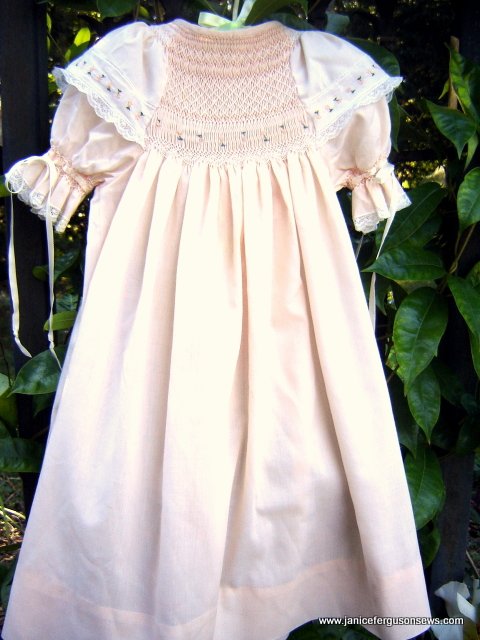
This is one of my all-time favorite smocked dresses.  I made it for Rebecca when she was just 4 years old and now, 30 years later, still enjoy seeing it hang in the nursery closet.

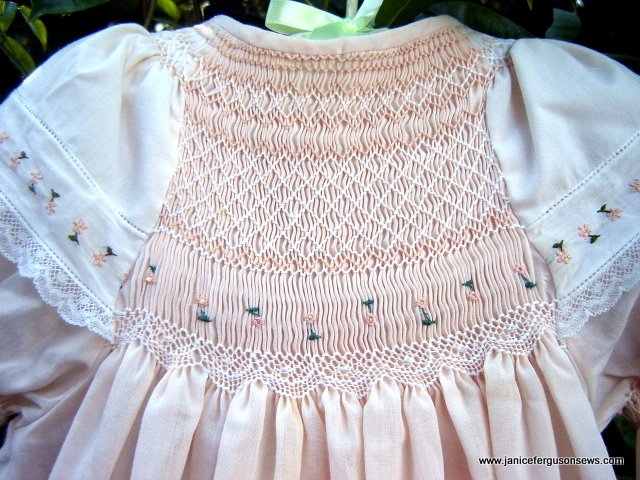
There are several interesting features to this peach Imperial batiste bishop dress.  The  extra deep smocking front and back, white sleeve overlay, and original smocking design made it a pleasure to design and stitch. The bottom rows of the smocking design were drafted to mimic the sleeve overlay fancyband.

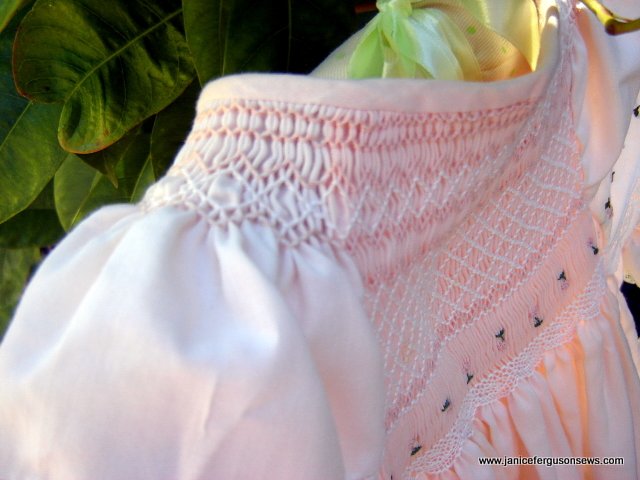
EXTRA DEEP SMOCKING: The number of rows smocked front and back on this dress greatly exceeds the recommended amount for this size.  You can see that the smocking goes far below the beginning of the armhole curve, normally the absolute last row of stitching.  Smocking rarely goes beyond this point because 1) it would exceed the width of the child’s shoulder and 2) it is impossible to pleat through that curve.


peachbishopshoulderX


The first restriction is eliminated by smocking only a few rows at the neckline, well before the edge of the shoulder.  Secondly, the pleating is done before construction, allowing pleats to go to any depth.


PeachBishoptopX


This is most easily done by working with a block of fabric, rather than a cut out front and back.  The armhole curve is traced with a washaway marker onto the fabric block before pleating front, back and sleeves from a straight edge to a straight edge.  Later, the pleating threads are pulled out up to the seamline of the armhole and knotted off.  Then the armhole curve is cut out and the front and back pieces are joined to the sleeves.

SLEEVE OVERLAY:  The white sleeve cap overlay includes a Swiss embroidery from Capitol Imports, entredeux and French Val lace edging.  This detail alone elevates the easy care bishop to a more elegant level.  Continue reading

Picture Lace Pinafore

PictureLacePinaforewhole


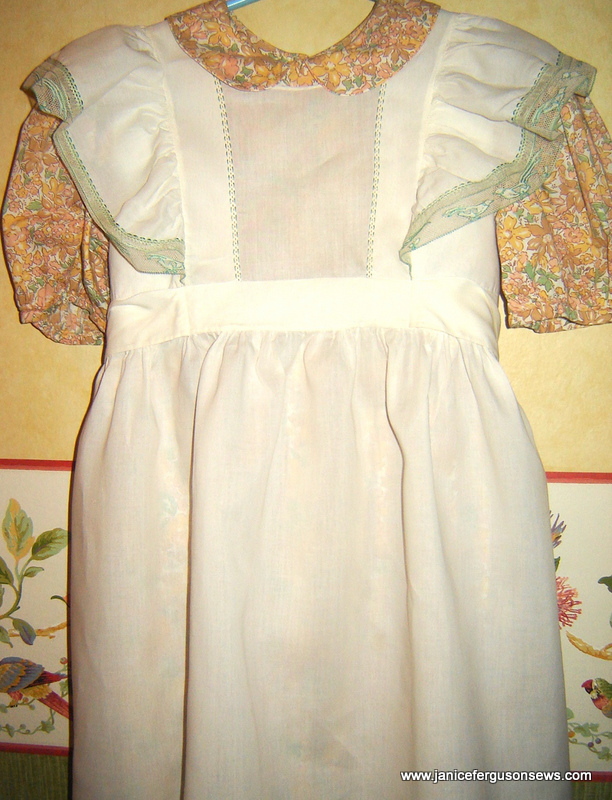
Finding this dress and pinafore made me so happy.  I had long since thought the fall Liberty print dropped yoke dress was lost.  As it turns out, I had forgotten that my friend Suzanne Sawko had made another pinafore to go over the dress for a Sew Beautiful photo shoot some time ago.  Both garments were recently retrieved from the bottom of my antique blanket chest where specially sewn items are stored.

The dress was originally made to go under the Little Fawn Pinafore.


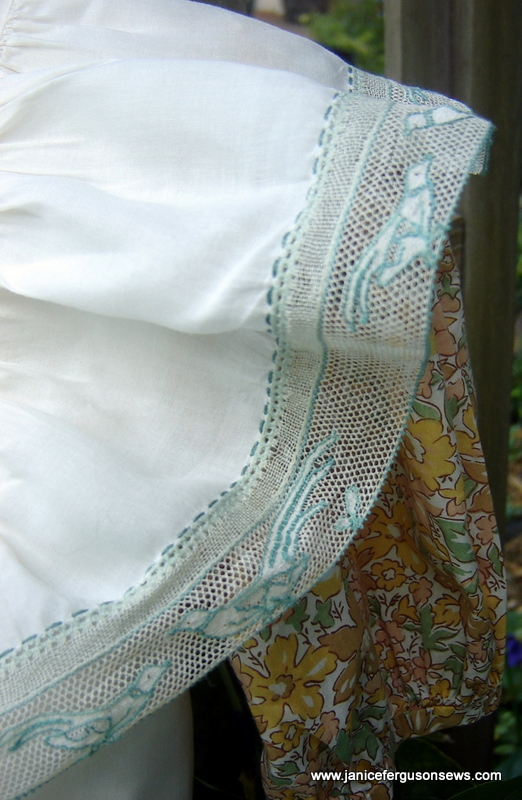
PictureLaceruffle


The picture lace pinafore shown above is made of a medium weight champagne Swiss batiste and edged with ivory lace tape and antique picture lace or AEsop’s Fables lace.  It’s unique characteristics include the colored cordonnet that outlines a figure and is worked into the lace edge.  It is an antique Binche lace, made some  time prior to 1926, though the exact year is unknown.  Continue reading

Grid Quilt

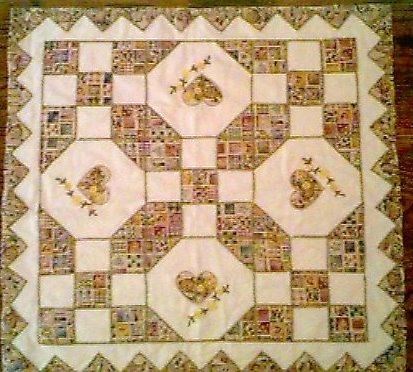
Recently, there was a post entitled Flannel Board Quilting.  This quilt a variation of that technique which I so enjoy.

The technique of what I call flannel board quilting requires a solid fabric (a wholecloth quilt top) with a carefully measured grid for placement of raw edged pieces.  These are then stitched in place and the raw edges covered with decorative stitching.  It is a simple, almost primitive technique, though there is nothing primitive about this quilt.  Continue reading

Drakes

These ready-to-smock garments are a real responsibility!  All were purchased for Robert and Laurel who have outgrown the remainder of my stash.  So now I am scurrying to finish up the boy’s things for 18 month-old Alastair.

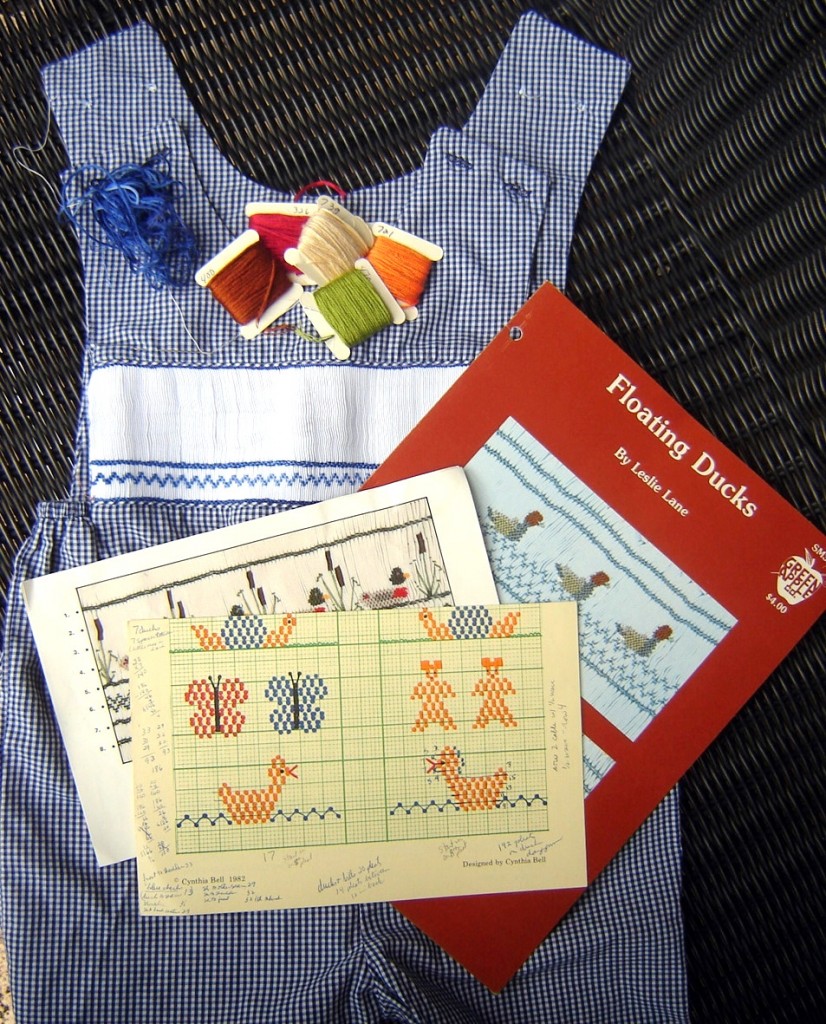
His mother has requested some duck themed clothing, since his Alastair’s middle name is Drake.  I wanted to go a little further and concentrate on the drakes.  So I pulled out some old smocking plates and designs and plan to combine them for something a little less repetitive than either scene.  The yellow graphs were someone’s good idea for miniature smocking but they never caught on.  Still, I bought one of each and have used them periodically for tiny designs.

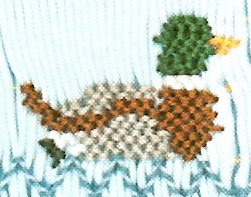
I especially like the cattails in Jerry Stock’s plate and the drakes in the leaflet, though I see now that the ones I like are obscured by the graph design.  The scan on the right shows how dramatic they are. They should show up nicely on the white Jon-Jon insert.  Continue reading

Flannel Board Quilting

24″ quilt for American Girls dolls

I’ve always wished I could come up with a catchier name for this technique, but Flannel Board Quilting is the best I can do.  Through the years in various classes taught and articles written, I have called it Grid Quilting or Faux Quilting, but none of those titles pleased me any more than Flannel Board, which has a meaningful basis.

 But enough about the name.  This is a very useful technique for quick and easy projects.  Let me  tell you about it.

The idea for this method originated from a request by sweet Debbieanne Prusserman, hostess of the New England Academy of NeedleArts  doll school held on Cape Cod some years ago.  Mildred  Turner and I were the teachers and had been charged with designing an American Girl’s wardrobe.  The school was fabulous and we had a grand time, staying in Debbieanne’s historic 1790 home and teaching in her studio with a group of wonderful ladies.  Continue reading

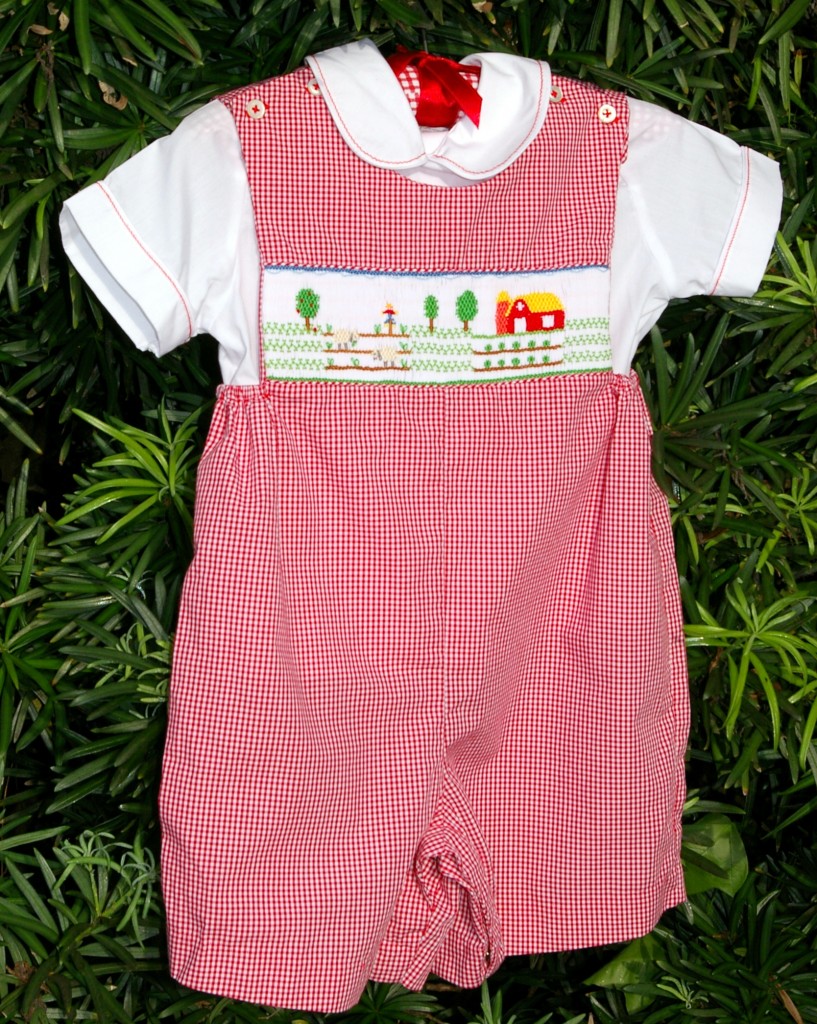
Finishing Touches-Alastair’s Farm Suit


Alastair's Farm Suit, v.2

Alastair’s smocked farm suit is finally finished.  I had completed the smocking when we were in the mountains a few weeks ago, but needed to upgrade it a little.

This was a ready-to-smock outfit and I have relied heavily on them this past year.  The quality is very good, but there are improvements that can be made.

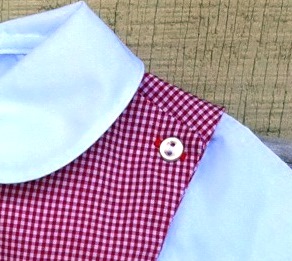
original collar and button

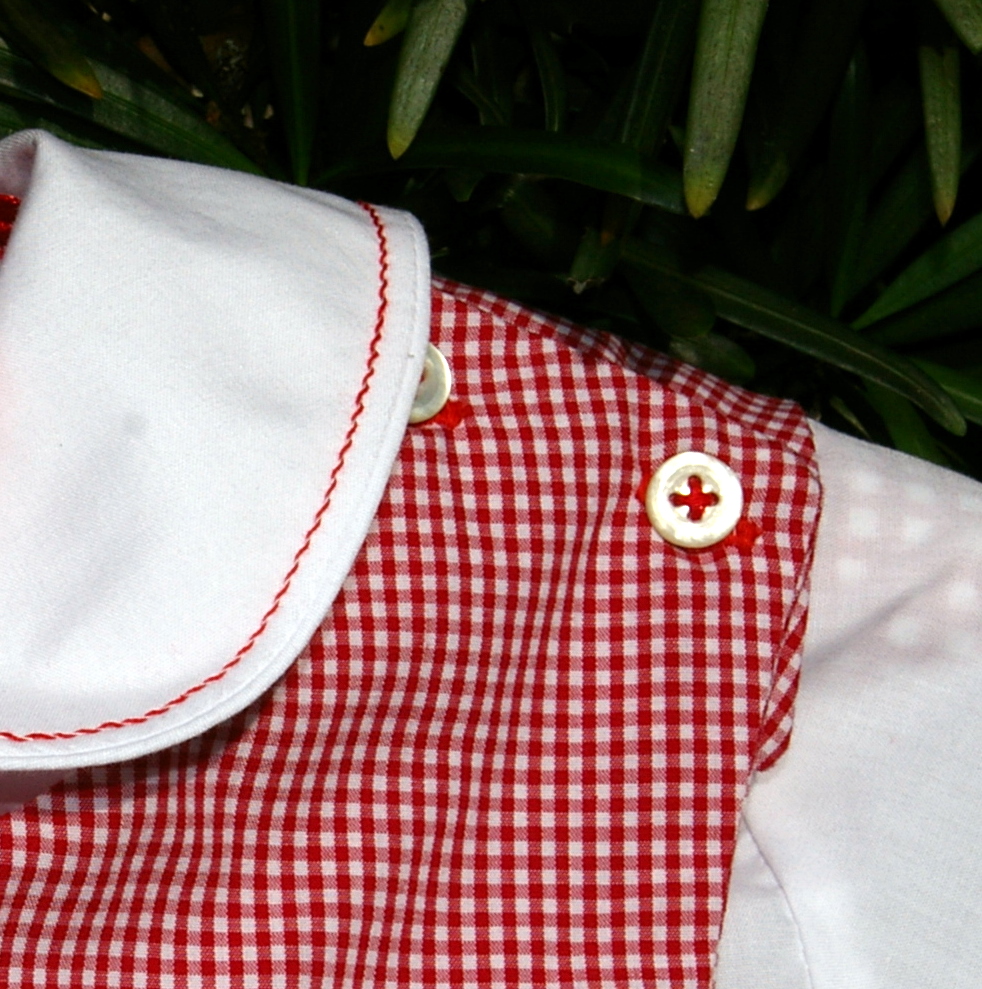
The shirt was a plain, serviceable and nice white broadcloth.  In order to make it more a part of a two-piece outfit, I added a whip stitch to the collar and cuffs.

upgrade: embellished collar, pearl buttons, red thread button sewing

At the collar, a 3.5 straight stitch was worked in white thread.

The edge of my presser foot was guided along the piping, making the stitching line perfectly parallel to the piping.

On the sleeve, there was ready made stitching below the piping.  On both the sleeves and collars, red 12 wt. thread was simply whipped over and under the stitching line.   Continue reading

Second Hand Roses


Lawnbinchefront


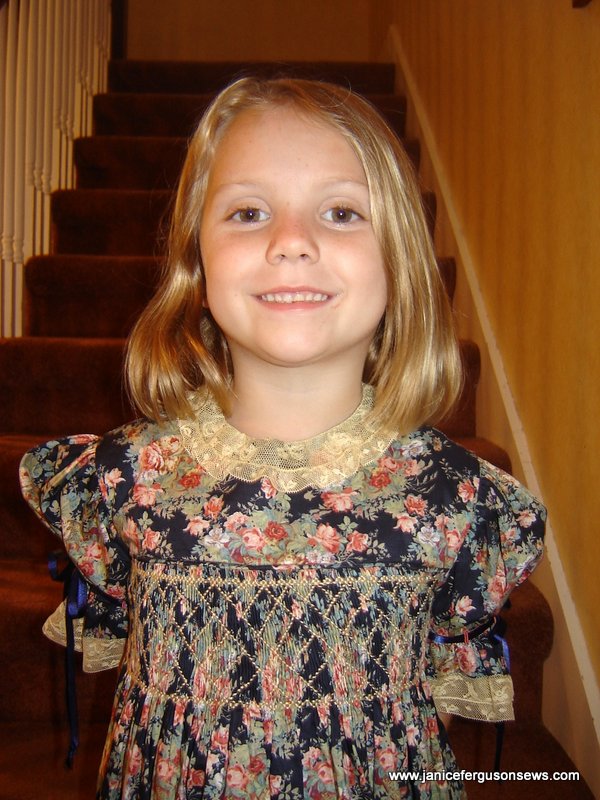
I’m really into recycling Rebecca’s dresses that have been packed away for 25+ years.  It’s amazing how timeless a smocked dress can be and how well they hold up.

Some, like Barbra Streisand,  may turn their noses up “second hand,” but neither Laurel nor I mind.

I had to drop the hem, as little girls’ skirts are longer now. Fortunately, when the dress was made, I followed the standard recommendation of putting in a 6″ hem so  I had a good 3″ to drop.

This basic yoke has a sash that ties in the back.  It is smocked to just above the waist and meets the back yoke at that same depth.  The sash snugs the dress up and feels more like a big girl dress.

The intriguing smocking plate is Chinese Chippendale by Barbie Beck, an almost ancient design.  If you blow up the photo, you will see how interesting the design is. Continue reading

Gingham Dog Quilt Part III

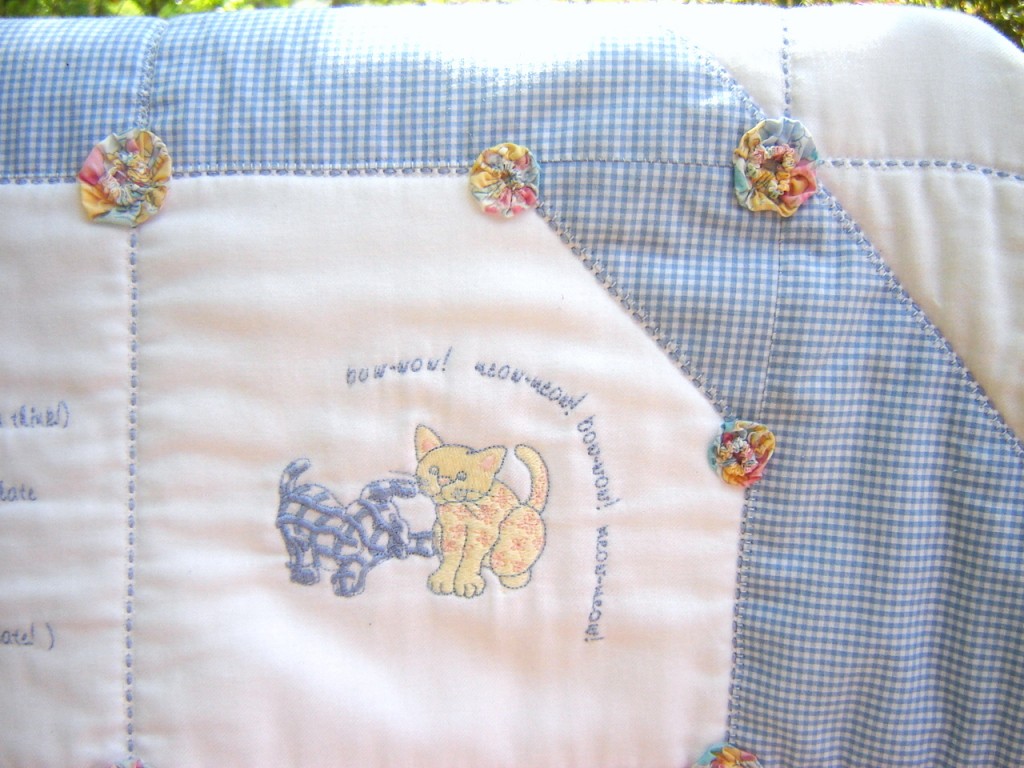
Note two sizes of yo-yo’s.

YO-YO’S:  This was really fun.    Suzanne Sawko has always been charmed by yo-yo’s and made a vest of Liberty yo-yo’s for an article in Creative Needle magazine.  But she did it the fast and easy way.  She created a machine embroidery design that does the most tedious part of yo-yo construction, turning under the raw edge, most of it bias.  I’ve always kept that technique in mind…..

After completing the floss weaving through the entredeux and pinstitch on this quilt, it needed something.  There was a bit of congestion at the entredeux intersections and it just lacked……dimension.  That was my objection to the design.  It lacked dimension.  So I decided to make yo-yo’s with Suzanne’s machine embroidery file.  The technique is so simple, so obvious, so neat. And it could be done without an embroidery machine.

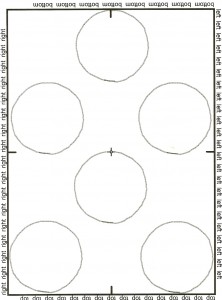
Liberty and regular, original weight Solvy (or other water soluble stabilizer) was hooped together, with the Liberty right side facing up, covered with Solvy.  Then 6 circles were straight stitched, at least 1/2″ apart, the smaller size in the 5 x 7 hoop (130mm x 180mm) and the larger size in the  160mm x 260mm hoop.   After the stitching was complete, the Liberty and Solvy were removed from the hoop and cut out, 1/4″ away from the stitching line.  A slit was made in the Solvy and the circle turned, like a pillow top.  Using a point turner, the outline was smoothed and  then the circle was pressed. The result is a perfectly turned circle.  Continue reading