Category Archives: techniques

Easter Good Fortune


Don’t you just love a good sewing day?  Every now and again, everything seems to go just right.  This was such a day.  I should have bought a lottery ticket.

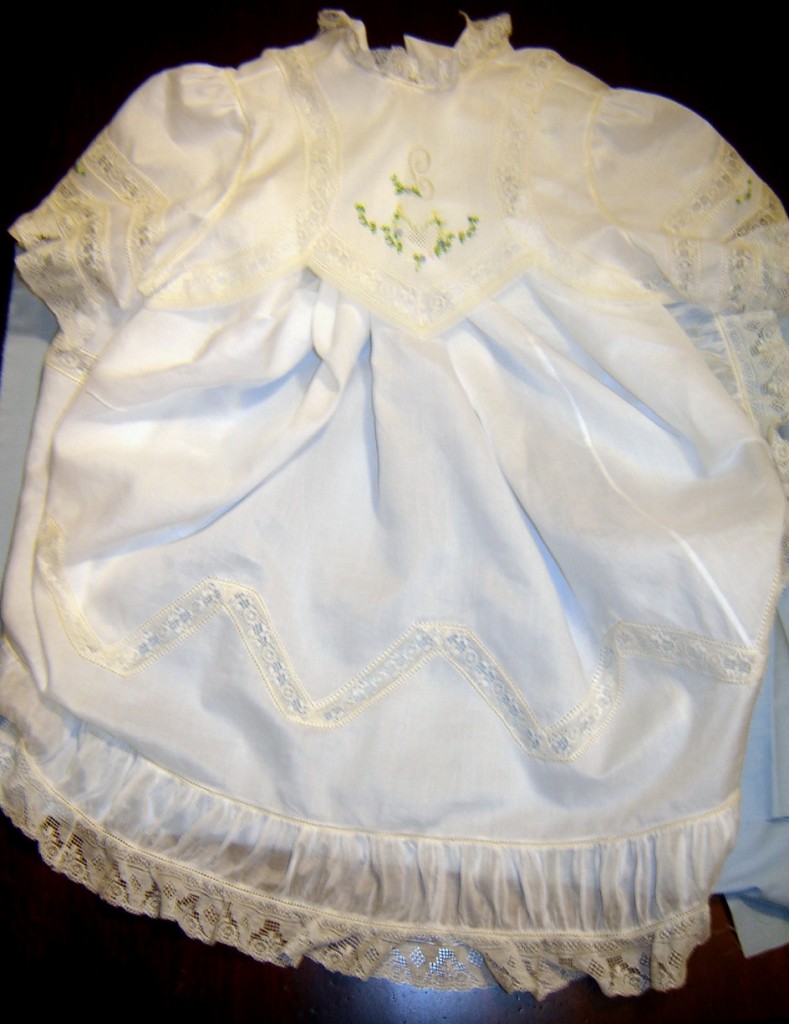
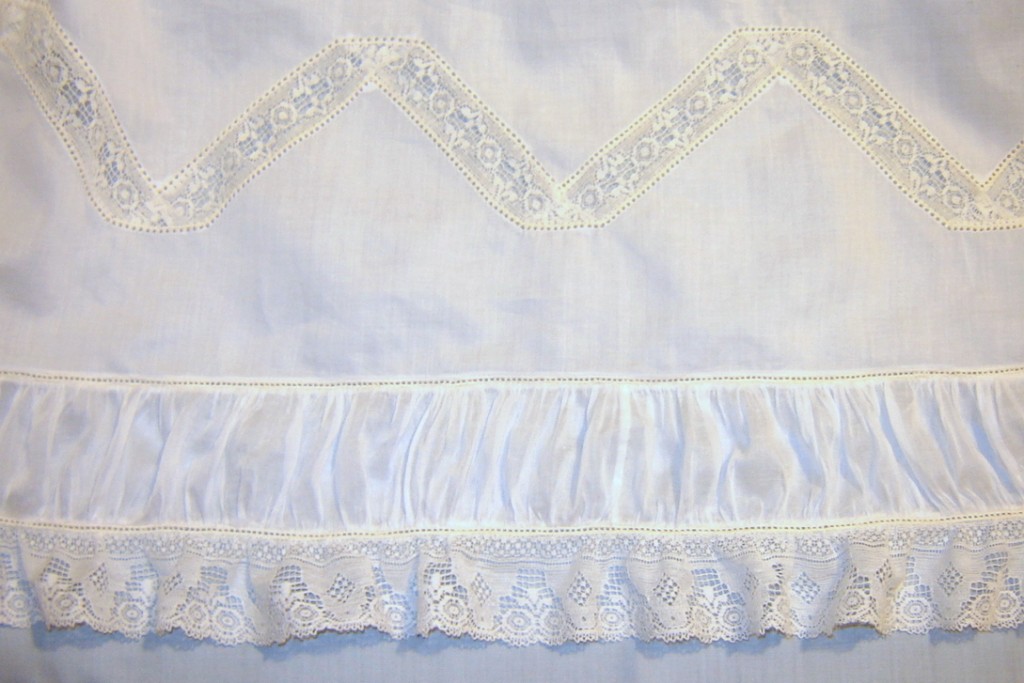
Of course, I am hard at work on Laurel’s Easter frock, Judith Dobson’s Heirloom Tea Dress (see three previous posts). The flip flop lace above the puffing was a new experience for me.  Sometimes, new methods can go bad when you are facing a deadline and working on an important project.  But flip flopping was quick and easy. It made me feel a little political.

I have always hesitated to flip flop.  The name is a little wacky and it reminds  me of election campaigns.  Additionally,  I don’t like to see the back side of lace on the front side of my garment.   But the lace I selected has a very intricate pattern, making it hard to tell the right side from wrong.   It seemed like a good choice for this technique.  

So I marched on and was happy  that I didn’t cut the lace when trimming away the base fabric from underneath.   All the pinstitch pivots turned nicely and the puffing band joined to the skirt without incident. 

 Not only that— my bobbins didn’t give out before the seam or pass ended. Life is good.  And it wasn’t even dinner time  yet. 

After rinsing out the blue marker lines and waiting for the skirt to dry, I even got started on the petticoat.  I hadn’t really thought much about the blue slip until I was ready to cut it out.  Continue reading

They have taught me so much…….


Alastair, a 2 year-old doing yard work.  Is  this legal?

Two year-old Alastair is here for a few days.  I’m busy making sure the little guy does not fall in the pool or get himself into the dangerous trouble that toddlers are likely to find.  But last night, after he was asleep, the mindless  task of  pulling threads for the puffing strip fancyband on Laurel’s Easer dress allowed me the rare luxury of contemplation.

Of course, I  thought about Laurel and the joy she has given me.   I thought about sewing and all the joy it has given me for the 31 years since I fell in love with heirloom sewing.  I thought about all the dear friends I have made and all the wonderful people I have met, and all the joy they have given me.   I thought about all I have learned and all of the fine ladies who taught me and what joy this knowledge has given me.

Sewing is all about sharing–sharing your knowledge, sharing your projects as gifts, sharing your sewing supplies with others.  I have been blessed beyond my merit on all counts.

Tonight, I thought I would share some of the most useful sewing tips I have learned through the years from women I will never forget. It would be sad to think I could include all I have learned in one post. So I’ve limited myself to only those  techniques used on this dress!

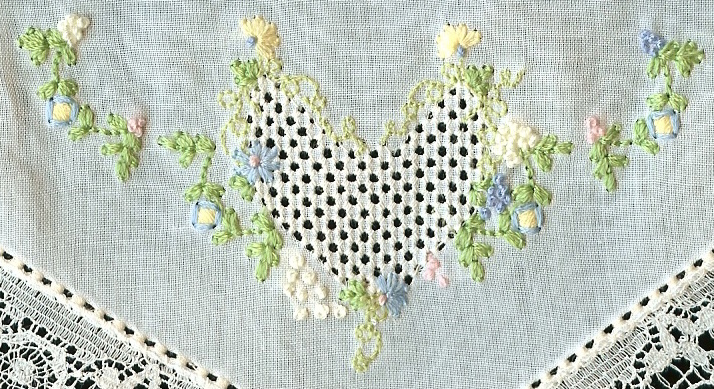
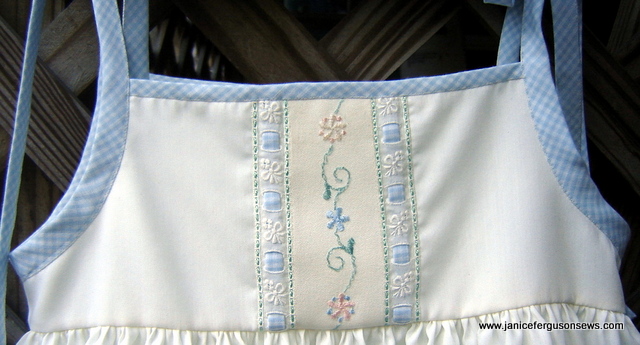
The blue floss is has been repeated in French knots, lazy daisy flowers and the surround of the pinwheel roses.

embroidery colors–At one of our weekly luncheon dates, Suzanne Sawko once said that to her eye, too many colors made an embroidery look cluttered. She prefers to use only as many as is necessary for the integrity of the design.  I hadn’t really  thought about it in that light, as often I tried to emulate nature’s unlimited palette.  With at least 42 shades of green embroidery thread at hand, I was tempted to use them all or at least many, in order to emulate nature’s palette.  Of course, shading is desirable and pleasing to the eye.  But I reuse colors when possible and avoid a riot of color in embroidery designs.  Continue reading

Miss Alice’s Tatted Yoke~Another Re-run

“Rise in the presence of the aged, show respect for the elderly and revere your God.”  Leviticus 19:32 

zAlicewhole2


This verse is beautifully scripted above a peaceful scene painted on a wall in the lobby of the nursing home where my 89 year old Aunt Aileen is settling in.   A few days ago, we had a family picnic on the lovely screened porch, overlooking azaleas and newly leafed oak trees.   We dined on fried chicken, biscuits, baked beans, potato salad, fresh strawberries, cherry cheesecake and a raspberry-brownie cheesecake.  All that cooking reminded me of  tailgating at Norman Field in Gainesville for Gator football games.

Attended by her robust and sharp witted brother Richard (91), her wheelchair bound sister Dollie (83)  and her very fit and active “baby” sister Rheeta (76),  Aunt Aileen enjoyed the rare gathering of the four remaining siblings (of the nine children).  Added to the mix were my energetic,  entertaining and well-behaved grandchildren, Laurel  (6) and Robert (5), their mother, my husband and I.  The full circle of life was represented.

At every visit with her, this scripture serves as a gentle reminder of the treatment and respect this age group deserves.   I think of it so often, as I continue to deal with the details of her relocation.  And it reminds me of another elderly lady whom I loved so well, Miss Alice Van Cleef.

Again, I have to resort to a re-run for lack of time.  This is one of my favorites.  I hope you enjoy a little historical insight into my tiny hometown, Glenwood, and an introduction to Miss Alice, one in whose presence the entire community rose.


zAliceyokeV


**************************************

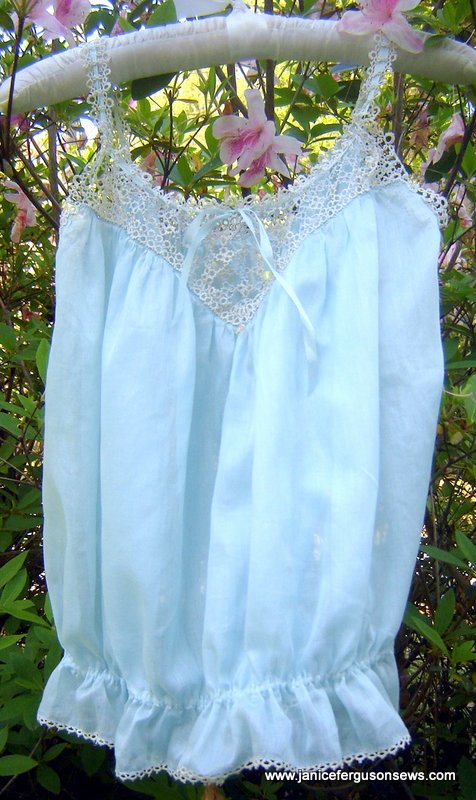
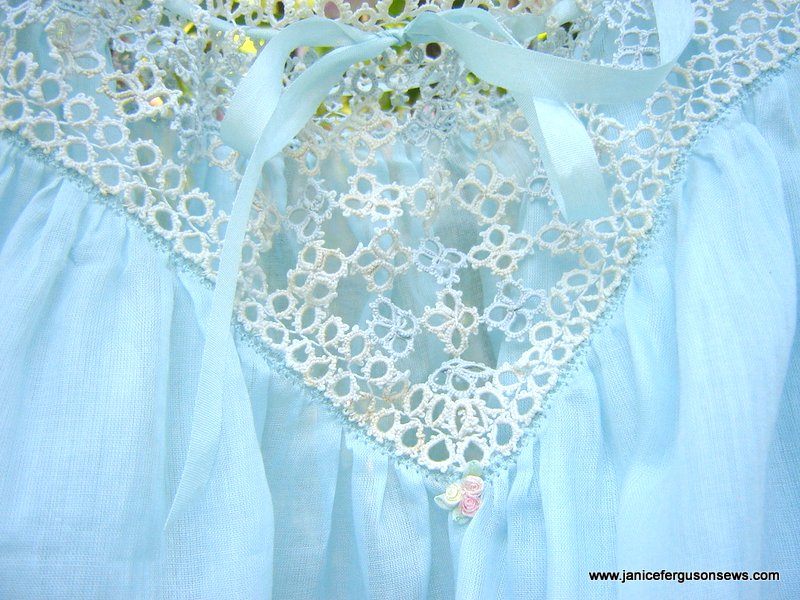
BACKGROUND: The tatted yoke on this camisole is at least 90 years old.  What a testimony to the sturdy fruit of the shuttle!  I had sentimental reasons for my appreciation of this yoke (detailed below in HISTORY) and made a camisole for my daughter.  Miss Alice, the previous owner, was especially fond of my children and they grew up knowing her as an exemplary model of Christian womanhood.  In 1996, this garment was featured in my series entitled  Antique Textiles in Creative Needle magazine. Continue reading

Lots of Dots Bed and Bath

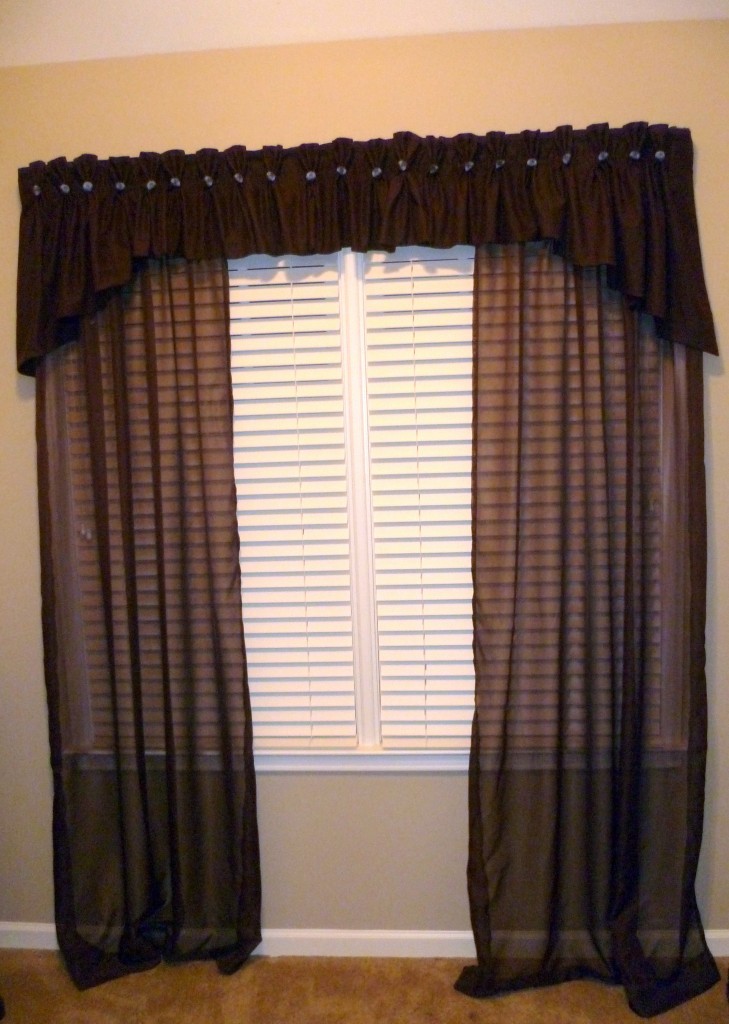
There are so many great ideas and techniques used in this well coordinated bedroom and bath.  Judy Day collaborated with her daughter, Beth, to create all the components, each of which included lots of dots. 

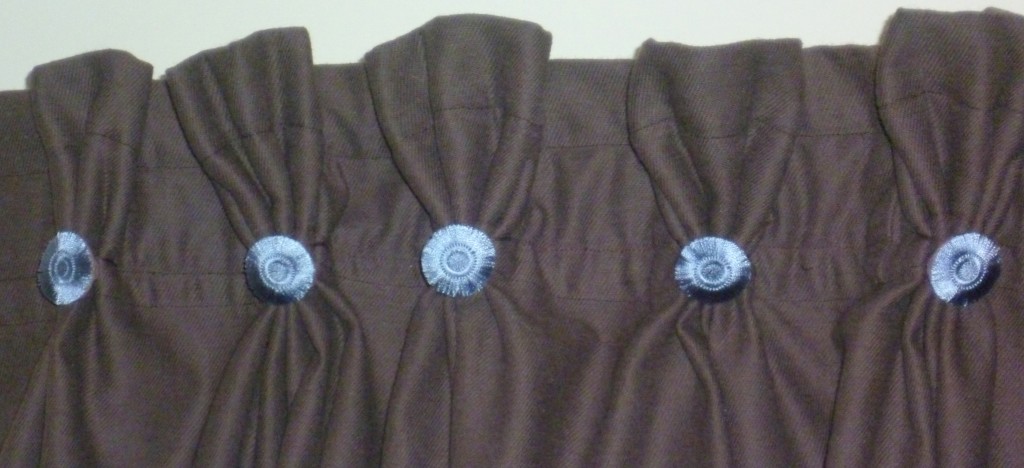
Inspiration was provided by a pricey piece of silky brown fabric with blue three dimensional fringed circles.   Beth asked her mother, Judy Day, to reproduce these circles for accents on the bedroom curtains she planned to make.

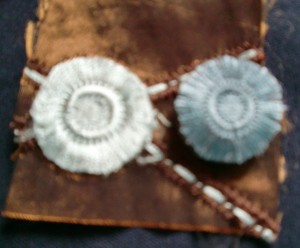
The fringed motif on the left is part of the decorator fabric.  The blue circle on the right was created by Judy using Babylock’s MasterWorks 2.  The photo is not very sharp, but even so it is clear that Judy’s smaller blue circle is nearly identical to the other.

Judy studied the fringed circles and recognized that they were no more than zig zag stitches radiating from a  center circle.  She digitized the design in Babylock’s MasterWorks 2, clipped the bobbin thread behind the zig zags, clipped the loose loops to make fringe and then used the fringed fabric circles to cover buttons.

Beth made the curtains, using a simplicity pattern for the valance.

Shortly after deciding on the blue dots/brown silky fabric theme Beth happened upon the brown towels with blue dots, along with a matching bath mat at a department store.  Continue reading

Old Fashioned Baby Bubble–Re-run

I’m still up to my eyeballs cleaning out Aunt Aileen’s apartment and sorting through all her paperwork.  Now she is settled in a nursing home and seems to be content.  We are so grateful. 

Aunt Rheeta is staying a while longer to help me sort and was thrilled to find old photos of her parents, grandparents and siblings that somehow ended up in Aunt Aileen’s custody.  We have another week to vacate the apartment and it is going to take every minute of that to get the job done.  So this is another re-run. 

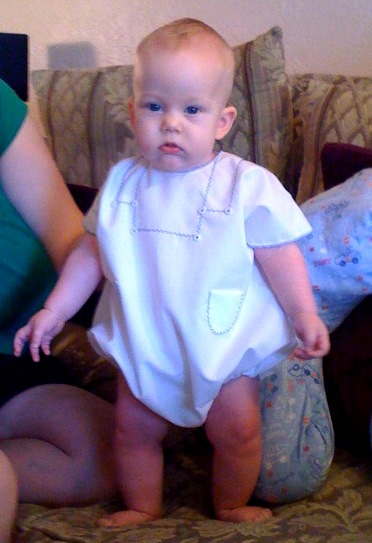
Now that Alastair’s 2nd birthday has passed, I am enjoying these pictures of him as an infant. 

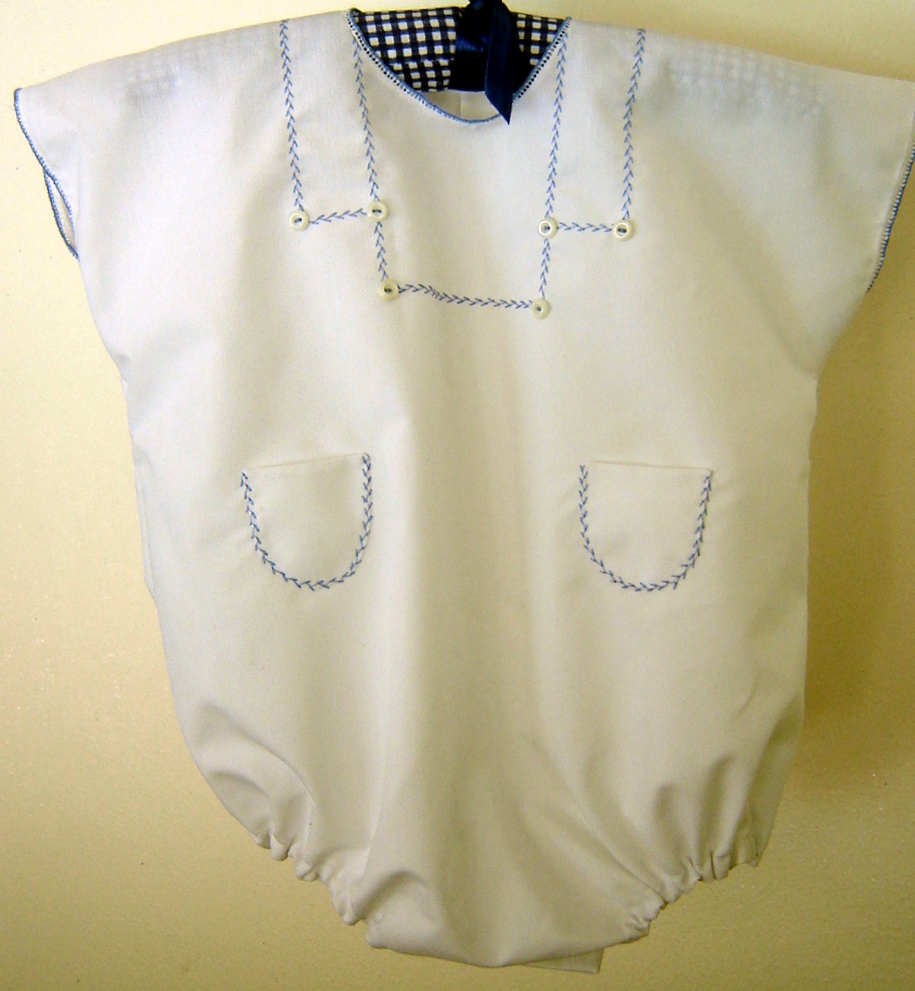
This is a delightful little garment, old fashioned in appearance but with all the convenience of a modern garment.   It looks soooooo much better on  Baby than on the hanger.  When I showed this to Rebecca, she paused a moment before saying, “….uh..thanks.”

 But after she saw it on 5-month old Alastair, she really liked it. 

It is still a quite large on him and will look better still when he is a little taller.  But hey, Florida summers last until November so I’m sure he will have plenty of warm days to wear it.

The pattern is  from the Old Fashioned Baby Embroidered Baby Clothes pattern www.oldfashionedbaby.com .    The beauty of the one-piece pattern  is that there are no buttonholes, no shoulder seams, no side seams and no set in sleeves.

  Two tiny optional pockets,  a small crotch extension and a one piece facing for the back opening are the only other pieces. 

Pique’ is one of my favorite fabrics for children’s wear, but then there is the ironing factor.  And I am putting a great deal of thought into creating “modern projects for old fashioned Nanas.” Continue reading

Zig Zag Bonnet II

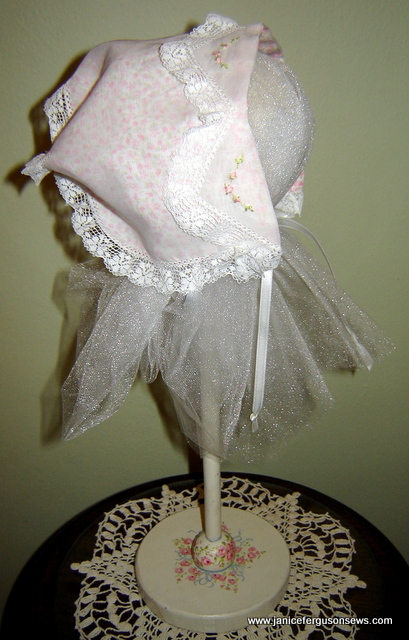
bonnet stand


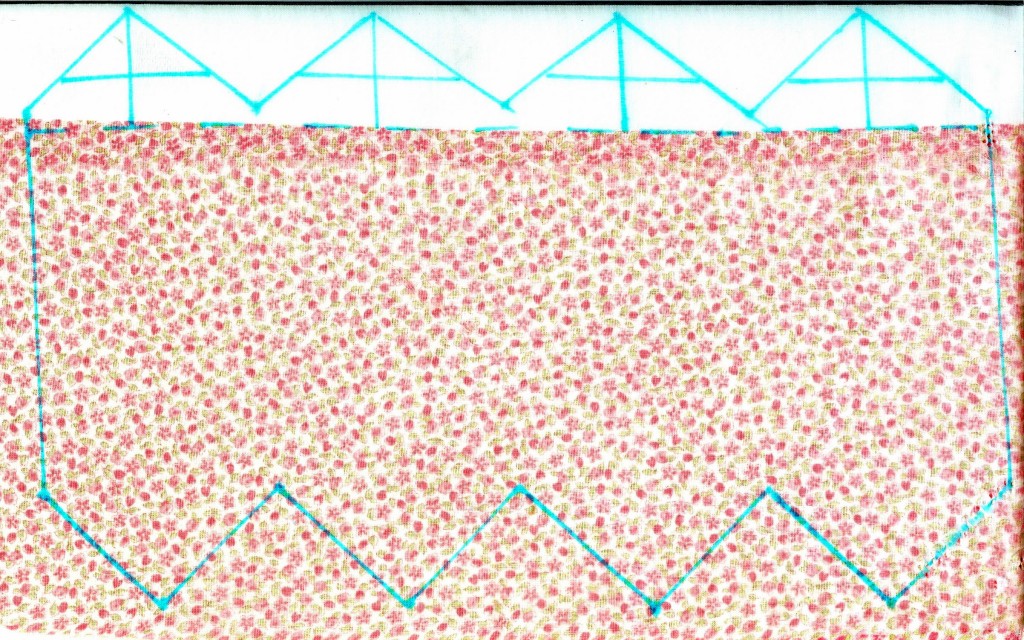
Another class project for Sewing at the Beach is finished along with the kits and handouts. This Swiss organdy zig zag bonnet is a summer version of the Swiss flannel bonnet featured in an earlier post. Appearing in Creative Needle magazine many years ago, the 1920’s pattern has always intrigued me.  That recreation was made of a single layer of Swiss batiste.

Working with the organdy was such a pleasure.  Having modified the pattern to include a lining, I was pleased to see  the delicate lawn print peeking through the organdy.  It is much more visible than it is through the Swiss flannel.  Additionally, the organdy required no starch before hemstitching.  This is a bonus in a classroom situation.
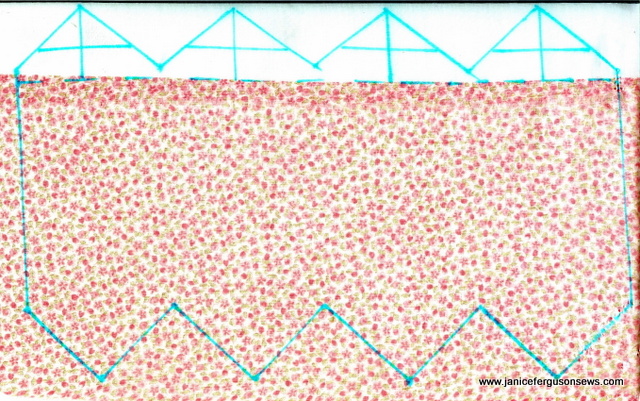
 

lining fold back

Basically, the pattern consists of a single piece of batiste 15″ X 9″ with deep zig zags along the front and back. This measurement allows a little excess around the edges for hemstitching.

I was not surprised at how difficult it was to trace the pattern onto the organdy.  It would have taken too much time in class, so I used a technique that has worked on other projects that require tracing.

First, I taped the paper pattern to the cutting board.  Then, a sheet of quilting template plastic was placed over that and also taped to the cutting board.  Next, several lengths of double sided tape (my absolute favorite, must-have non-sewing notion) were placed around the perimeter of the pattern and through the center.  Finally, the organdy was pressed against the tape and smoothed flat.

Not only does this prevent shifting of shifty fabric, but it also prevents the possibility of transferring some of the ink from the pattern onto the fabric when the marking pen traces over it.  And it is so much more accurate than tracing over unruly fabric.
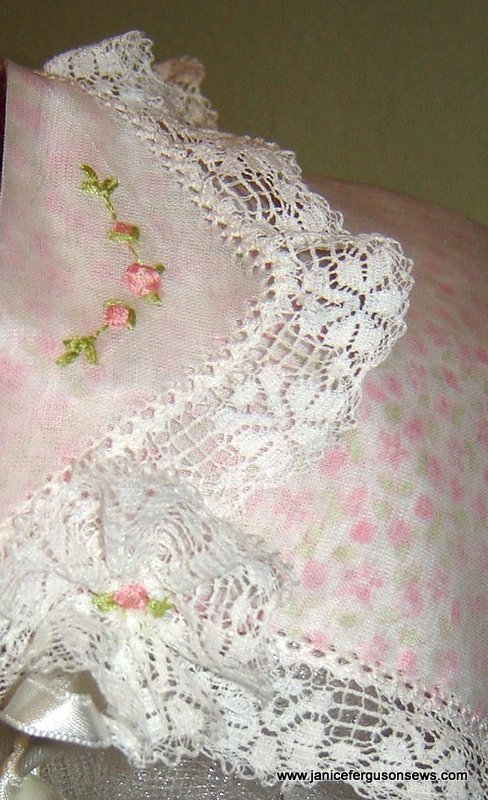
 

If you would like this wide V floral machine embroidery design, post your request as a comment below.

If you would like this wide V floral machine embroidery design, post your request as a comment below.

The machine embroidery within the front points is from Fil Tire’ and Fancywork Combinations collection.  Lining is joined to the organdy with spray adhesive up to the brim fold line.

Machine made entredeux outlines the perimeter and slightly gathered English lace edging is butted up to it.  Lace edging is joined all around.

The embroidered points are folded back to serve as a brim and the back zig zags are tacked together. Ribbons can be attached quite simply at the sides.   Machine embroidered lace rosettes to cover the ribbon stitching takes a little more time but I was pleased with the results.
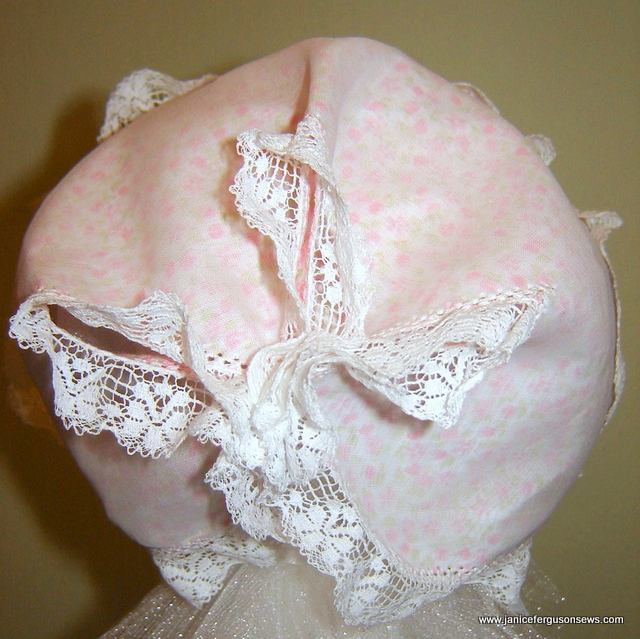
 

bonnet back

Five inches of 3/4″ edging was machine zig zagged together.  By pulling the gathering thread from both ends, I had more than 2″ of sturdy header thread to knot off, holding the rosette’s gathers.  Still, there is a small hole in the center.

Water soluble stabilizer was hooped in my smallest embroidery frame.  With spray adhesive, a scrap of white lace was placed against the rosette, over the hole.  Then, with another application of spray adhesive, the lace rosette was placed on the stabilizer.  The carefully selected design was sized to reach beyond the little hole in the center of the rosette.

I love baby bonnets. What is your favorite bonnet pattern?


Faux Heirloom Sundress

1-fauxwhole2


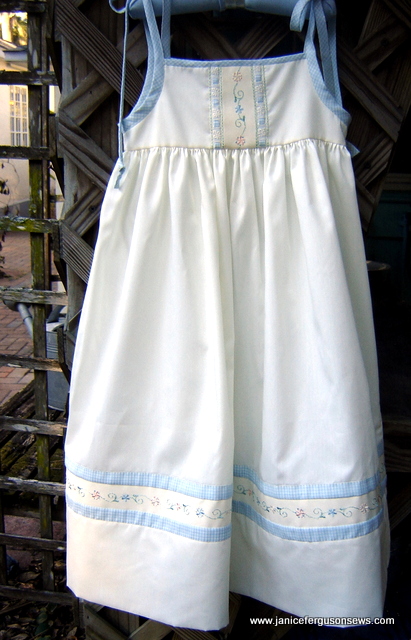
This is the quintessential modern project for old fashioned Nanas.  I love this easy care/faux heirloom dress.

It may seem early to be thinking about sundresses, but the commercial  pattern companies have already put out their spring and summer pattern books. I’ve had to think about it because Faux Heirloom Sundress is another class I will be teaching in Myrtle Beach at the end of the month.

The beauty of this summer frock is its easy care properties.  It’s no surprise to heirloom loving grandmothers everywhere that ironing organdy and Swiss batiste beauties is a real problem for busy young mothers.  This wash and wear, easy care, easy sew pop-over meets many of the requirements for an heirloom garment.  And still, it comes out of the dryer ready to wear and is as sturdy as Old Navy.


1-fauxyoke2


The fancyband on the skirt and front yoke are applied, rather than inserted.  Nothing is cut away behind thee bands.  The base fabric is intact under these embellishments, maintaining the structural integrity of the solid fabric. Continue reading
Buttonholes

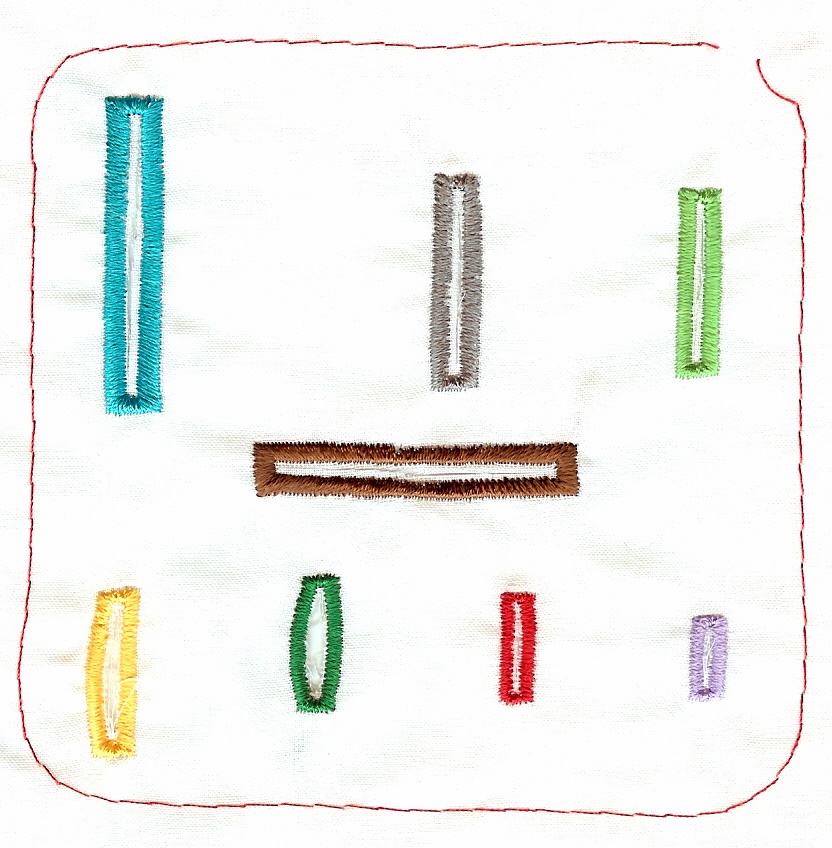
my buttonhole sampler

After years of frustration, I can now make perfectly formed  and perfectly placed buttonholes.  Thanks to Embroidery Library www.emblibrary.com one of my favorite sites, I no longer grow apprehensive when it comes time for the garment closure.

 Buttonholes have always caused me  trouble.  My quest for success with this necessary garment construction component began with the buttonhole attachment for my 1968 Kenmore machine and progressed to the 4-step program on my Bernina 930. I hated every one I made. Continue reading
Hideaway Hanger

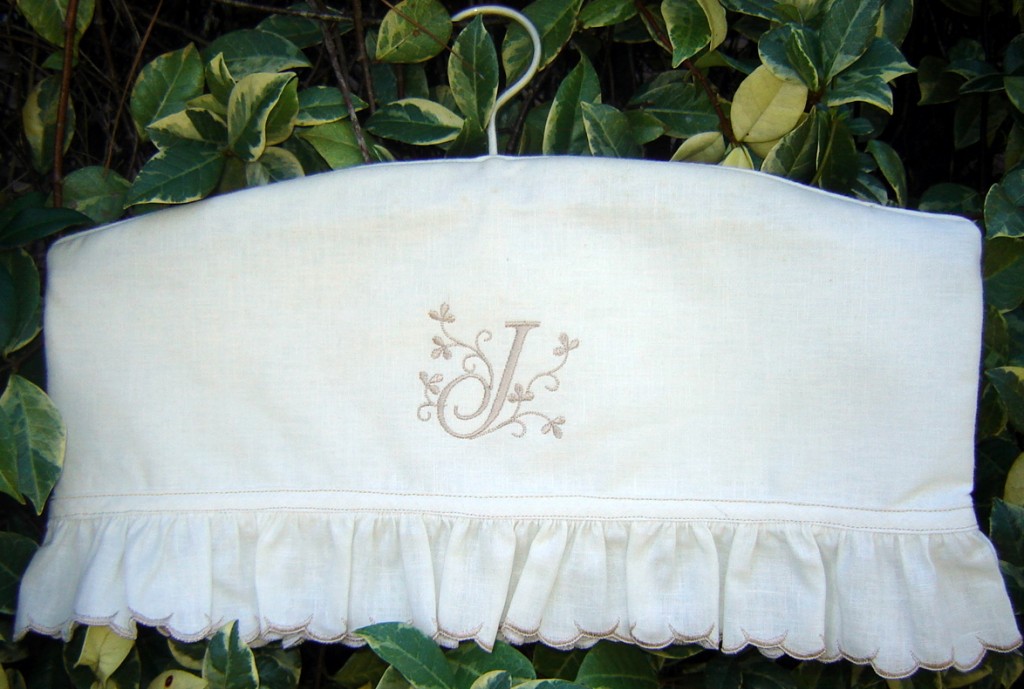
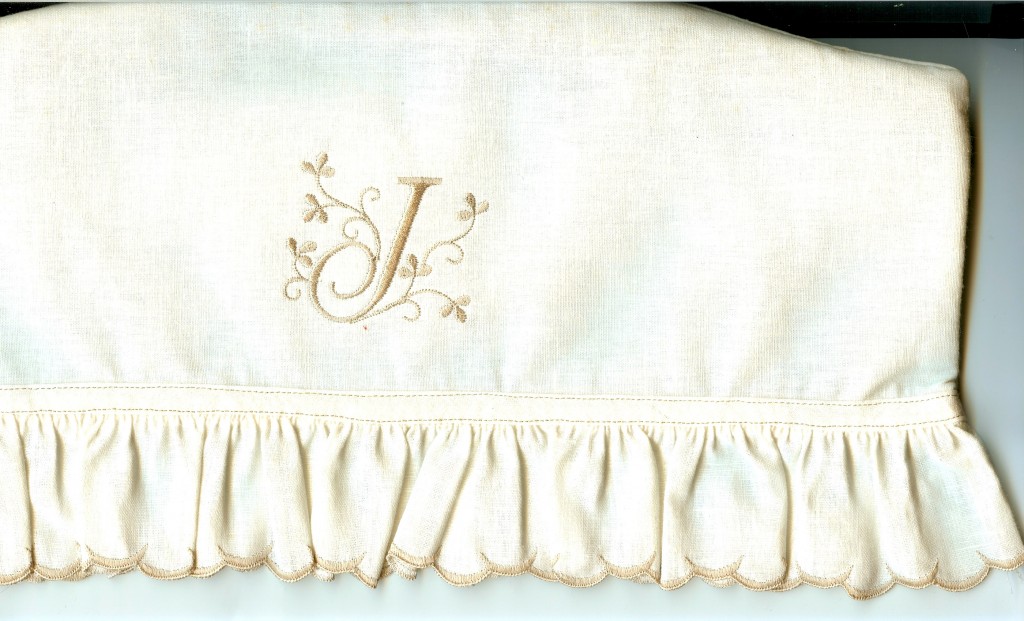
A hideaway hanger is a fabulous travel accessory.  With a zippered pocket concealed beneath the scallops, it provides a secure place to hide jewelry and other valuables when you are staying in a hotel.  I’ll never forget when a teacher at a huge sewing school had all of her jewelry stolen while she was in class.  A hanger like this might have prevented that heart wrenching theft.

This classic heirloom style hanger is packed in my suitcase every time I go out of town, a lovely and useful gift from my dear friend Barbara Chatelaine of Baton Rouge.   It was stitched on her beloved Pfaff 7570.  Barbara is an incredibly talented sewist, a fabulous cook–her shrimp etouffee is legendary–and altogether a delightful and charming Cajun lady.

enlarge to see clean scallops


She declares this to be an easy project.  By simply tracing the outline of a wooden hanger, a pattern can be drawn.  Add a seam allowance and trace the shape onto fabric which has been pressed onto an iron-on low loft bonded batt.  The batting gives the cover body as well as  cushions and disguises the contents of the hanger.  Before cutting it out, embroider a monogram or other design.  Or just leave it plain. Continue reading

Thanksgiving Suit in Progress

Thanksgiving is one of my favorite holidays.  We have so much to be thankful for and our precious grandchildren are near the top of the list.  My passion for sewing is another blessing that enriches my life.  Grandchildren and sewing are major factors of my happiness that go hand in hand.

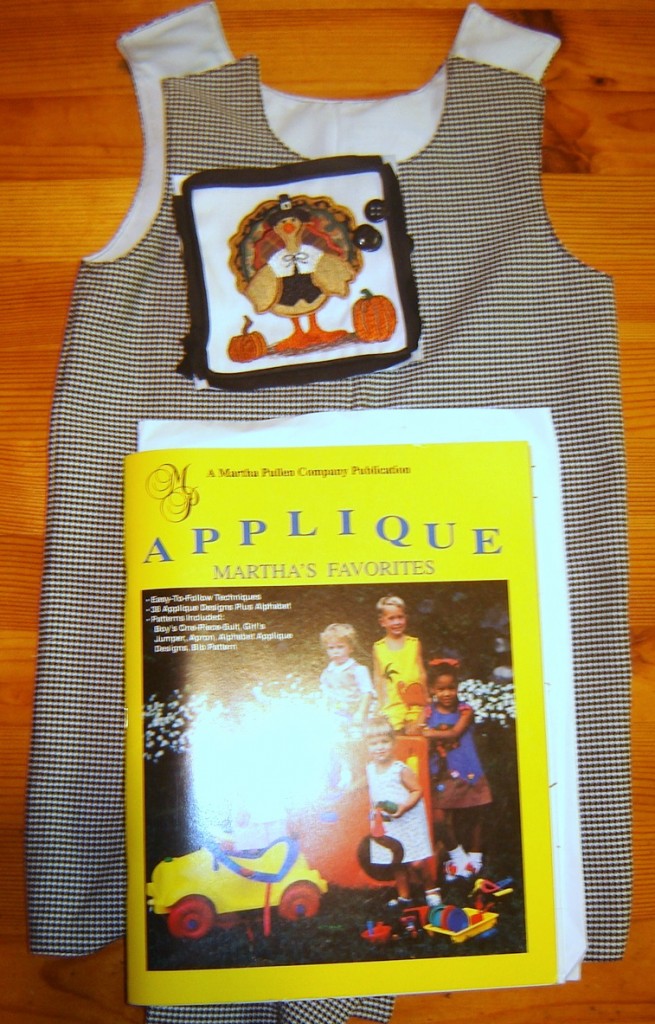
Of course, I love making holiday garments for them.  This little suit is a work in progress for 19 month old Alastair to wear Thanksgiving Day when we all gather for thanks and dinner at  the home of his paternal grandmother.  Of course, he is the apple of everyone’s eye and will get more attention than the turkey and pumpkin pies.

Once again, I have chosen one of my favorite patterns, the John-John included in the Martha Pullen book, Applique’, Martha’s Favorites.  I use this so often that I have traced off all sizes of both the John-John and the girl’s jumper.  Each pattern is kept  paper clipped together and stored in an envelope tucked into the book.  It probably took less time to trace off all sizes at one time than it would have taken to assemble the newsprint paper, ruler, marker, etc.,   haul it to the glass topped table on the breakfast porch and trace off  even two patterns.

With the help of an edge stitch foot, a black straight stitch has been worked around the perimeter, top and bottom.  This keeps the white lining from peeking around the black houndstooth check body of the suit.

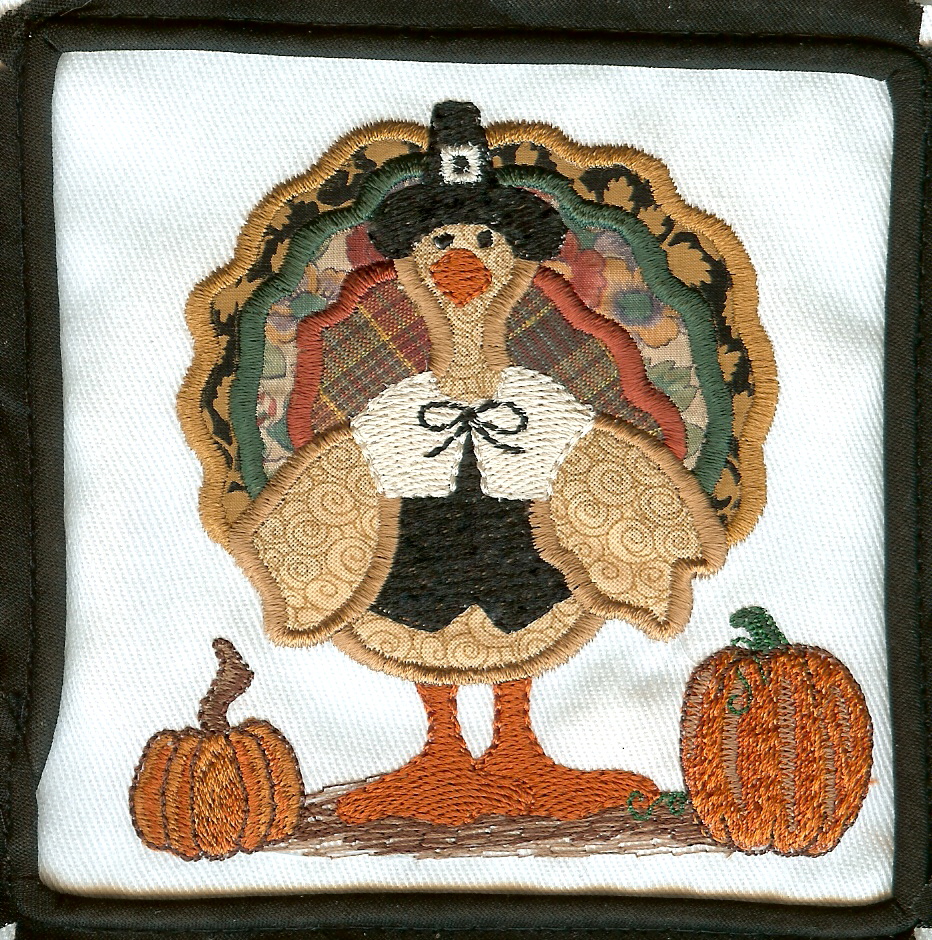
Rather than embroider on the suit itself, I made a patch that will button onto the front of the John-John.  The turkey is from Designs by JuJu’s Autumn Harvest collection. Continue reading