Category Archives: heirloom sewing

Vintage White Baby Dress


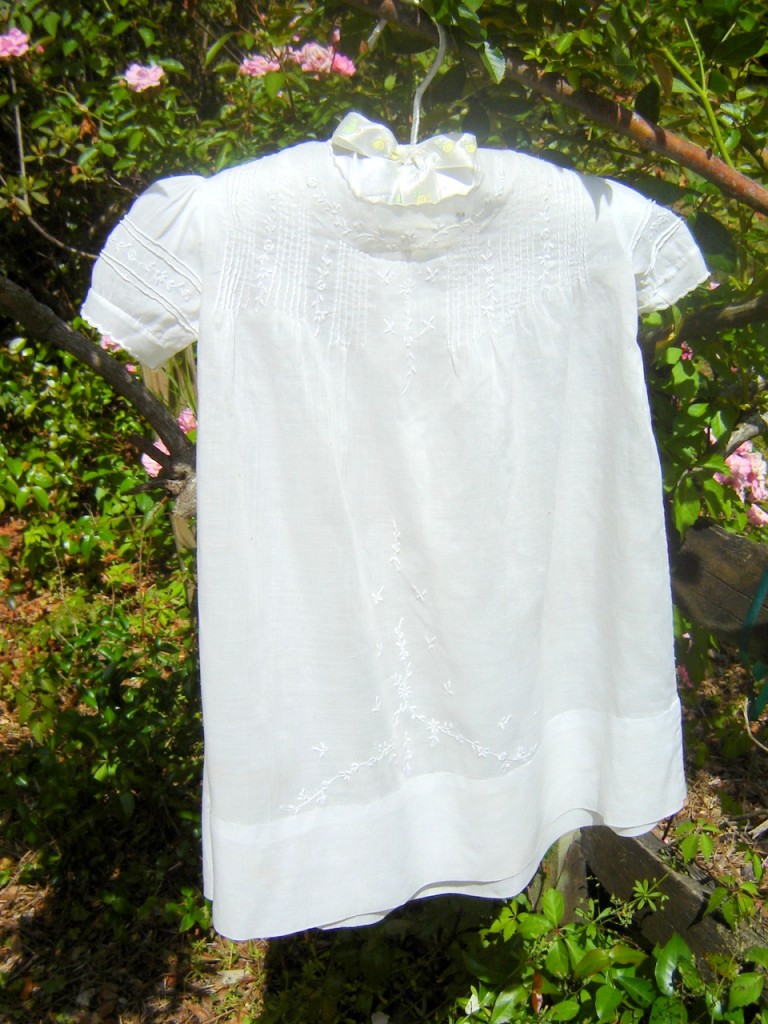
This sweet round yoke baby dress is the last of the six that hang in the nursery here at our home (see post Nana’s Nursery).  With a numerous embellishments, it clearly took considerable time to make.

As usual, I thought about its maker and wondered if the dress had been made for a child, grandchild or perhaps a niece.  Obviously, it was lovingly stitched.  Due to the range of skills exhibited, I even wondered if it had been a group project, perhaps mother and daughter working together.


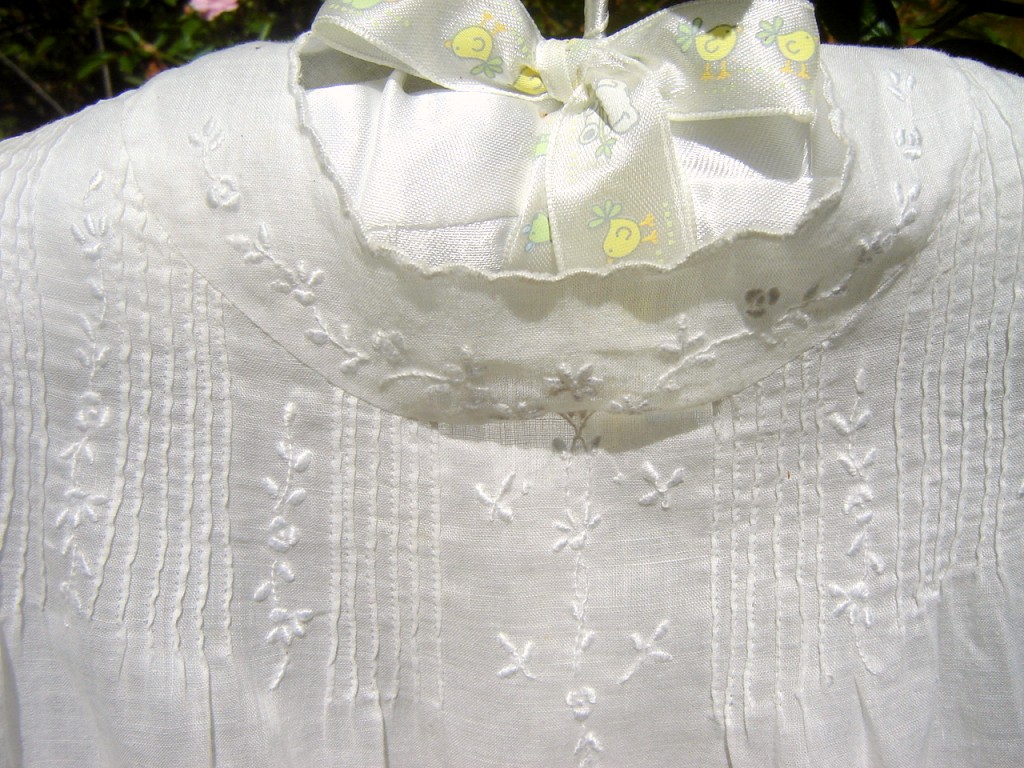
The simple but extensive embroidery appears to have been done by a very competent needleworker.

The three petal rose pattern is worked between the rows of tucks on the bodice, along the round yoke itself, between tucks on the puff sleeves and in a cascade down the skirt front.   The coordinated designs are carefully stitched. Continue reading

Teaching in Puerto Rico

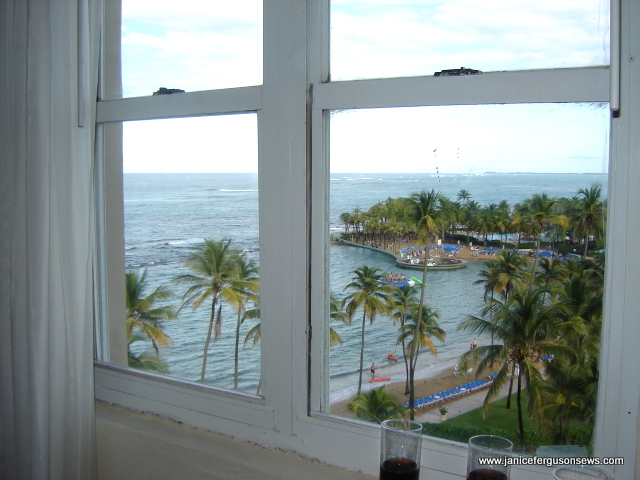
This is the view from one of the classrooms. The other had the same view along one entire wall.

This is the view from one of the classrooms. The other had the same view along one entire wall.

In all my years of teaching, I have traveled to some beautiful places, met beautiful people and seen beautiful projects. San Juan, Puerto Rico, was one of my favorite venues, a place at which I taught several times for Luis and Rosa Medina, owners of the San Juan Brother dealership. They were absolutely the most gracious host and hostess that you could imagine.

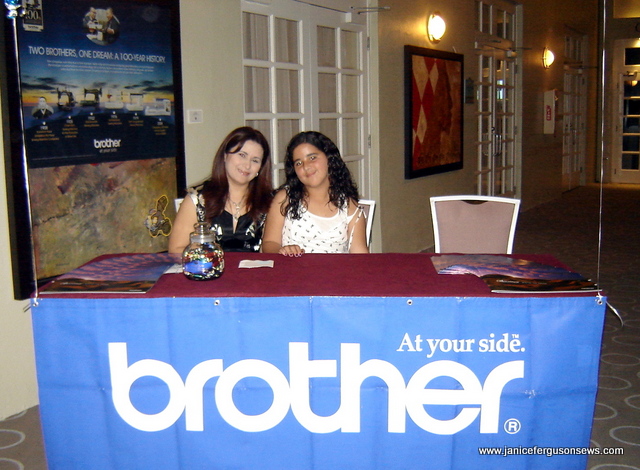
Their 12 year old daughter helped out but spent most of her time in the classroom, sewing on the Quattro 6000D.

Rosa Medina and 12 year old Deborah, a sewing student! We all talk about learning to sew on our mother's old straight stitch machine or some even tell tales of learning on a treadle.  But Deborah is learning more than basic sewing on this technological wonder. June Mellinger, in ivory shirt, discussing project with two entrants.

Rosa Medina and 12 year old Deborah, a sewing student! We all talk about learning to sew on our mother’s old straight stitch machine or some even tell tales of learning on a treadle. But Deborah is learning more than basic sewing on this technological wonder.

On one of these trips, June Mellinger and I taught the classes and were asked to judge a sewing competition. June, by the way, is Brother’s Director of Education in the US, president of the American Sewing Guild and just a terrific, fun lady. We were absolutely astounded at the variety and quality of the entries.

The following photos show just a few of the beautiful items the ladies brought from all over the island.
Continue reading

Gingham Dog Quilt Part III

Note two sizes of yo-yo’s.

YO-YO’S:  This was really fun.    Suzanne Sawko has always been charmed by yo-yo’s and made a vest of Liberty yo-yo’s for an article in Creative Needle magazine.  But she did it the fast and easy way.  She created a machine embroidery design that does the most tedious part of yo-yo construction, turning under the raw edge, most of it bias.  I’ve always kept that technique in mind…..

After completing the floss weaving through the entredeux and pinstitch on this quilt, it needed something.  There was a bit of congestion at the entredeux intersections and it just lacked……dimension.  That was my objection to the design.  It lacked dimension.  So I decided to make yo-yo’s with Suzanne’s machine embroidery file.  The technique is so simple, so obvious, so neat. And it could be done without an embroidery machine.

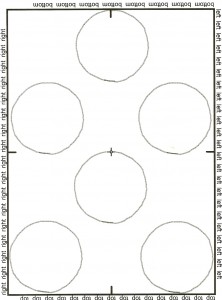
Liberty and regular, original weight Solvy (or other water soluble stabilizer) was hooped together, with the Liberty right side facing up, covered with Solvy.  Then 6 circles were straight stitched, at least 1/2″ apart, the smaller size in the 5 x 7 hoop (130mm x 180mm) and the larger size in the  160mm x 260mm hoop.   After the stitching was complete, the Liberty and Solvy were removed from the hoop and cut out, 1/4″ away from the stitching line.  A slit was made in the Solvy and the circle turned, like a pillow top.  Using a point turner, the outline was smoothed and  then the circle was pressed. The result is a perfectly turned circle.  Continue reading

Gingham Dog Quilt Part II

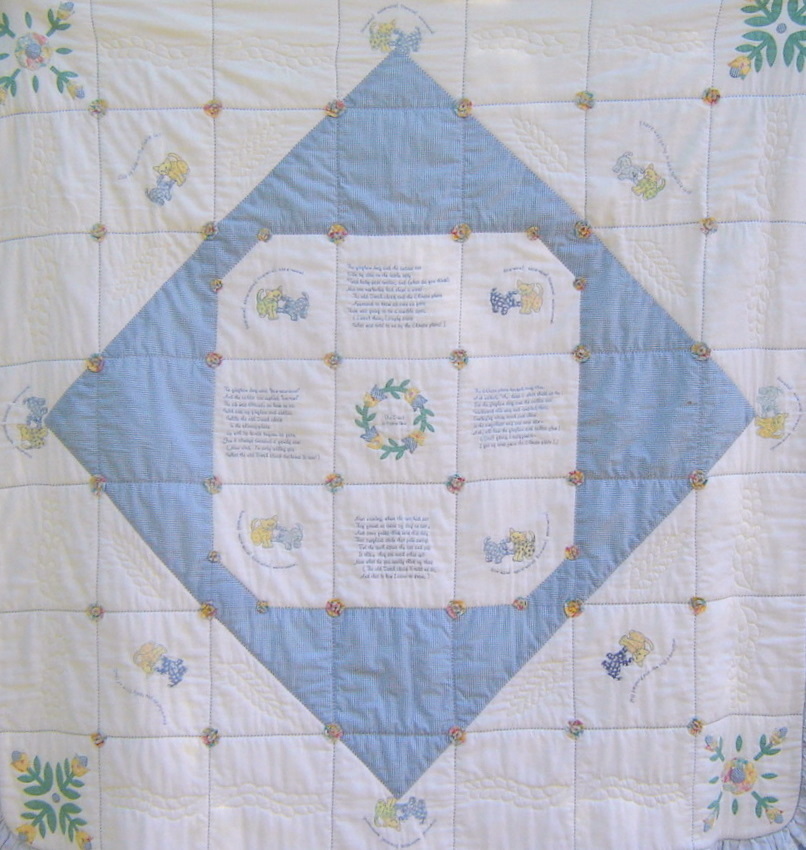
At this point, there is a large square of Swiss flannel in the center, framed with four blue gingham triangles, creating a medallion. Four smaller triangles create the “snowball.”  The perimeter of the flannel snowball  is pinstitched, with the holes from the wing needle in the flannel and the “reach” stitch in the gingham.  The perimeter of the square gingham frame is also pinstitched.

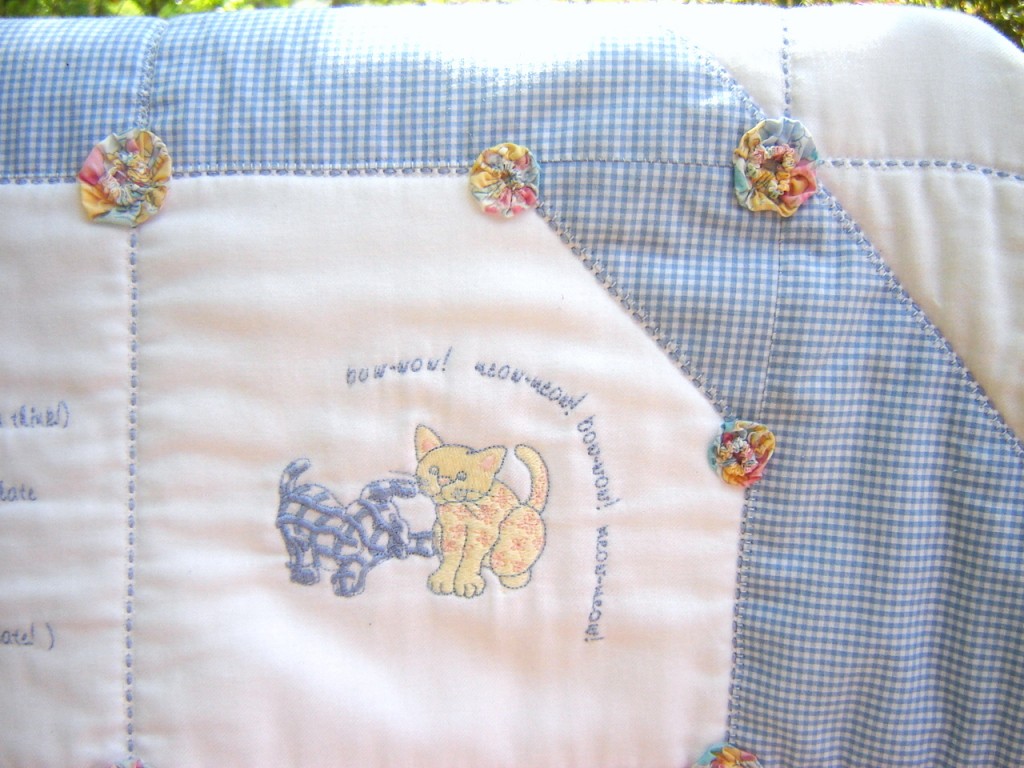
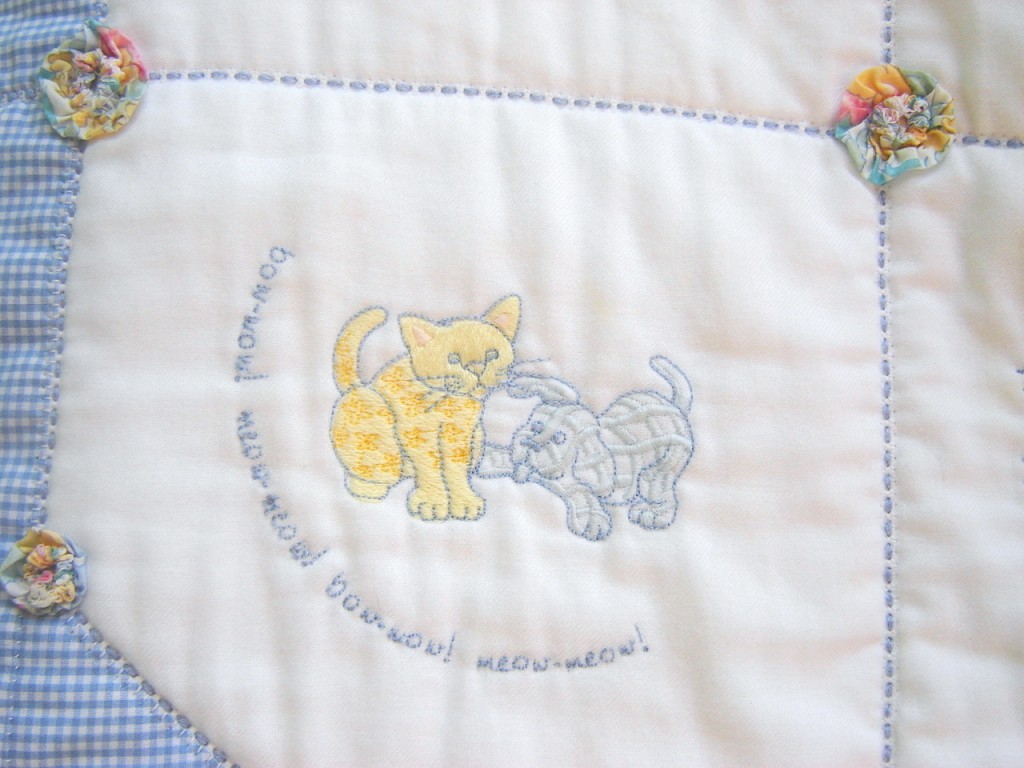
DOG/CAT EMBROIDERY:  All the text files were stitched, including the poem itself as well as the “bow-wow” and “meow” text.  The gingham dog and calico cat was a design from Dakota Collectibles.  Suzanne arranged the text in an arc or wave over the dueling pets.

In an effort to  reduce the stiffness of the  design, the white portion of the gingham dog design was omitted, allowing the white flannel to do the job.  The design was often mirrored for variety.  The shades of blue and yellow 50 wt. DMC machine embroidery thread were varied for the same reason, to create  interest and variety.   Continue reading

Gingham Dog Quilt Part I

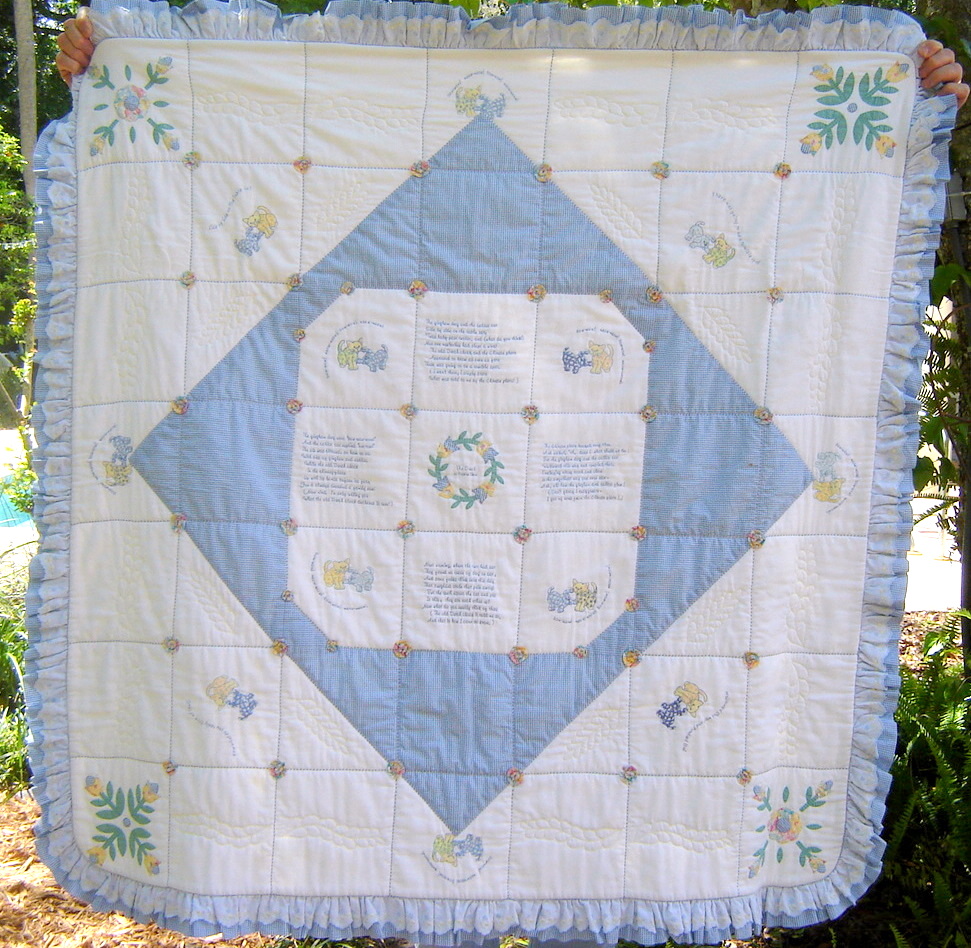
This is one of my all-time favorite projects.  My dear friend, Suzanne Sawko, and I collaborated on the design, she digitized the straight line text and I sewed it.

It was a major project and telling you about it will take more than one post.  I doubt many of you would have the patience or endurance to plow through all the details at one sitting.  However, those of you who seek new techniques might find some tidbit of interest in the non-conventional creation of this quilt.  So this is part one.

The quilt celebrates the amazing capabilities of today’s computerized home embroidery machines. Uncommon sewing and quilting techniques make the project interesting and relatively easy. With the whimsy of a classic children’s poem, the beauty of fine heirloom fabrics and the charm of embroidered gingham dogs and calico cats, this quilt has delighted each of my grandchildren.  It hangs now in our upstairs nursery, next to the crib.

crib with quilt rack

What makes this quilt interesting?  Well, the basic construction, for one.  I will never forget my original disdain for quilting, especially after hearing a non-quilter comment that to her it made little sense to cut perfectly good fabric up into little pieces and then sew it back together again.  At that time, I naively concurred.

But there is none of that cutting up and resewing here.  This quilt is very non-traditional in every respect but the design.

QUILT TOP CONSTRUCTION:  The foundation is a 50″ square of Swiss flannel,  a luscious but shifty fabric which creates its own challenges.  Pulled threads created a centered grid of 7″ squares.  After the threads were pulled, the entire piece was starched and pressed.

Continue reading

Under the Sea

undertheseaKennedyBrite


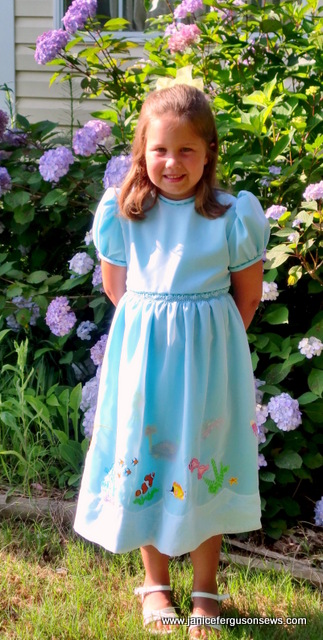
This dress is just breathtaking.  Judy Day has been working on it for more than six months–well, on and off for six months, as she dealt with other must-do’s that popped up.  This is her granddaughter’s 6th birthday dress and Kennedy is just as lovely as the dress!

I’ll let Judy tell you about it.~~~~~~~~~~~~~~~~

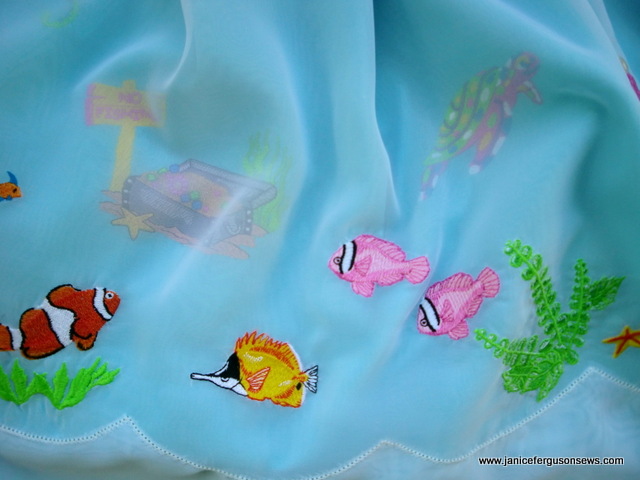
“I made this dress for Kennedy’s birthday.  She has been crazy about fish from day one.  When I saw a picture of a similar dress on Martha Pullen’s weekly e-letter last year, after her event in Arlington, I just knew Kennedy would love it.

The planning took more time than the actual embroidery.  I tried several different fabrics for the dress overlay.  Of course, Swiss batiste would have been perfect if it did not require a lot of starch and pressing.  So I decided on a sheer poly fabric for the easy care.  I ordered several different ones from www.fabric.com

I knew the underdress would be Imperial broadcloth.  I searched my stash and did not find a blue that would work.  When an overlay is put over a color fabric, the color must be a bright, clear color or it looks muddy.  I ordered 4 yds.of 4 different bue fabrics from Baltazor Fabric Boutique www.baltazor.com ….one can never have too many blues in their stash!


under the sea overlay


Baltazor’s has wonderful customer service.  They only had 3 of the blues, so they picked another and then included a 5th at no charge!  It was one of the fabrics they chose that was perfect.  The color was clear and bright even with the overlay.  The overlay gives the dress depth so that some of  the fish look as if they are swimming in the distance. Continue reading

Biscuit Lace Bonnet

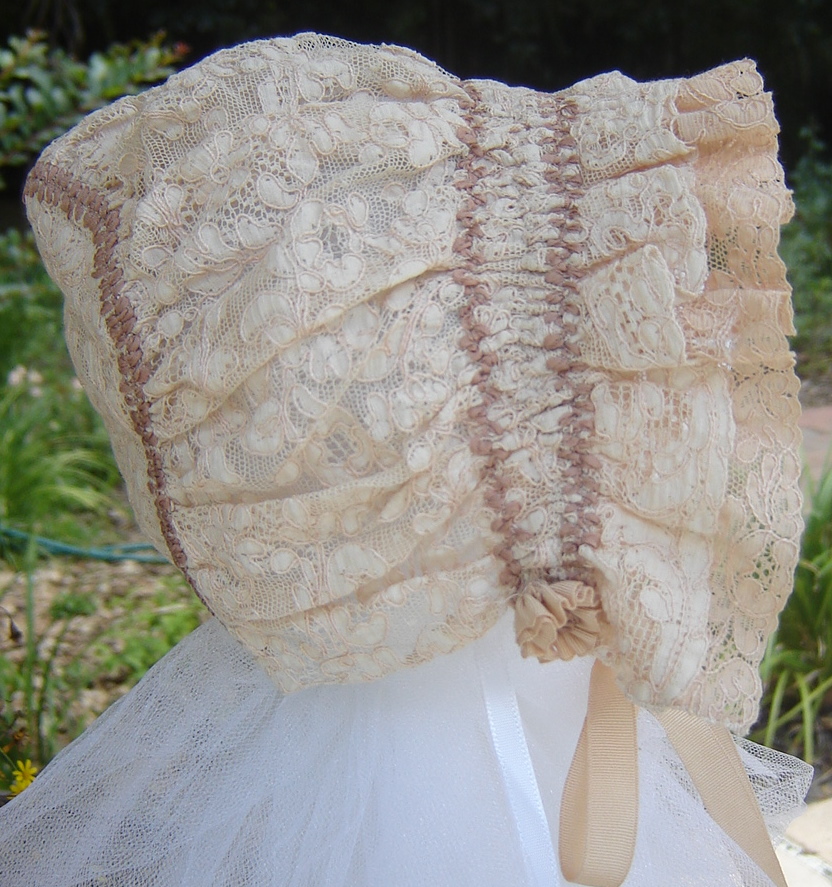
This brownish pink “biscuit” colored lace has always appealed to me.  I know nothing about the history of biscuit lace, but I want to believe that it was popular in the Victorian era, a time of lavish display, a time when “too much is seldom enough.”  NOTE:  This was labelled as the decorating style of a woman whose home was featured in one of my favorite  books,  Make Room for Quilts by Nancy J. Martin.

With as little as 20″ of lace 5″ wide, you can make a similar newborn size bonnet using the technique of ruching.   Given that a newborn measures approximately 12″ from ear lobe to ear lobe,  any length beyond that can be ruched (gathered) for some fullness and transformed to a bonnet.

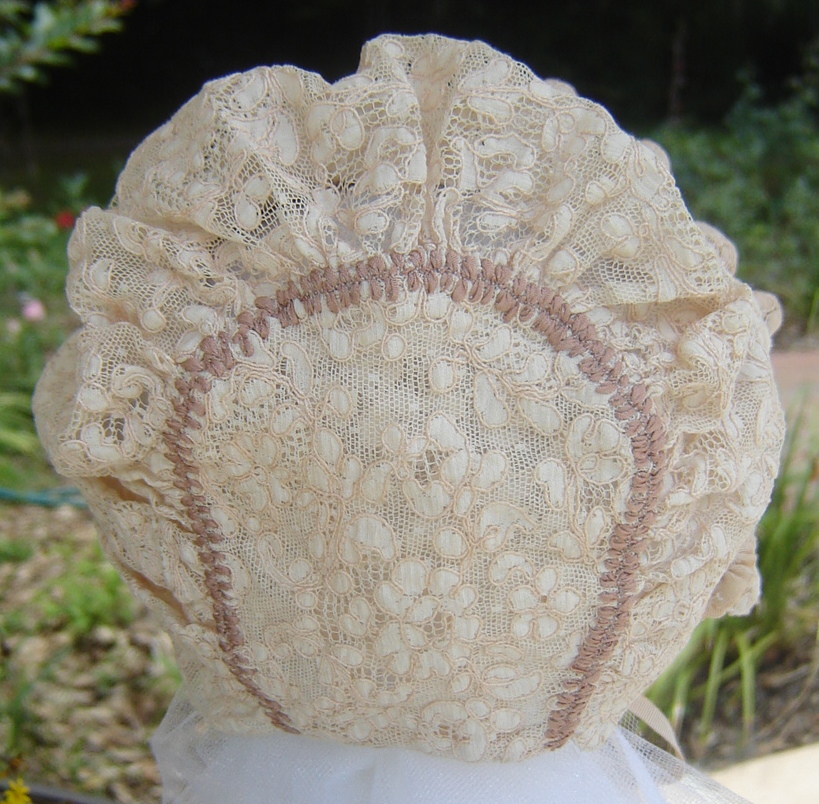
For the horseshoe crown, another 5″ of lace is needed.  It is customarily lined, enclosing the gathers of the body of the bonnet between the lining and the back.  But if there is a shortage of lace, the lining could be made of cotton netting.

Two pieces if lace have been used to create this luscious bonnet.  The bonnet body is a very intricate 5″ wide lace galoon,   27″ long.  A second lace, a 2″ edging, was machine stitched to the wrong side of the galoon, leaving 1″ of  the edging exposed. After the two straight pieces of lace were joined together, three rows of gathering threads were stitched, a scant 1/2″ apart, beginning at the stitching that joined the two laces together.  The gathering threads were then drawn up to 12″ and tied off. Continue reading

Classic Baby Kimono

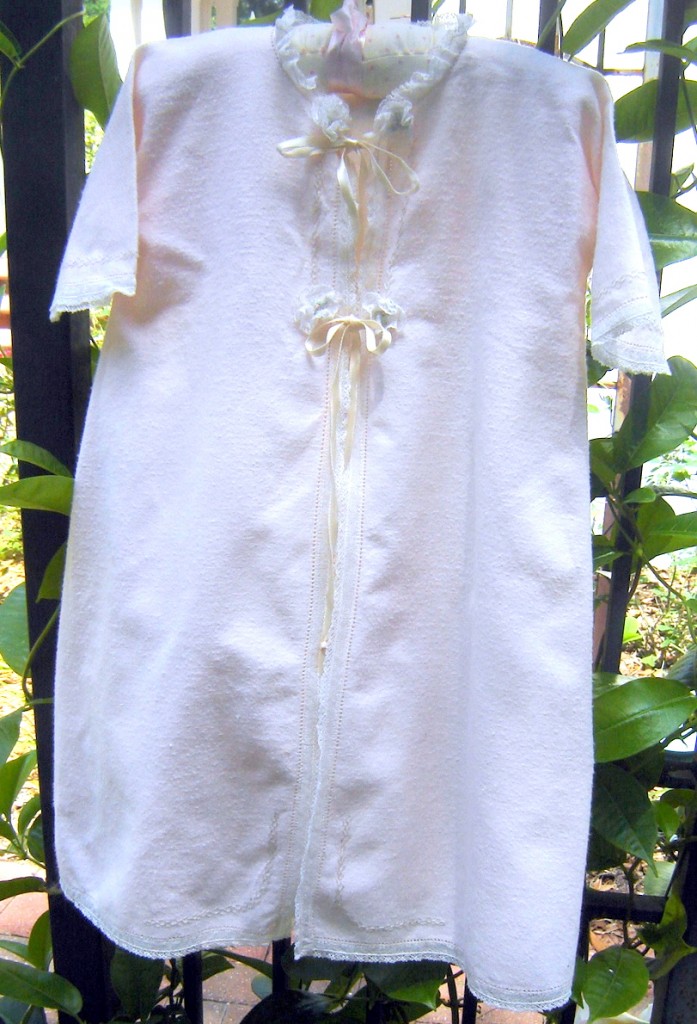
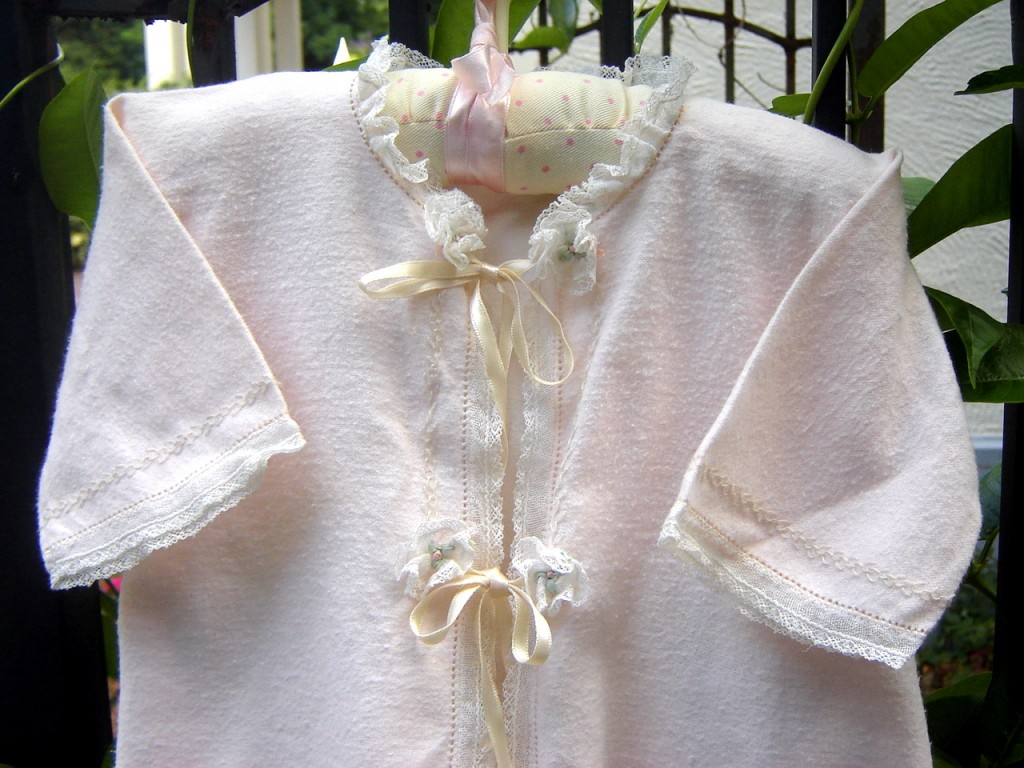
Cotton flannel kimono is cut from Sarah Howard Stone’s pattern.

Baby kimonos have been around forever but have been eclipsed in popularity by the one-piece sleeper.  But when Laurel was born, those knit sleepers were always second choice.  This kimono was in use every night that it was laundered and available.

 The night time routine was for her father to get up, change her diaper, and then carry his baby girl to her mother to be nursed.  After one frustrating night spent trying to line up the snaps on the sleeper, my son discovered the 2-tie kimono and certified it as daddy-friendly baby nightwear.

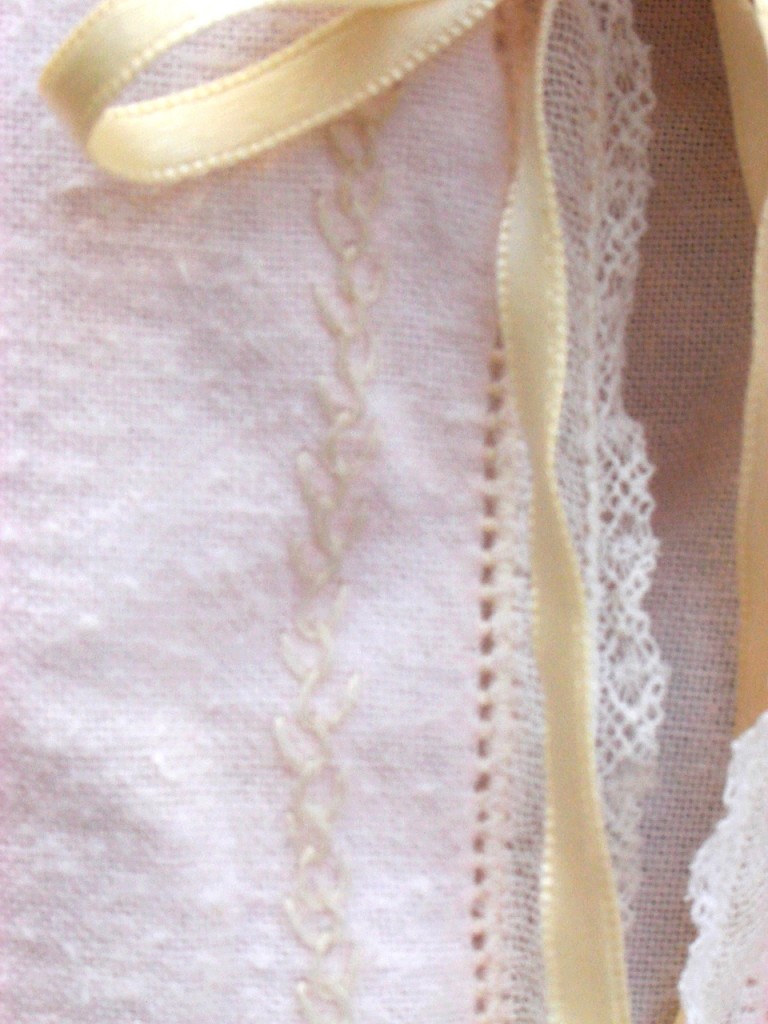
Feather stitch is worked with floche.

This kimono and Lezette Thomason’s Bunny’s Knit Nightie (Children’s Corner patterns) were his bedtime garments of choice for Laurel.  Continue reading

Blue Flowers Daygown

Few projects are as satisfying as a baby daygown.  Even lavished with time consuming details and handwork, they are relatively quick.  You can use fine fabrics and short lengths of special trims from your stash that might be too small or too expensive for a larger garment.  And you can use things you have put away for something special and not feel guilty, because daygowns are special.

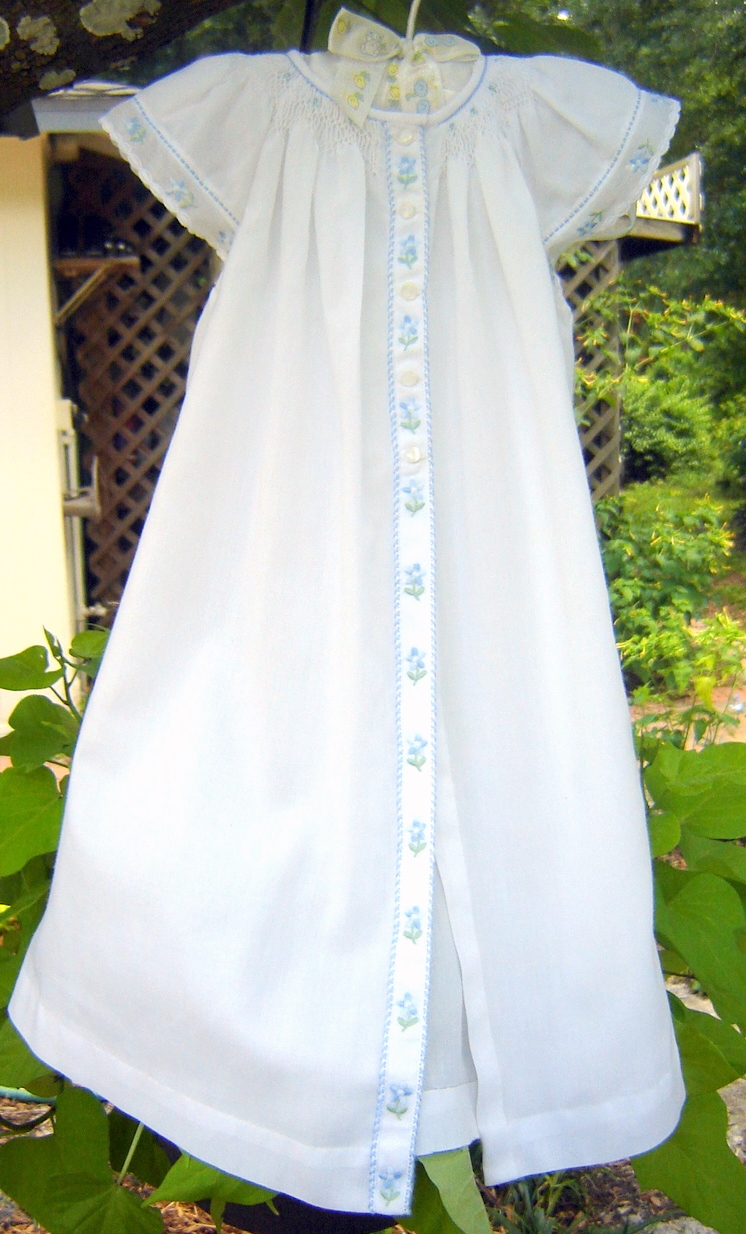
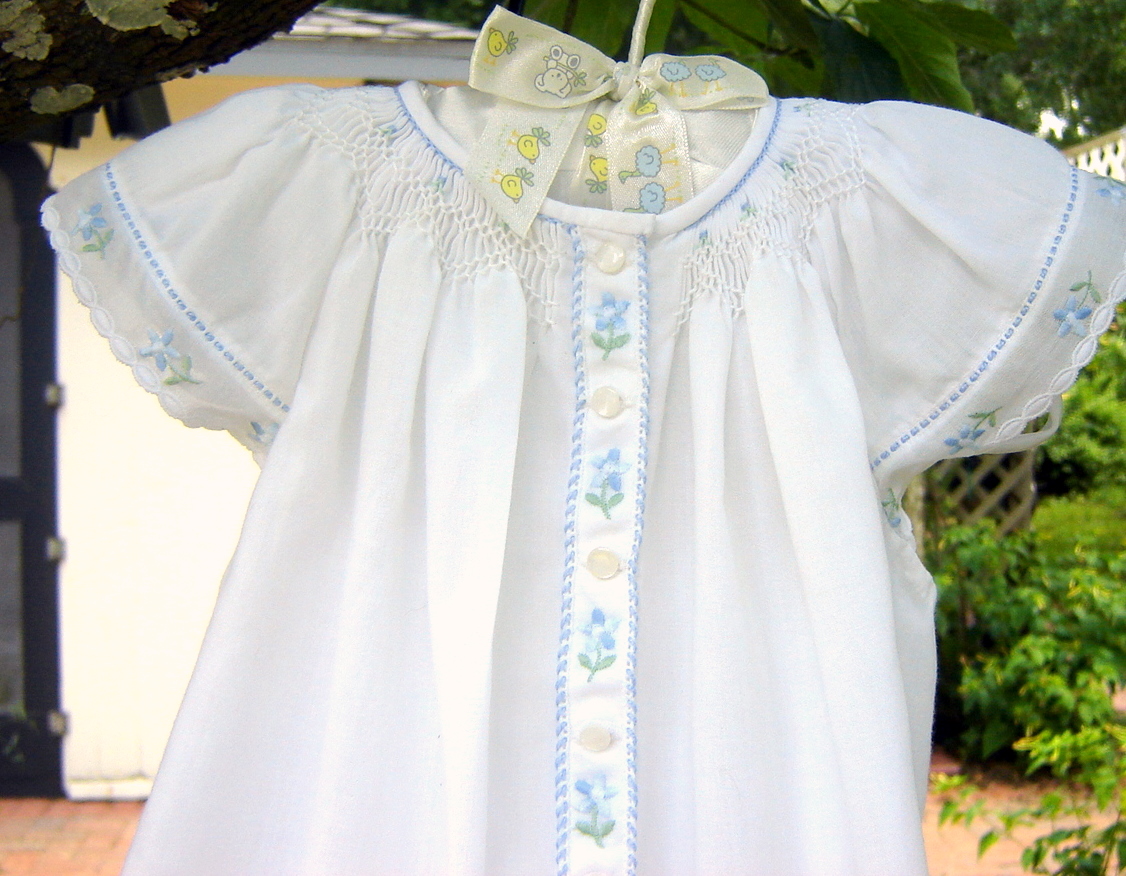
This smocked daygown was made for Laurel, before her May birth. The angel wing sleeve seemed to be appropriate for the summer heat that would blanket her infancy. The fabric is easy care Imperial batiste, chosen because of the non-stop demands on a new mother’s time and the fact that my daughter-in-law hates to iron.

The trim is a Swiss embroidery from Capitol Imports that I had put away many years ago.  The blue floral insertion was used on the front opening and the matching edge finishes the angel sleeve.

The edge is 1″ wide, too wide, I decided, to be joined to either side of the insertion down the front.  It seemed as if  that much width and that many blue flowers it would just overwhelm the smocking and the dress and the baby.  Continue reading

Antique Pink Daygown

notice misplacement of bottom button

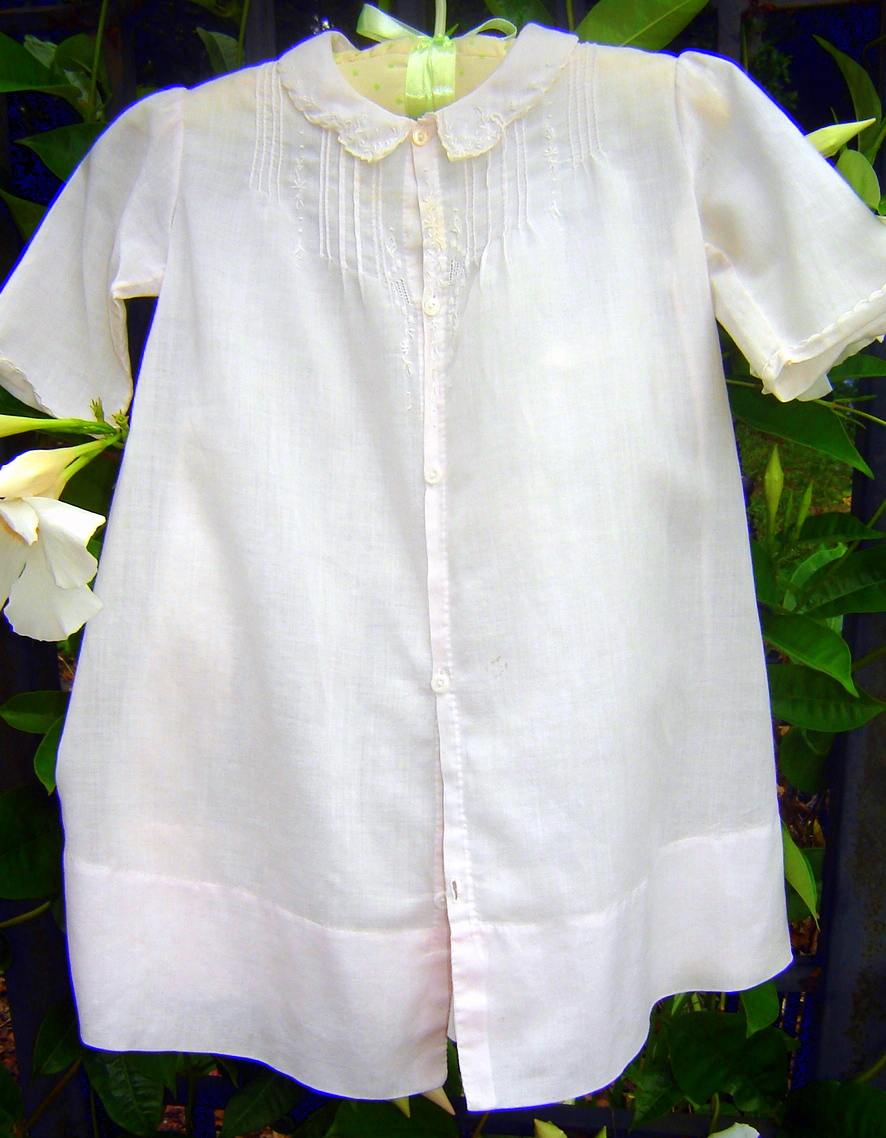
This sweet little pale pink daygown carries a Lilliputian label that simply says, “Made in the Philippines.” It is so tiny that it can be read only by eyes younger than 40 or with reading glasses. The label size is in perfect proportion to the wee dress which has so many intricate details.

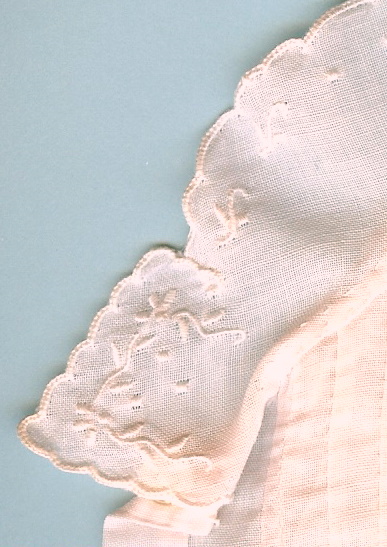
single layer collar with cutwork edge and very fine embroidery

Made of pink cotton batiste and constructed with tiny 1/8″ French seams, the entire garment is hand stitched.

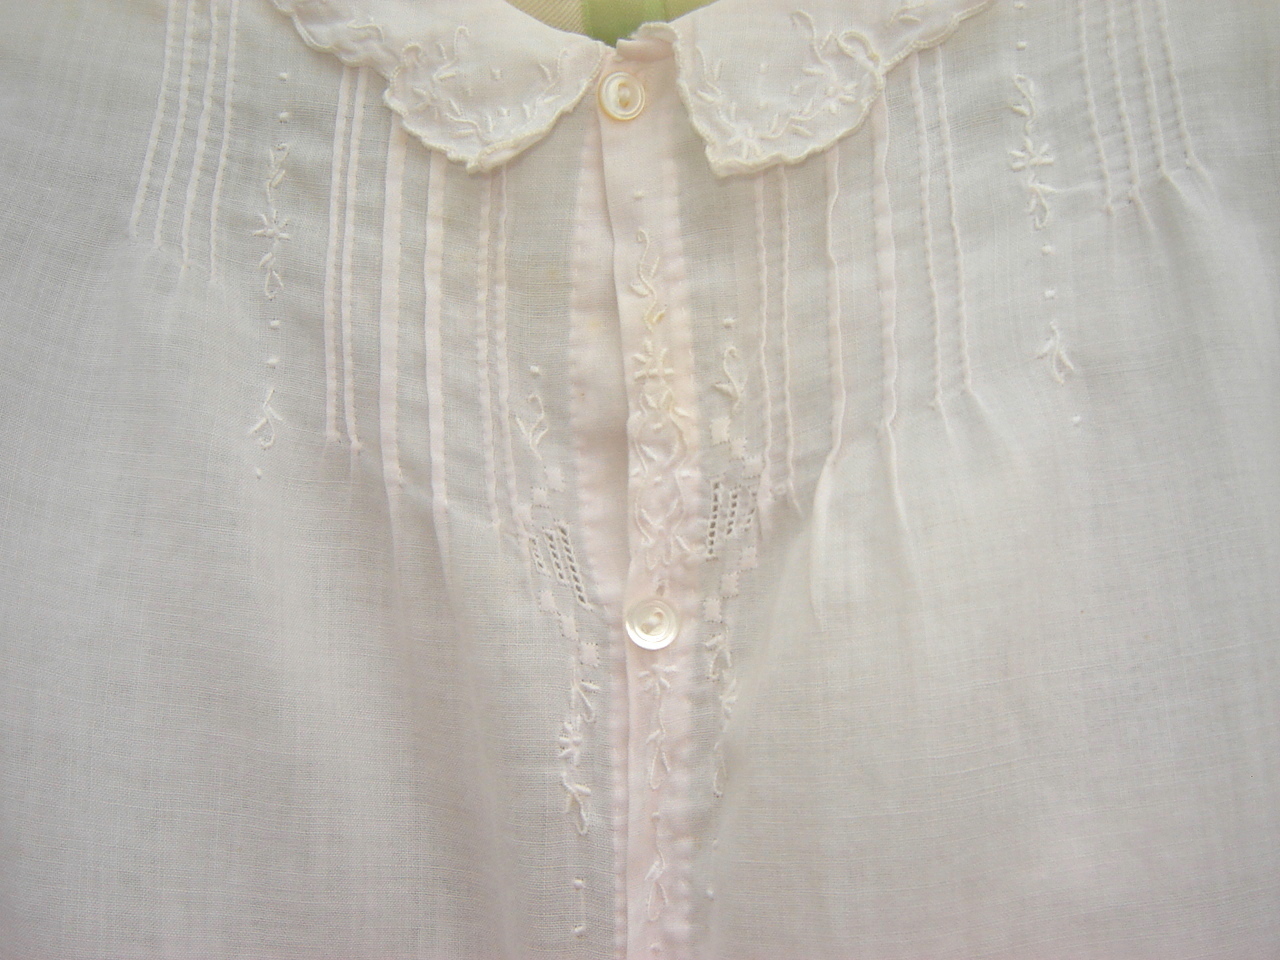
The cutwork edge and tiny, fine embroidery on the collar and dress front showcase the expertise —and good eye sight–of the dressmaker.


Three sections of appliqué cord on either side of the front opening make the perfect finishing touch to the embroidery. Learning appliqué cord has been on my to-do list for several years. The cuffs are scalloped with a simple buttonhole stitch. Continue reading