Category Archives: infant clothing

Zig Zag Bonnet II

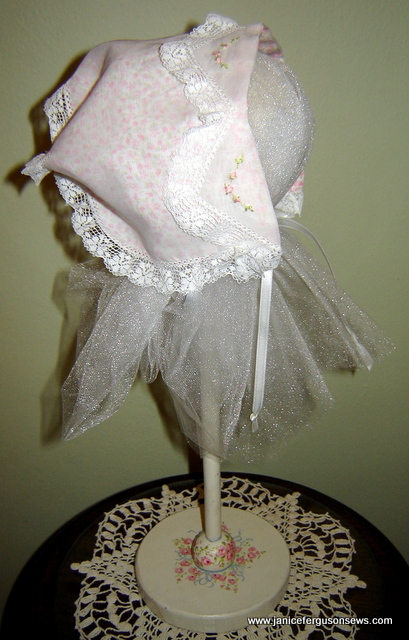
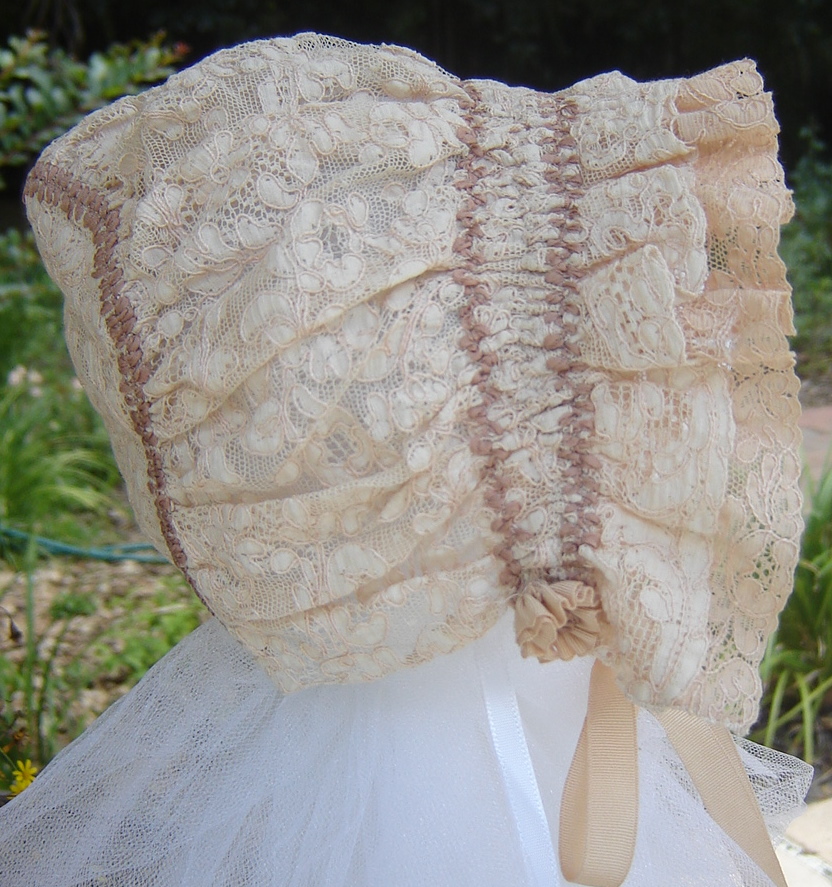
bonnet stand


Another class project for Sewing at the Beach is finished along with the kits and handouts. This Swiss organdy zig zag bonnet is a summer version of the Swiss flannel bonnet featured in an earlier post. Appearing in Creative Needle magazine many years ago, the 1920’s pattern has always intrigued me.  That recreation was made of a single layer of Swiss batiste.

Working with the organdy was such a pleasure.  Having modified the pattern to include a lining, I was pleased to see  the delicate lawn print peeking through the organdy.  It is much more visible than it is through the Swiss flannel.  Additionally, the organdy required no starch before hemstitching.  This is a bonus in a classroom situation.


lining fold back

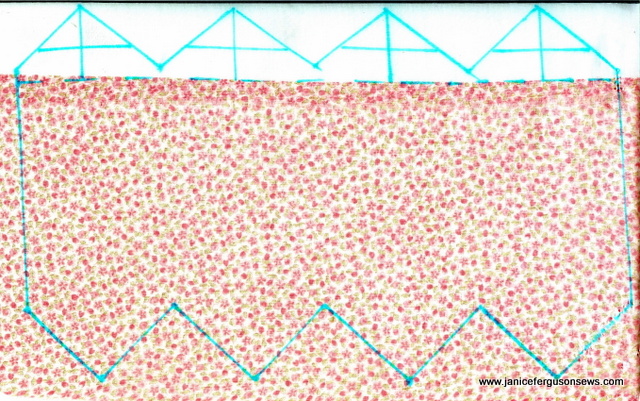
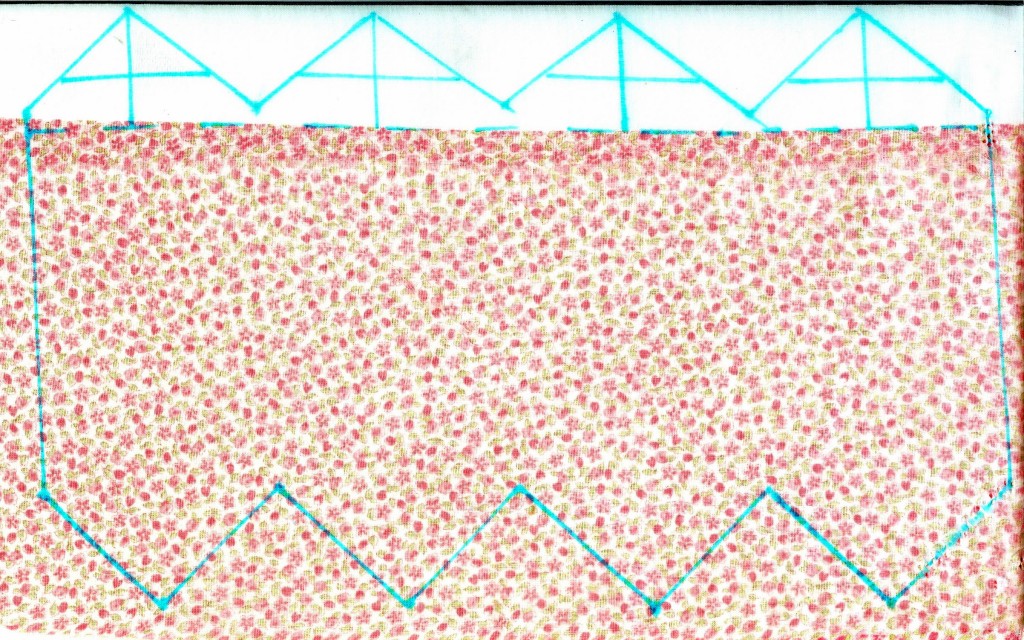
Basically, the pattern consists of a single piece of batiste 15″ X 9″ with deep zig zags along the front and back. This measurement allows a little excess around the edges for hemstitching.

I was not surprised at how difficult it was to trace the pattern onto the organdy.  It would have taken too much time in class, so I used a technique that has worked on other projects that require tracing.

First, I taped the paper pattern to the cutting board.  Then, a sheet of quilting template plastic was placed over that and also taped to the cutting board.  Next, several lengths of double sided tape (my absolute favorite, must-have non-sewing notion) were placed around the perimeter of the pattern and through the center.  Finally, the organdy was pressed against the tape and smoothed flat.

Not only does this prevent shifting of shifty fabric, but it also prevents the possibility of transferring some of the ink from the pattern onto the fabric when the marking pen traces over it.  And it is so much more accurate than tracing over unruly fabric.
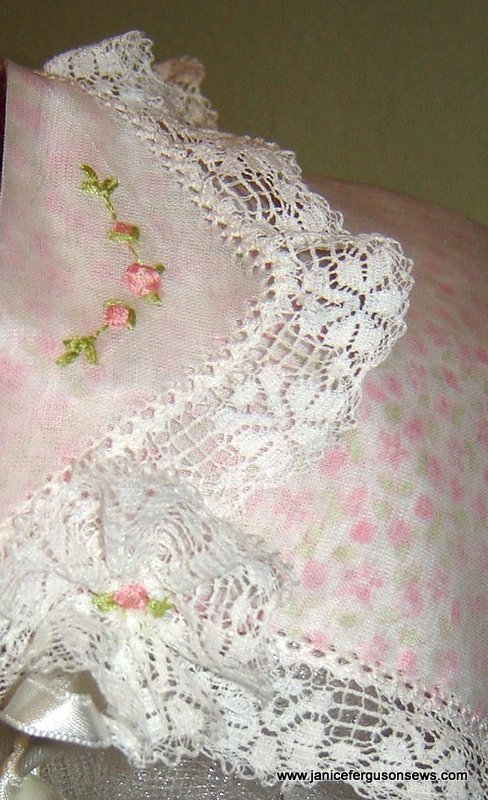
 

If you would like this wide V floral machine embroidery design, post your request as a comment below.

If you would like this wide V floral machine embroidery design, post your request as a comment below.

The machine embroidery within the front points is from Fil Tire’ and Fancywork Combinations collection.  Lining is joined to the organdy with spray adhesive up to the brim fold line.

Machine made entredeux outlines the perimeter and slightly gathered English lace edging is butted up to it.  Lace edging is joined all around.

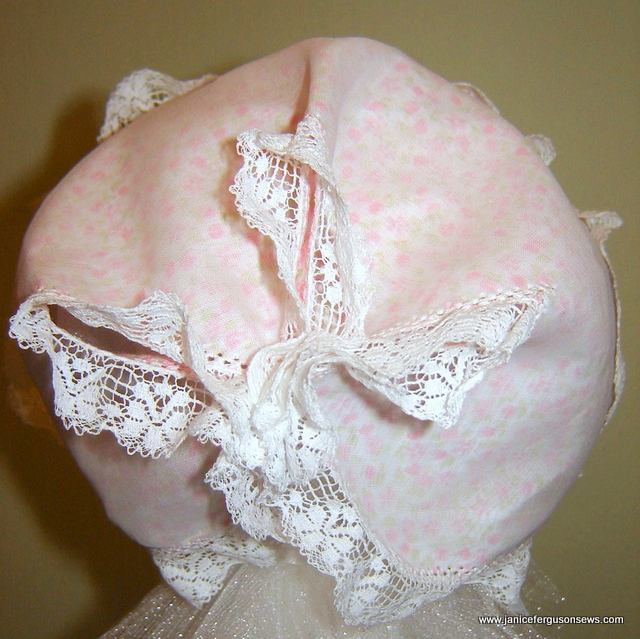
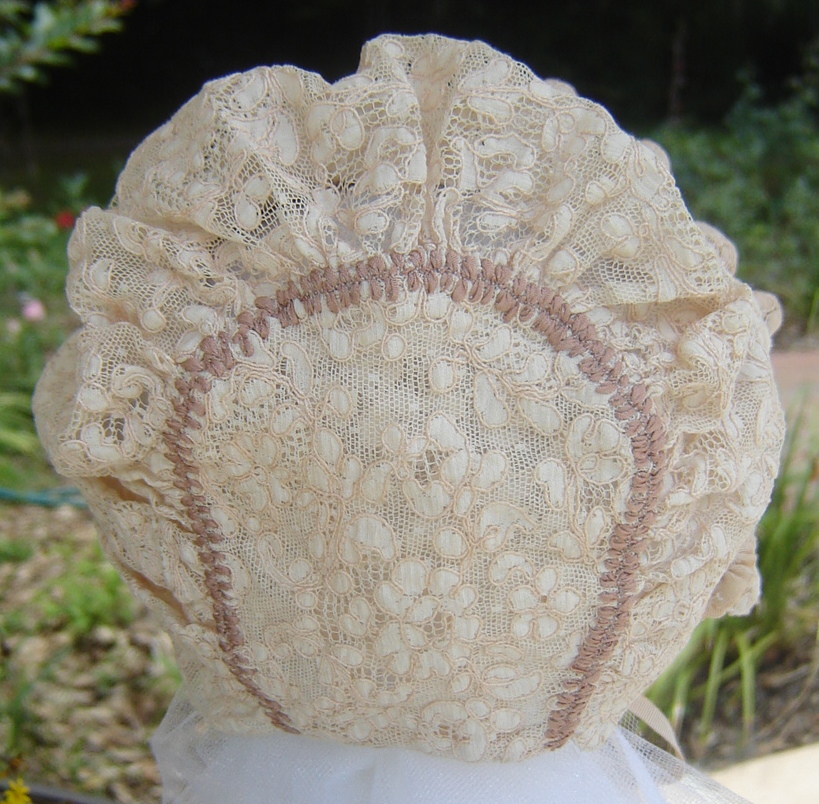
The embroidered points are folded back to serve as a brim and the back zig zags are tacked together. Ribbons can be attached quite simply at the sides.   Machine embroidered lace rosettes to cover the ribbon stitching takes a little more time but I was pleased with the results.


bonnet back

Five inches of 3/4″ edging was machine zig zagged together.  By pulling the gathering thread from both ends, I had more than 2″ of sturdy header thread to knot off, holding the rosette’s gathers.  Still, there is a small hole in the center.

Water soluble stabilizer was hooped in my smallest embroidery frame.  With spray adhesive, a scrap of white lace was placed against the rosette, over the hole.  Then, with another application of spray adhesive, the lace rosette was placed on the stabilizer.  The carefully selected design was sized to reach beyond the little hole in the center of the rosette.

I love baby bonnets. What is your favorite bonnet pattern?


Haydee and Friends in PR

Haydee, center, and friends

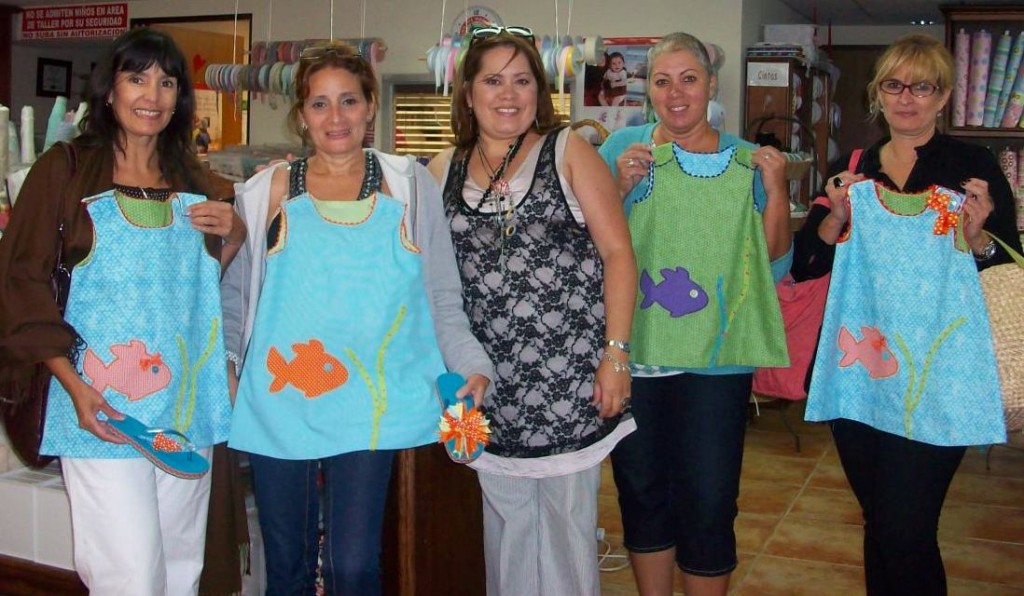
Some time ago, I wrote about the talent and charm of the ladies I met while teaching in Puerto Rico.  Haydee, a particular friend, has excelled in machine embroidery applique’ and has kindly shared pictures of  her projects and those of her friends.   I assume that the classes were held in San Juan, but I am not certain.

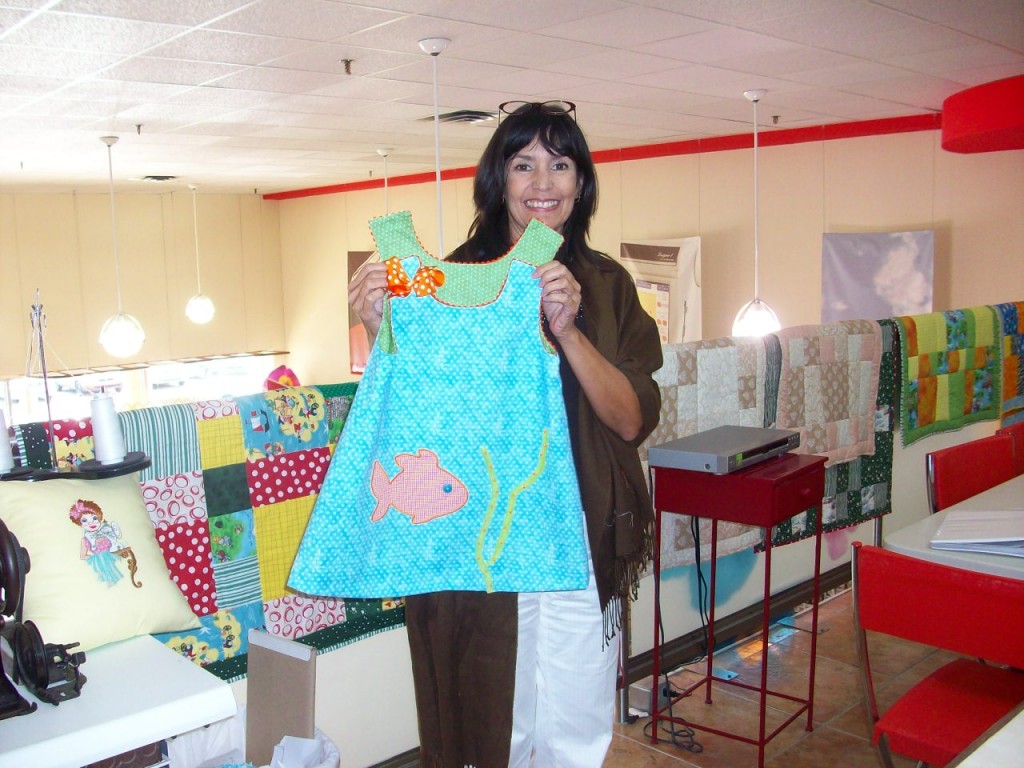
This set of photos shows a class making an A-line child’s dress with a fish applique. The pattern looks like the A-line dress from Martha’s Favorite Applique’s, but it could be any one of several.

But there is so much more to see here–check out the details.  Nestled into these vibrant underwater scenes are those extra details that make a garment grab our attention.  The 3-D button eyes stare right at you. Continue reading

Vintage White Baby Dress


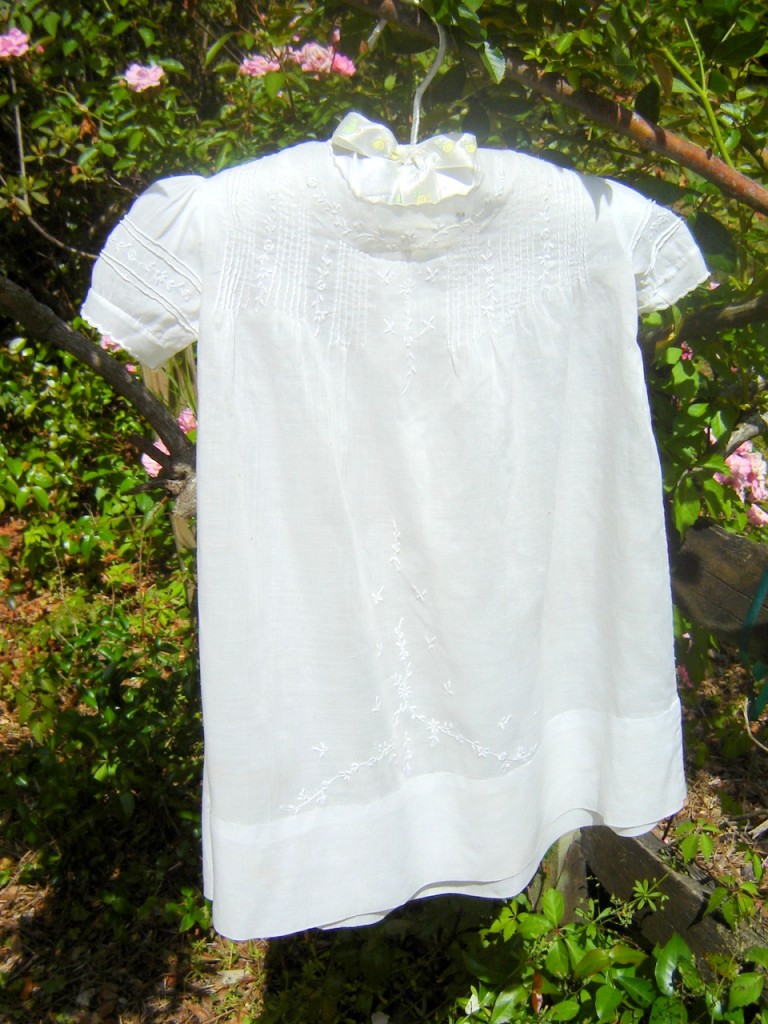
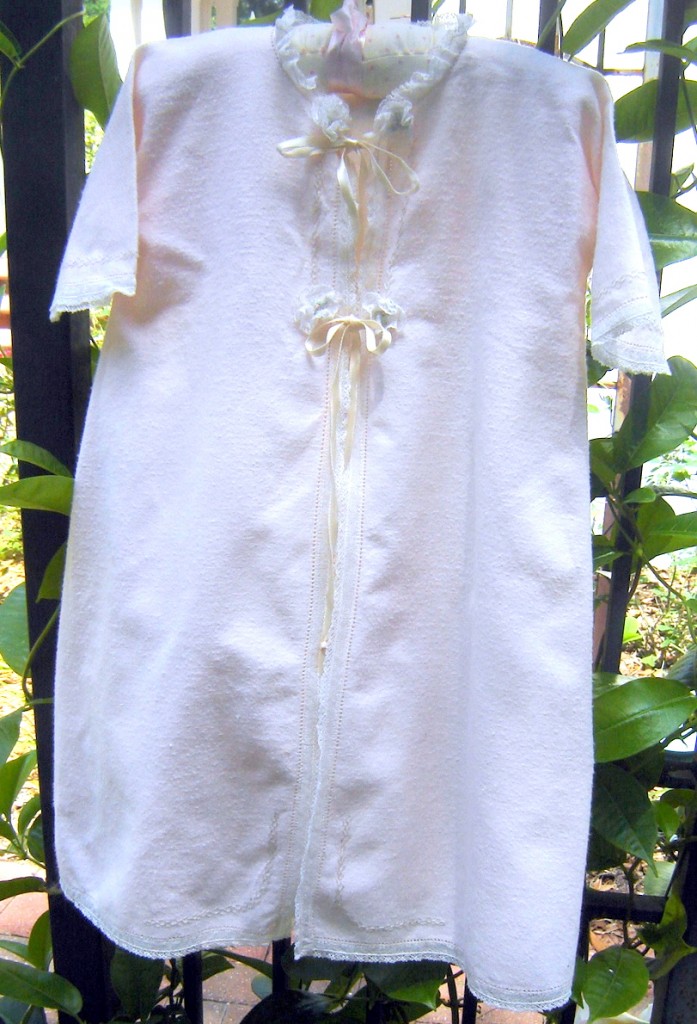
This sweet round yoke baby dress is the last of the six that hang in the nursery here at our home (see post Nana’s Nursery).  With a numerous embellishments, it clearly took considerable time to make.

As usual, I thought about its maker and wondered if the dress had been made for a child, grandchild or perhaps a niece.  Obviously, it was lovingly stitched.  Due to the range of skills exhibited, I even wondered if it had been a group project, perhaps mother and daughter working together.


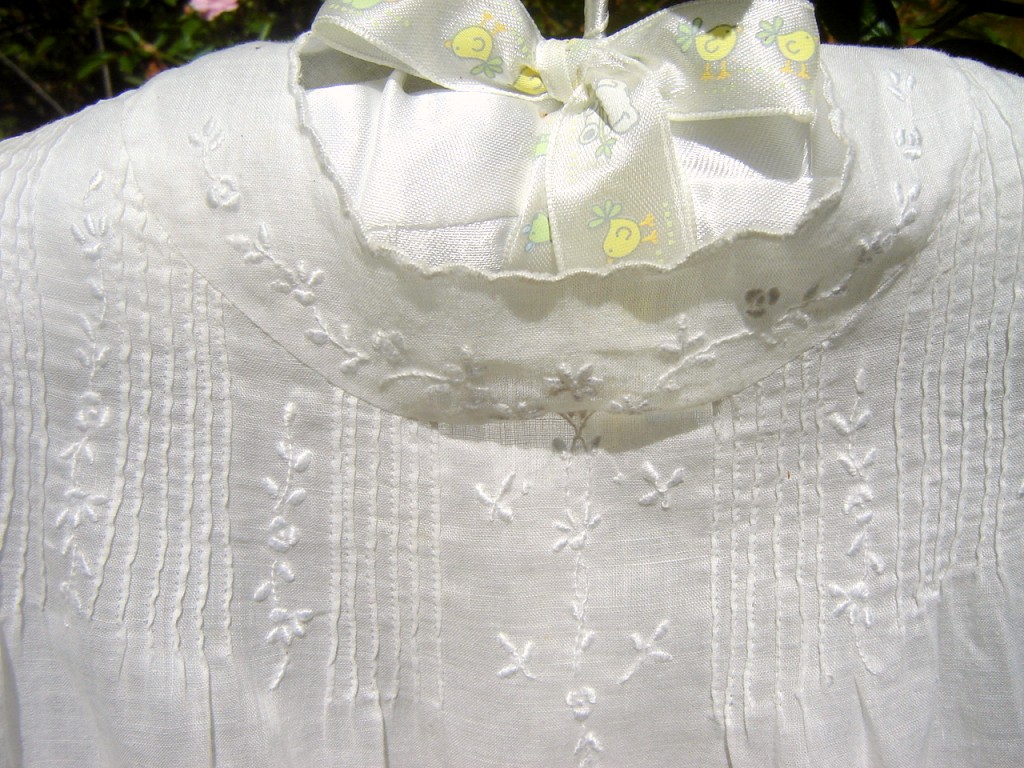
The simple but extensive embroidery appears to have been done by a very competent needleworker.

The three petal rose pattern is worked between the rows of tucks on the bodice, along the round yoke itself, between tucks on the puff sleeves and in a cascade down the skirt front.   The coordinated designs are carefully stitched. Continue reading

Teaching in Puerto Rico

This is the view from one of the classrooms. The other had the same view along one entire wall.

This is the view from one of the classrooms. The other had the same view along one entire wall.

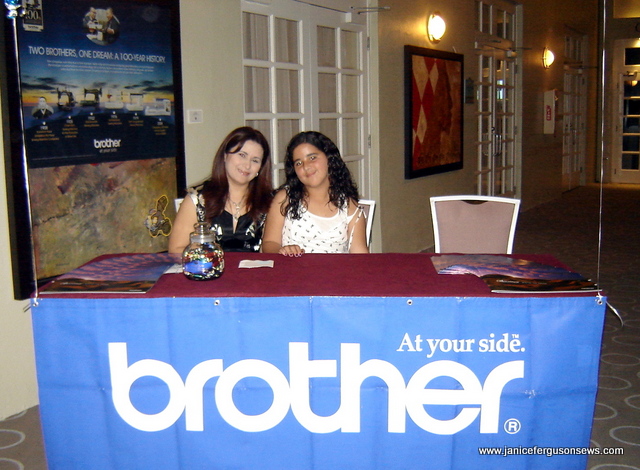
In all my years of teaching, I have traveled to some beautiful places, met beautiful people and seen beautiful projects. San Juan, Puerto Rico, was one of my favorite venues, a place at which I taught several times for Luis and Rosa Medina, owners of the San Juan Brother dealership. They were absolutely the most gracious host and hostess that you could imagine.

Their 12 year old daughter helped out but spent most of her time in the classroom, sewing on the Quattro 6000D.

Rosa Medina and 12 year old Deborah, a sewing student! We all talk about learning to sew on our mother's old straight stitch machine or some even tell tales of learning on a treadle.  But Deborah is learning more than basic sewing on this technological wonder. June Mellinger, in ivory shirt, discussing project with two entrants.

Rosa Medina and 12 year old Deborah, a sewing student! We all talk about learning to sew on our mother’s old straight stitch machine or some even tell tales of learning on a treadle. But Deborah is learning more than basic sewing on this technological wonder.

On one of these trips, June Mellinger and I taught the classes and were asked to judge a sewing competition. June, by the way, is Brother’s Director of Education in the US, president of the American Sewing Guild and just a terrific, fun lady. We were absolutely astounded at the variety and quality of the entries.

The following photos show just a few of the beautiful items the ladies brought from all over the island.
Continue reading

Biscuit Lace Bonnet

This brownish pink “biscuit” colored lace has always appealed to me.  I know nothing about the history of biscuit lace, but I want to believe that it was popular in the Victorian era, a time of lavish display, a time when “too much is seldom enough.”  NOTE:  This was labelled as the decorating style of a woman whose home was featured in one of my favorite  books,  Make Room for Quilts by Nancy J. Martin.

With as little as 20″ of lace 5″ wide, you can make a similar newborn size bonnet using the technique of ruching.   Given that a newborn measures approximately 12″ from ear lobe to ear lobe,  any length beyond that can be ruched (gathered) for some fullness and transformed to a bonnet.

For the horseshoe crown, another 5″ of lace is needed.  It is customarily lined, enclosing the gathers of the body of the bonnet between the lining and the back.  But if there is a shortage of lace, the lining could be made of cotton netting.

Two pieces if lace have been used to create this luscious bonnet.  The bonnet body is a very intricate 5″ wide lace galoon,   27″ long.  A second lace, a 2″ edging, was machine stitched to the wrong side of the galoon, leaving 1″ of  the edging exposed. After the two straight pieces of lace were joined together, three rows of gathering threads were stitched, a scant 1/2″ apart, beginning at the stitching that joined the two laces together.  The gathering threads were then drawn up to 12″ and tied off. Continue reading

Classic Baby Kimono

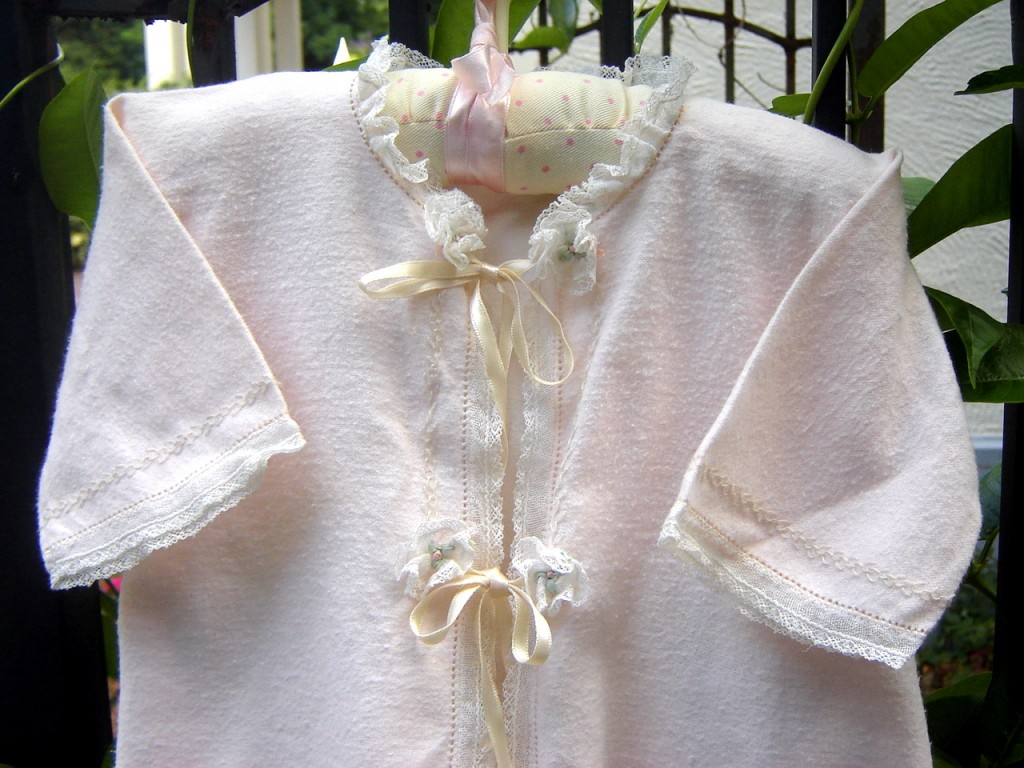
Cotton flannel kimono is cut from Sarah Howard Stone’s pattern.

Baby kimonos have been around forever but have been eclipsed in popularity by the one-piece sleeper.  But when Laurel was born, those knit sleepers were always second choice.  This kimono was in use every night that it was laundered and available.

 The night time routine was for her father to get up, change her diaper, and then carry his baby girl to her mother to be nursed.  After one frustrating night spent trying to line up the snaps on the sleeper, my son discovered the 2-tie kimono and certified it as daddy-friendly baby nightwear.

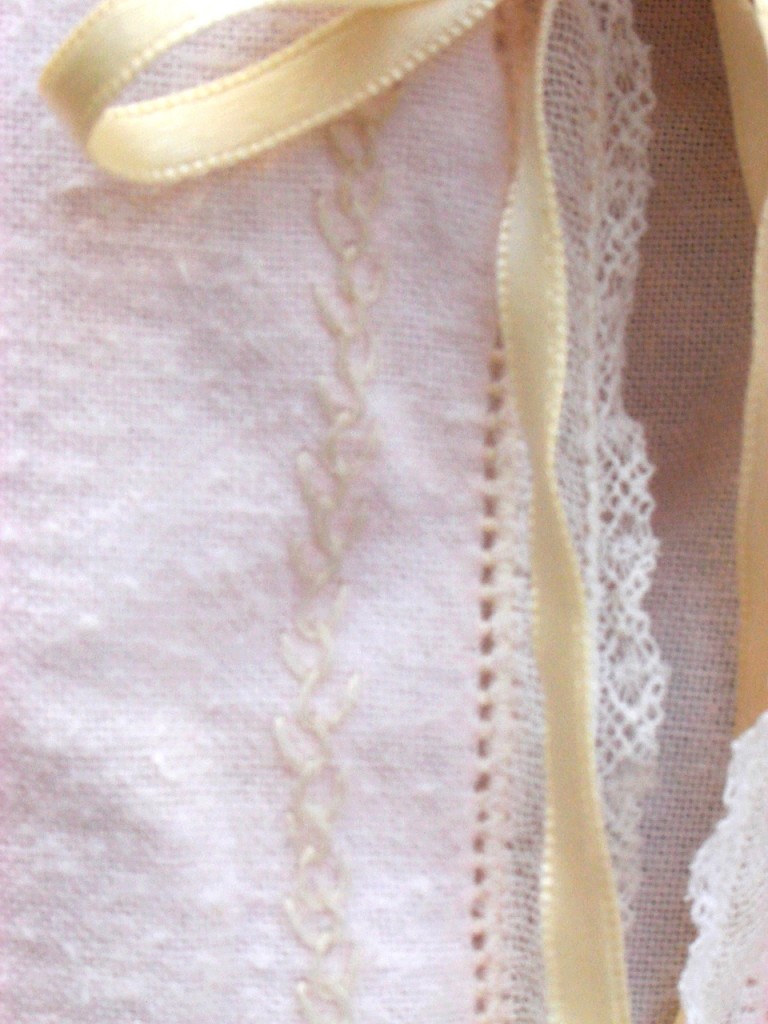
Feather stitch is worked with floche.

This kimono and Lezette Thomason’s Bunny’s Knit Nightie (Children’s Corner patterns) were his bedtime garments of choice for Laurel.  Continue reading

Blue Flowers Daygown

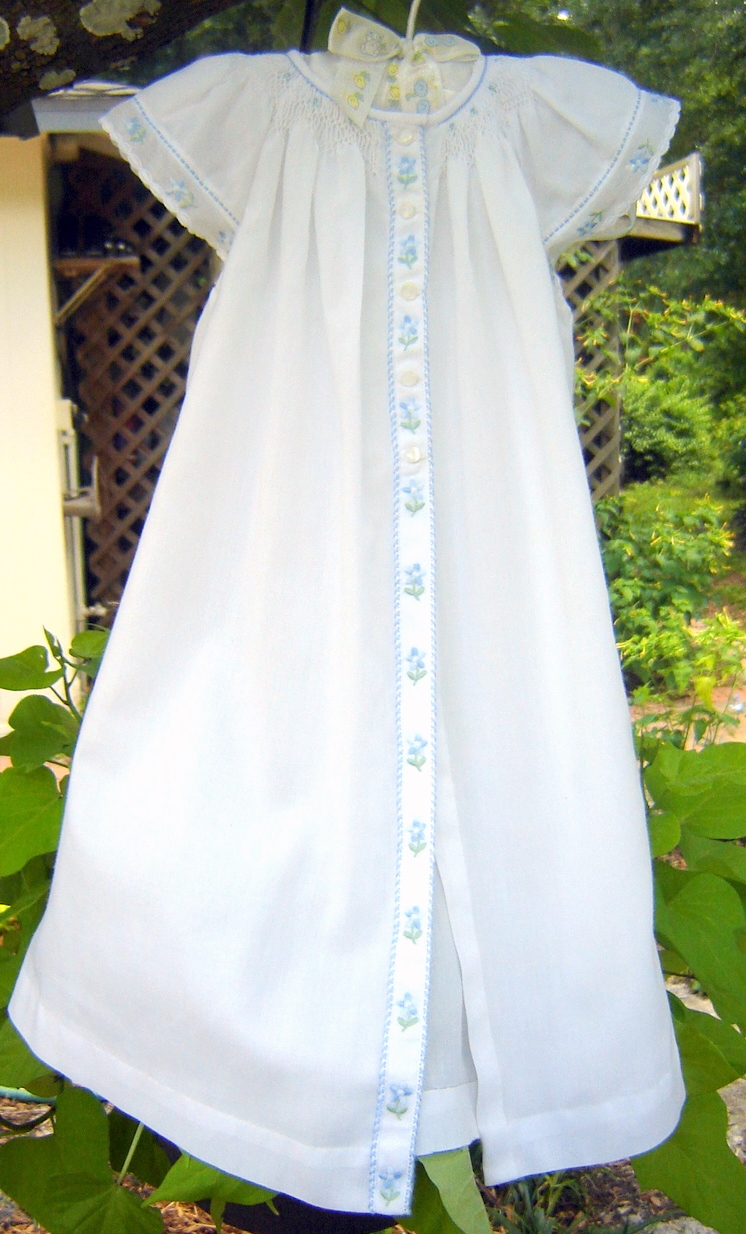
Few projects are as satisfying as a baby daygown.  Even lavished with time consuming details and handwork, they are relatively quick.  You can use fine fabrics and short lengths of special trims from your stash that might be too small or too expensive for a larger garment.  And you can use things you have put away for something special and not feel guilty, because daygowns are special.

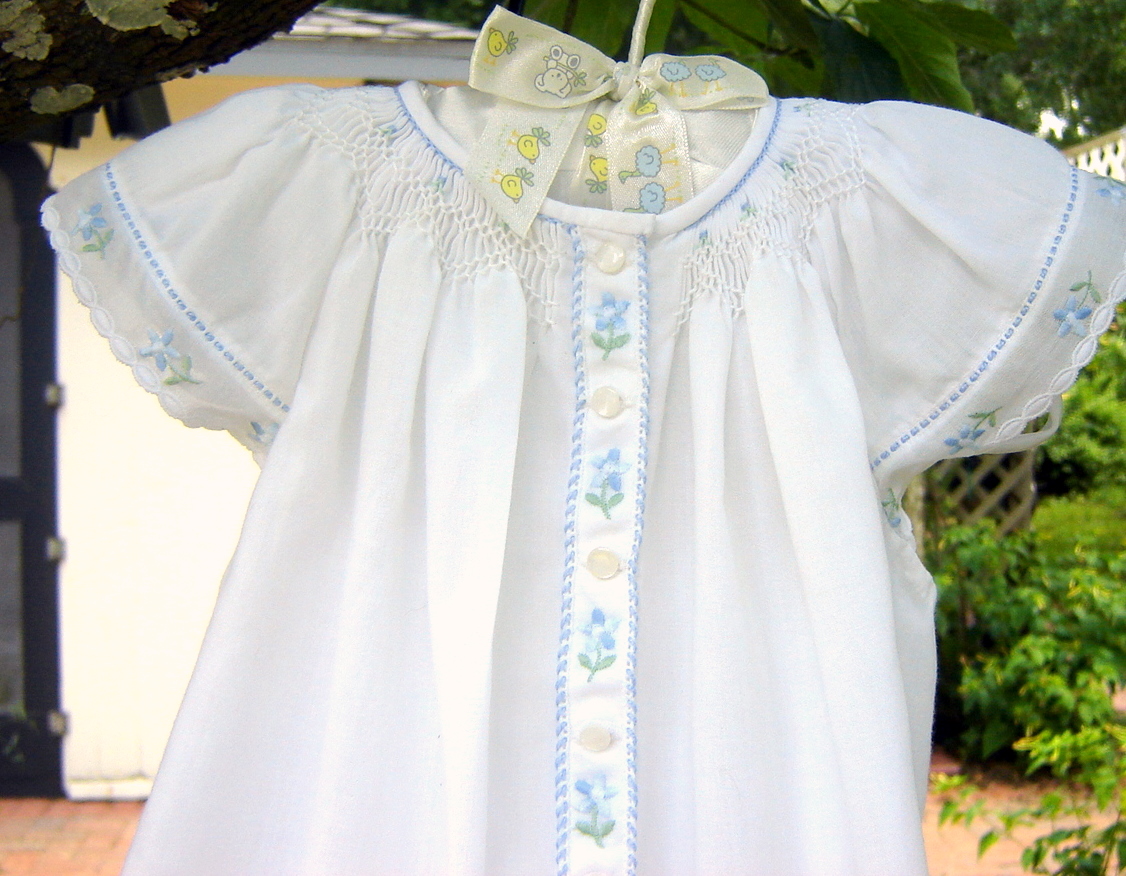
This smocked daygown was made for Laurel, before her May birth. The angel wing sleeve seemed to be appropriate for the summer heat that would blanket her infancy. The fabric is easy care Imperial batiste, chosen because of the non-stop demands on a new mother’s time and the fact that my daughter-in-law hates to iron.

The trim is a Swiss embroidery from Capitol Imports that I had put away many years ago.  The blue floral insertion was used on the front opening and the matching edge finishes the angel sleeve.

The edge is 1″ wide, too wide, I decided, to be joined to either side of the insertion down the front.  It seemed as if  that much width and that many blue flowers it would just overwhelm the smocking and the dress and the baby.  Continue reading

Antique Pink Daygown

notice misplacement of bottom button

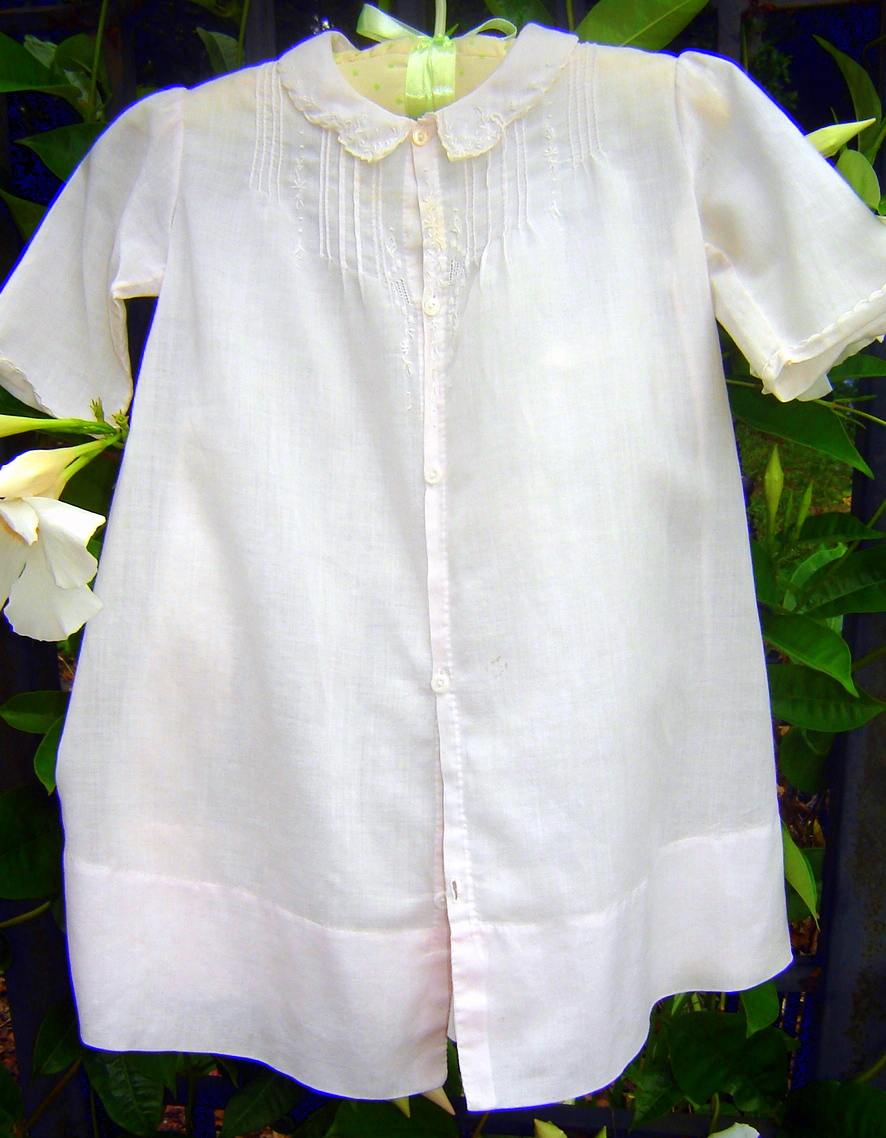
This sweet little pale pink daygown carries a Lilliputian label that simply says, “Made in the Philippines.” It is so tiny that it can be read only by eyes younger than 40 or with reading glasses. The label size is in perfect proportion to the wee dress which has so many intricate details.

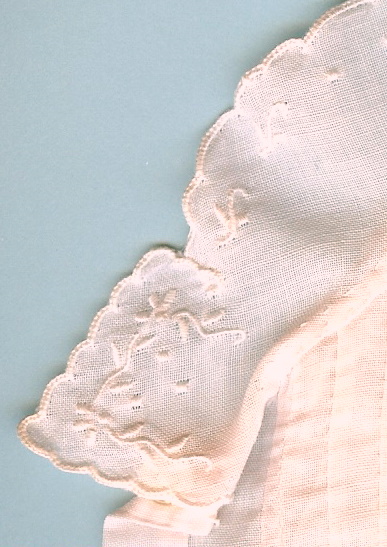
single layer collar with cutwork edge and very fine embroidery

Made of pink cotton batiste and constructed with tiny 1/8″ French seams, the entire garment is hand stitched.

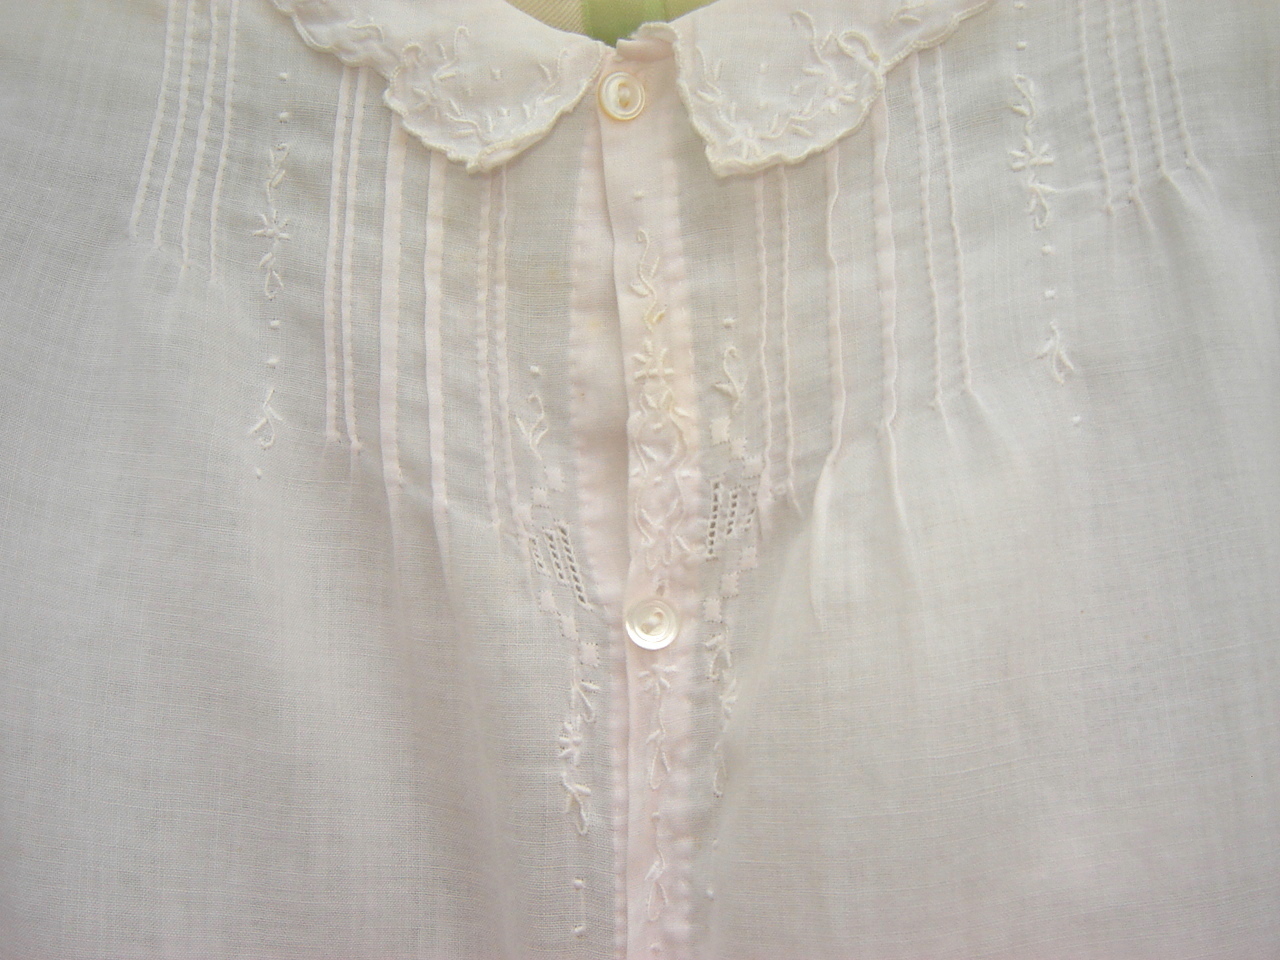
The cutwork edge and tiny, fine embroidery on the collar and dress front showcase the expertise —and good eye sight–of the dressmaker.


Three sections of appliqué cord on either side of the front opening make the perfect finishing touch to the embroidery. Learning appliqué cord has been on my to-do list for several years. The cuffs are scalloped with a simple buttonhole stitch. Continue reading

Embroidered Lace Bonnet

emb lace bonnet xx


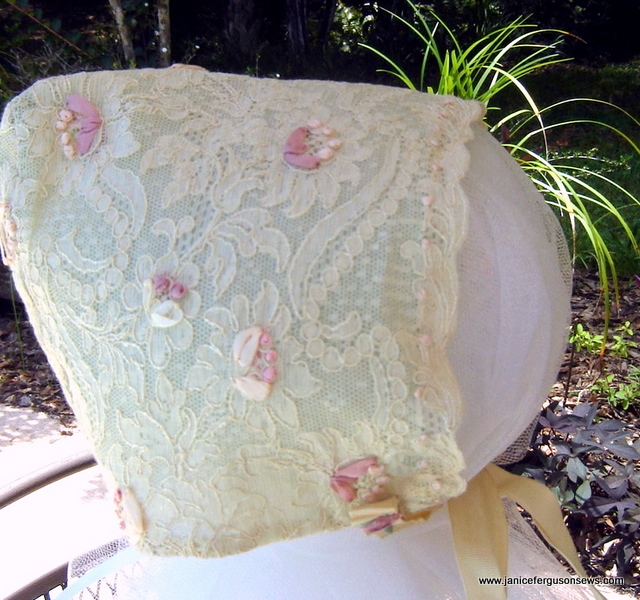
This gorgeous piece of antique lace edging had languished in my stash/resource center for some time.   Only 21″ long,  its possible uses  were somewhat limited.  I had considered a yoke overlay, but rejected that idea.


organdy 3 xx

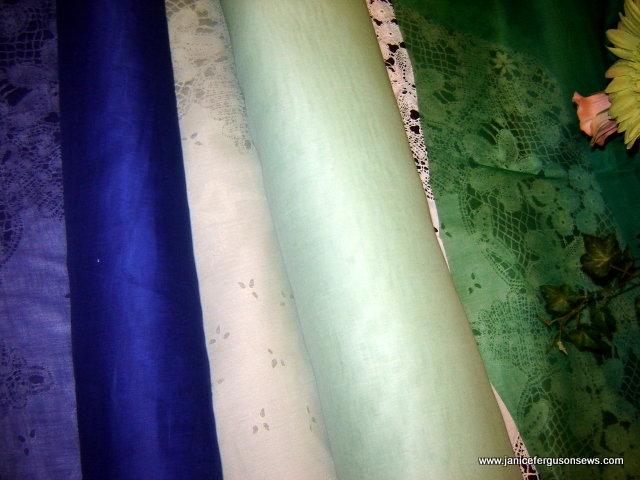
The mint organdy is the one in the middle. It is really a stronger color than it seems to be on this computer. It is available for $8 py….vintage Swiss organdy, 36″ wide.


After  finally deciding on a newborn horseshoe bonnet (so named for the shape of the back crown), I realized that there was not enough lace for the crown lining, a necessary component to cover the gathered back edge of the bonnet.

Meanwhile, like a fine wine, the vintage mint green Swiss organdy (available  at the Janice Ferguson Sews “store”) had been aging in the sewing room armoire, in the same era as the lace.  I took it as a sign.    Lining the bonnet with a colored fabric would show off the lovely pattern of the lace while also making up for my short yardage. Continue reading

Another Recycled Heirloom


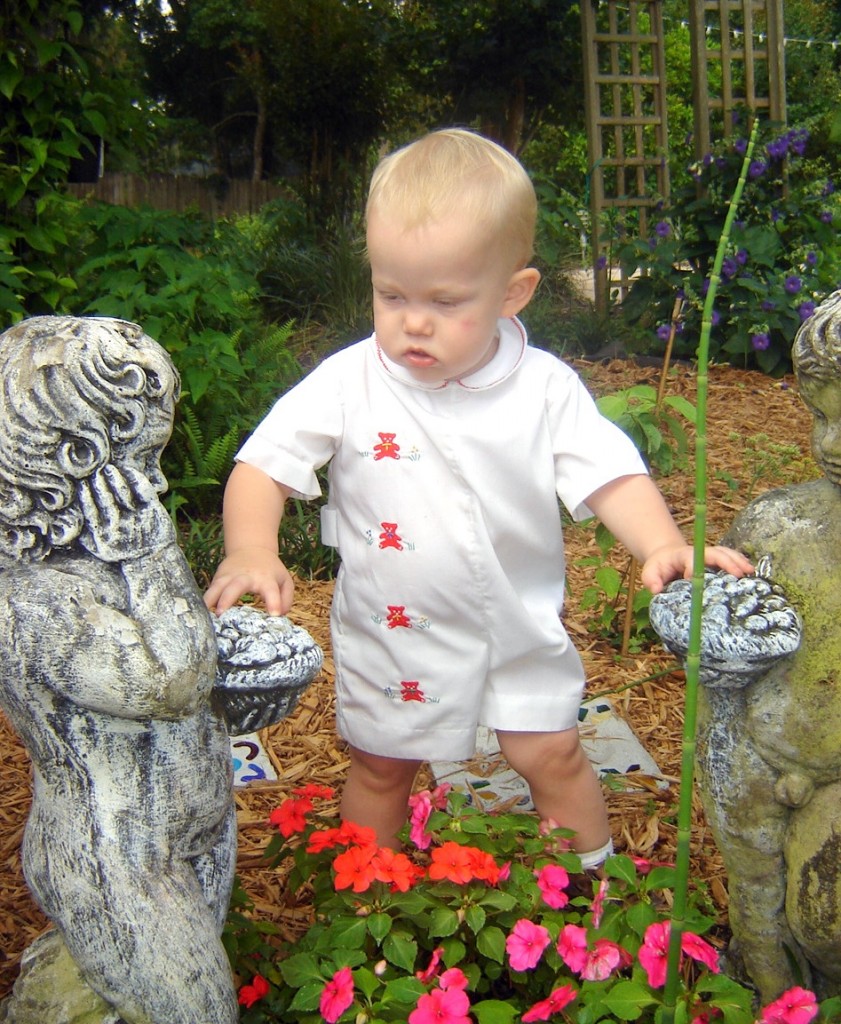
Alastair, 13 months 2010

This Madeira appliquéd outfit, a gift for my son’s first birthday in 1975, is one of the first heirloom garments I had ever seen. Nilda, a dear friend of Cuban and Puerto Rican ancestry, had purchased it in Miami, where clothing of this sort was readily available.

I was instantly smitten by the classic design and detailed embroidery,  as well as the absence of Sesame Street characters. On either side of the tiny red teddy bears are clusters of greenery and French knot flowers. The collar is embellished with a row of red cross stitches. Side tabs allow for a custom fit.  It is just sweet as pie.

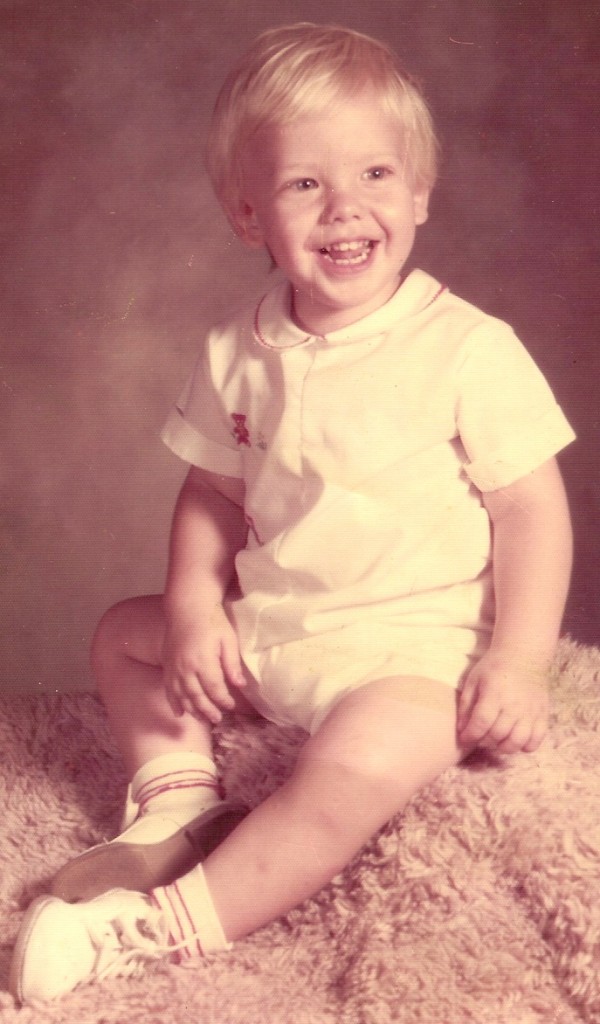
Ryan, 21 months, 1976

Ryan wore the suit at every appropriate occasion.  With his little white high top shoes, he was adorable. Nilda told me that all of her aunts spent their days embroidering similar clothing for the babies in their family. I desperately wanted a Cuban/Puerto Rican auntie for my son! Continue reading