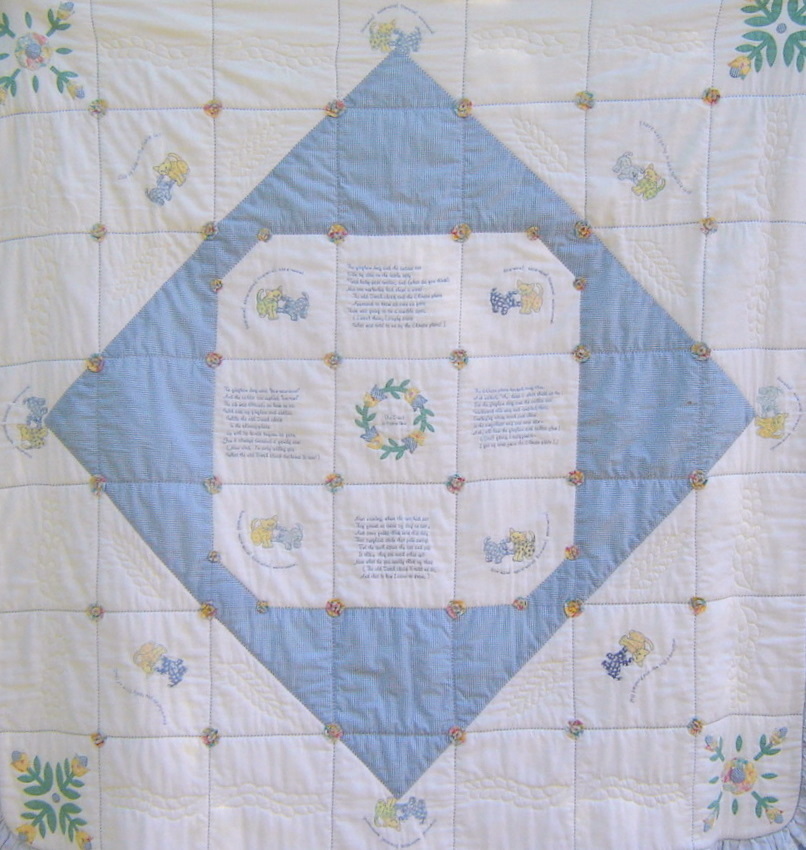
At this point, there is a large square of Swiss flannel in the center, framed with four blue gingham triangles, creating a medallion. Four smaller triangles create the “snowball.” The perimeter of the flannel snowball is pinstitched, with the holes from the wing needle in the flannel and the “reach” stitch in the gingham. The perimeter of the square gingham frame is also pinstitched.
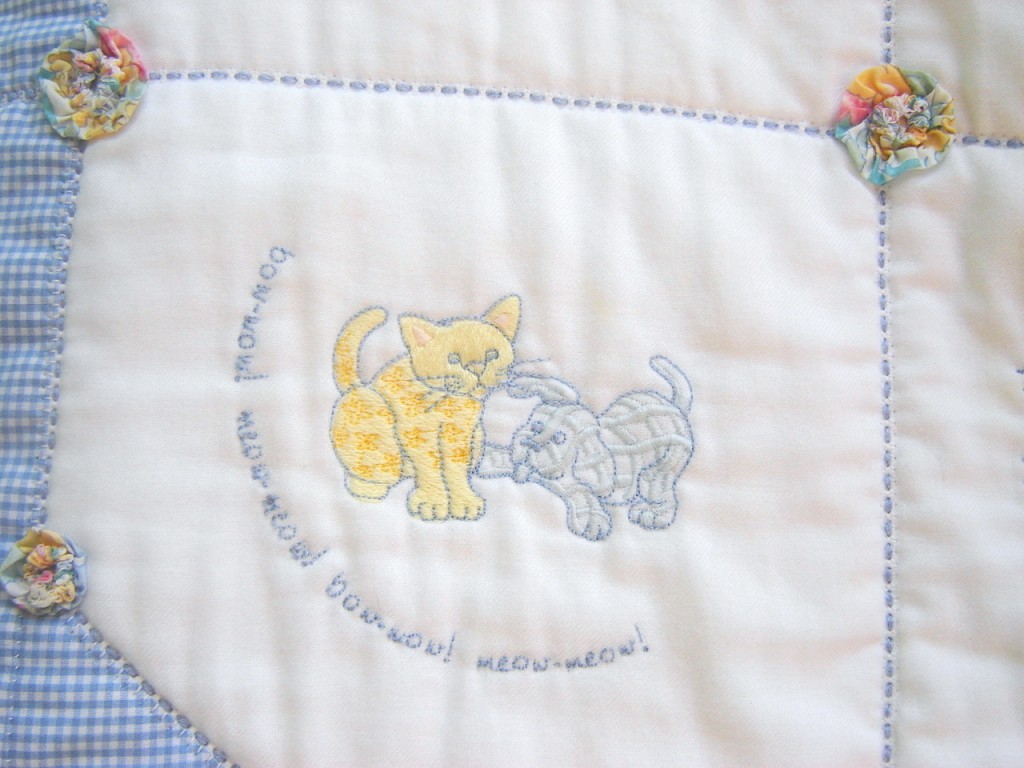
DOG/CAT EMBROIDERY: All the text files were stitched, including the poem itself as well as the “bow-wow” and “meow” text. The gingham dog and calico cat was a design from Dakota Collectibles. Suzanne arranged the text in an arc or wave over the dueling pets.
In an effort to reduce the stiffness of the design, the white portion of the gingham dog design was omitted, allowing the white flannel to do the job. The design was often mirrored for variety. The shades of blue and yellow 50 wt. DMC machine embroidery thread were varied for the same reason, to create  interest and variety. Â
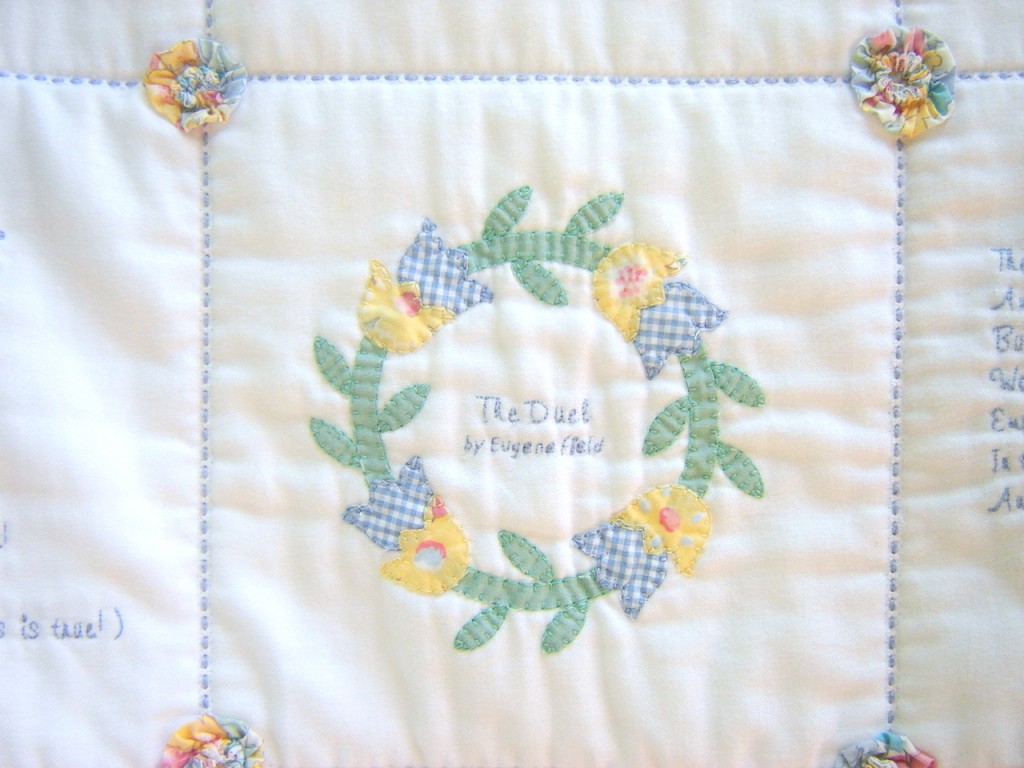
The Baltimore Album applique’ quilt designs were taken from Brother’s Quilting Card #22. Liberty of London tanna lawn was used for the yellow print, along with the pima gingham and some solid green pima. The technique used on this card seems to have fallen out of favor, but its execution was interesting. The card comes with templates, of the same plastic material used for other quilting templates. The quilter is instructed to trace inside the shapes and carefully cut them out.   After the quilt top is hooped,  the design stitches out placement lines within which the quilter is to place the cut out pieces. Then an applique’ stitch secures works the pieces.
As I was doing a “rehearsal” of fabrics and patterns, I realized that with very little abrasion, even the tightly woven Liberty and pima were fraying a bit. So on the quilt top itself, I carefully dabbed Fray Chek along the edges of each piece and left them to dry before placing them (with a glue stick) in readiness for the applique’ stitch.
NOTE: When using the template sheets provided with the Brother quilting card, remember that lines are draw INSIDE the template. Be sure to cut just outside the line when cutting the fabric shape. Otherwise the shape will be too small, leaving a gap between the buttonhole applique’ stitches and the fabric.
FLOSS WEAVING: With a 12″ length of 6 strand embroidery floss threaded into a #26 tapestry needle, the floss was woven loosely through the entredeux and pinstitch holes. It was knotted off loosely toward the back at each intersection, keeping in mind that a calico (Liberty) yo-yo would cover each intersection. Puckering resulted when I used longer lengths of floss.
I had every intention of quilting through all layers of the quilt, so the blue floss quilting stitches would show on the back of the quilt. But in order to achieve any regularity of stitch length at all required a stab stitch, one at a time. It just took too long. So the blue stitches show only on the front.
QUILTING:  A second 55″ square of batting covered the first, making the back all embroidery invisible.  Next, the backing of Swiss flannel  was spread evenly over the quilt top with batting and the second layer of batting. So at this point, the “sandwich” consisted of the Swiss flannel quilt top, the two layers of Request batting, and finally another piece of Swiss flannel. It was hand basted extensively.
With the walking foot, a straight stitch was worked immediately beside the floss around the outside of the gingham square. This stitching was repeated next to the floss inside the gingham square and along all rows of entredeux and pinstitch.
The quilt was hooped with no additional stabilizer to stitch the feather designs as shown.   The design was rotated as necessary to match the pattern.
I worked on this quilt at our cabin in the mountains of North Carolina, between Boone and Banner Elk, and thought I had brought along everything I needed.  Because the design stitches three times in an irregular pattern, I wanted to lighten the look by using 80 wt. thread.  But I had left my blue 80 wt. Madeira Cotona behind, the thread I would have used for the quilting. At that time, there was virtually nothing available in the area but quilting thread and general sewing thread. So I had to be satisfied with the yellow Madeira Cotona, something I have always regretted. I wish I had used the blue 50 wt. DMC.
To be continued–embroidery machine made yo-yo’s……


