Required disclosure: I am a paid Brother Ambassador. Not required: I absolutely love Brother Machines.
Several readers have written asking if they may participate in the Garments for Ghana project. Others asked how our project operated so they might do a similar event in their own community. When I mentioned in response to a comment on this topic that I might write this post, at least one promised that she (sweet Sandee) would not find these details boring. I hope she is not the only one because I am going ahead with this.
Before I began, I was given some direction from the mission team leaders. The request was for bright colors, since the landscape there is pretty bleak. We did that. Check.
Second, there must be no buttons or closures that might break or need replacement. Such replacement is not an option for mothers in these areas. Check. Elastic at the neckline was the only closure notion. I know elastic gives out after a couple of years, but I expect these garments will be worn out long before the elastic is.
Third, in many African nations and apparently in Ghana, bare shoulders for girls and perhaps adult females, is taboo. So we needed some sort of sleeve. Check. I did notice early on that many photos of pillowcase dresses for Little Dresses for Africa showed the girls wearing a tee shirt under their dresses. Now I see that the site offers a free pattern that has a sleeve, much like the pattern I used.
Fourth, each garment must be marked with its size. I had a bag of labels for sizes 1-5 and for the others I embroidered sizes on grosgrain ribbon in the hoop. Ladies who worked from home used a sharpie to write on ribbon, which like the others, was tucked into the elastic casing at the back.
As mentioned in the previous post, one of my goals was to make a dent in my huge fabric stash. I announced to our church membership that we would begin sewing garments for Ghana, for the medical mission team to deliver in June (NOW!!!). Then it started–bolts and bolts and yards and yards of lovely fabrics were carried in every Sunday morning. Granted, in came 2 or 3 old curtain pieces, but I felt no guilt about not using them. Perhaps we can make a tote next time from those fabrics.
If you would like to do this as a community project, I suggest that you announce it a few weeks before you begin. Of course, permission to reserve the facility (church fellowship hall or whatever) must be given.
Then assemble necessary power cords and strips to reach the machines. Of course, you can do as you please, but I anticipated more participation if the ladies didn’t have to pack up their sewing rooms to participate.
Several boxes of supplies were packed, one for scissors, one huge box with threads in every color and wound bobbins in several sizes for different machines, one for pins, pin cushions and extra machine needles, one for other notions such as fray block, marking pens and bobbins for a variety of machines and a jar of size labels. All of this is not necessary, but it was very helpful even for ladies who they brought their own supplies. “Oops–forgot my scissors.”
Our church owns 3 basic sewing machines, which had been stored and unused for several years. My dear husband and I spent several hours cleaning, oiling and readying them for use. I also brought along two of my own machines so it was not necessary for at least 5 ladies to bring their own.
As for patterns, it took me a little while to get what I thought was the perfect one. I did not want to purchase a pattern for each sewist, preferring to purchase just one for all the dresses. Making all the kits myself guaranteed no copyright infringements. Many individuals, however, have their own patterns which could be used outside a community project.

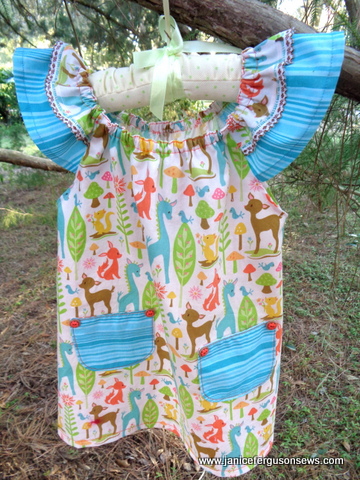
. When I found “Cecelia,” from 5Berries it was perfect. It is a downloadable .pdf pattern for less than $7.That was a bargain for 50 dresses in 12 sizes. The sleeve ruffle and pockets are not a part of the pattern.
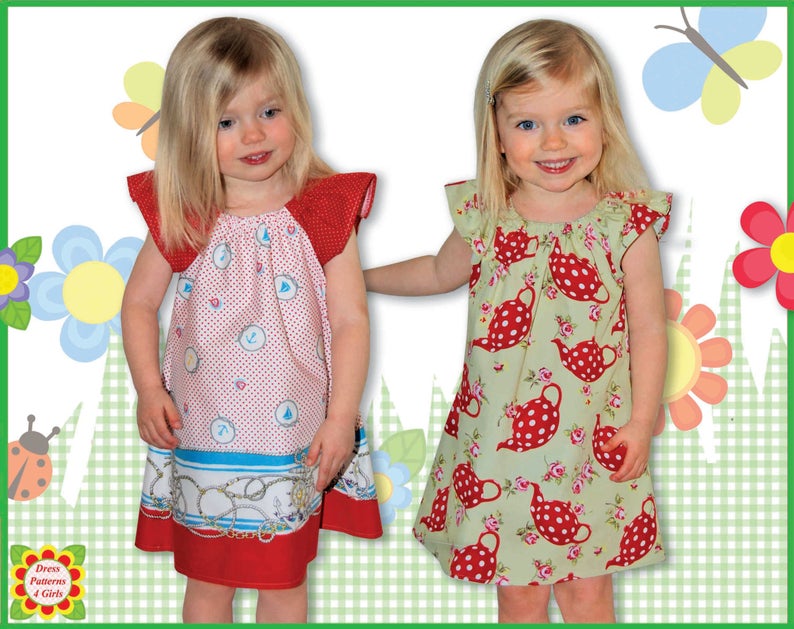
https://www.etsy.com/listing/130585922/cecilia-peasant-dress-pattern-for-girls
There is no need for finishing an underarm seam as the sleeve completes the armscye. It is a blank canvas, allowing you to use contrasting (small pieces) fabric for sleeves and optional sleeve ruffle and pockets (drafted by you). There are only 3 pattern pieces, front, back and sleeve.
AND–this was a big consideration–sizes 1-12 were included and nested with no overlap. So as one size was cut out, the remaining smaller sizes were intact. Our goal was to make 100 garments, 50 dresses and 50 shorts. After printing and taping the pieces together, I simply cut 4 of the largest size, 12, from the pattern. Then I trimmed the pattern to size 11 and cut 4 of that size, and on and on. That would give us 48 dresses, but…..
As it turned out, one retired home economics agent, needed to sew at home. So I gave her a size 5 kit. From those cut out pieces, she cut 7 kits from her own fabric and then cut 5 more for a housebound church member. So we ended up with a LOT of size 5’s, those 12 as well as the other 3 I cut. I like to think God knew there would be more size 5 girls than the others.
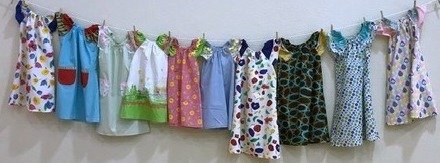
Each kit included the cut out pattern pieces (usually including the shoulder ruffle and sometimes 2 pockets) with the fronts of each piece marked with tiny brass safety pins. Added to that was elastic cut to size and marked with a washout pen. This avoided the possibility of side-by-side sewists getting their elastic pieces switched. A spool of matching thread and trim was also added. I have a huge amount of rick rack and included that on many of the dresses. But any trim would do, keeping in mind the need for sturdy materials. Having everything together was convenient.
So we sewed. And laughed and learned. It was great fellowship.
The children began their sewing journey with teepee bags kits to match some of the dresses. It included the fabric, zipper, thread, and ribbon handle. This is my go-to sewing project when teaching children. These kids LOVE sewing. I hope to do a children-only workshop at our church one day.
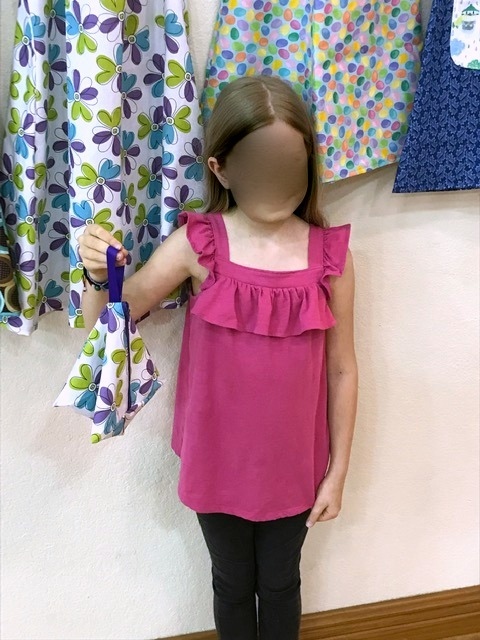
Another sewist, unable to join us, used her own more taxing pattern to make this adorable dress. She added so many details and created a very special garment on her own.
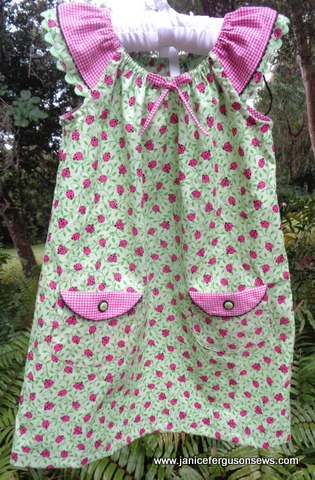
She just happened to have rick rack in the exact shade of green in her stash and used that on the sleeve. Her pattern required bias binding at the under arm.
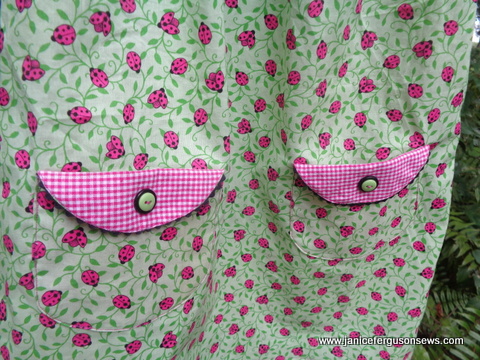
I love the baby black rick rack and the layered buttons sewn with contrasting thread. Donna is a perfectionist with fabulous taste.
For the little boy shorts, sizes 1-4, a simple pattern was used. I embroidered the pockets on my Brother Dream Machine 2 in order to spice them up a little. A toy of one kind or another was included. The cars were considered a choking hazard so they were used only for the 3-4 sizes.
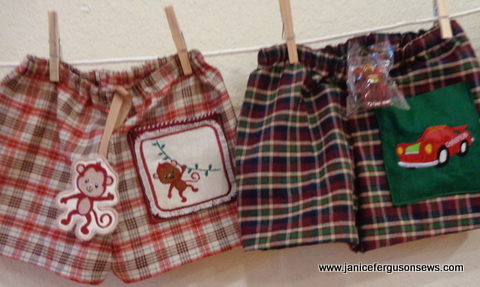
The big boy shorts, sizes 5-10, were cut from the Fuddie Duddie Casey pattern. A commercial pattern was used for smaller sizes, but it required printing out each size. But it worked just fine, as there were just 5 sizes cut.
The pocket on the cargo pants offered a place for a toy, usually a finger trap. I think the boys will enjoy them.
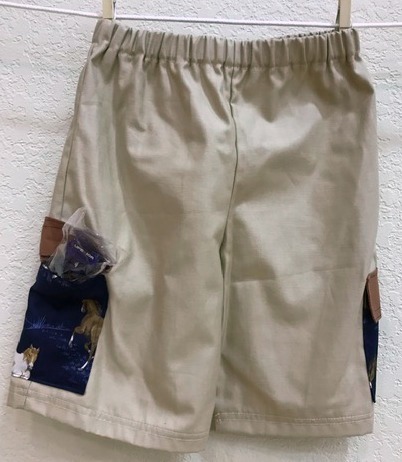
Can you see the wild horses on the cargo pocket?
Whether sewing as a group or as individuals, you can see how helpful it is to have a variety of fabrics, even small pieces, for pockets, for shoulder ruffles, for contrasting sleeves and even for added length at the hemline when the chosen fabric is not long enough.
For any readers who would like to participate, shorts or dresses may be sent to me throughout the year. E-mail me at NCcabin@aol.com for the address.
The more remote village where the mission team is going for the next few days, has never been visited by a white person. The area has no electricity, no running or clean drinking water, no medical care or facilities, no pharmacy and no school. Can you imagine? This is the poorest region and the area where the garments will be distributed. We covet your prayers for these Ghanese people and the mission team.
This post is too long, I know. But it is what it is. Sandee, what do you think? Let me know if you would like to participate or if you have any questions.


8 responses to “How-to: Garments for Ghana”