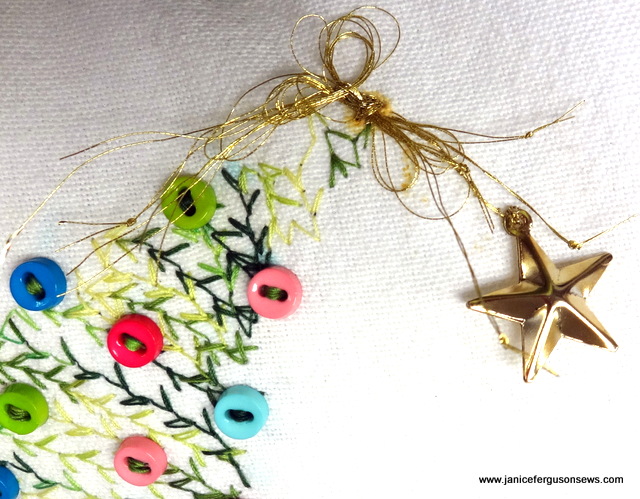
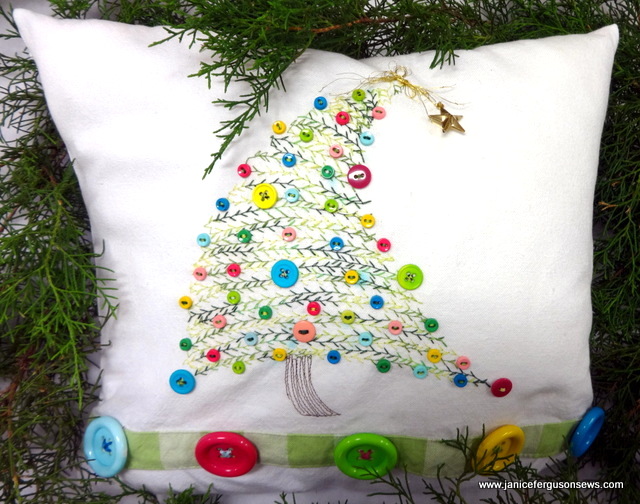
It’s not too late to whip up a holiday pillow. Brother asked me to design a simple Christmas project that did not require an embroidery machine and this is what was created.   A dishtowel with a decorative hem is teamed up with a bevy of buttons to create a whimsical Christmas tree pillow. It’s a quick and easy way to add a fresh look to your holiday décor and have fun doing it.
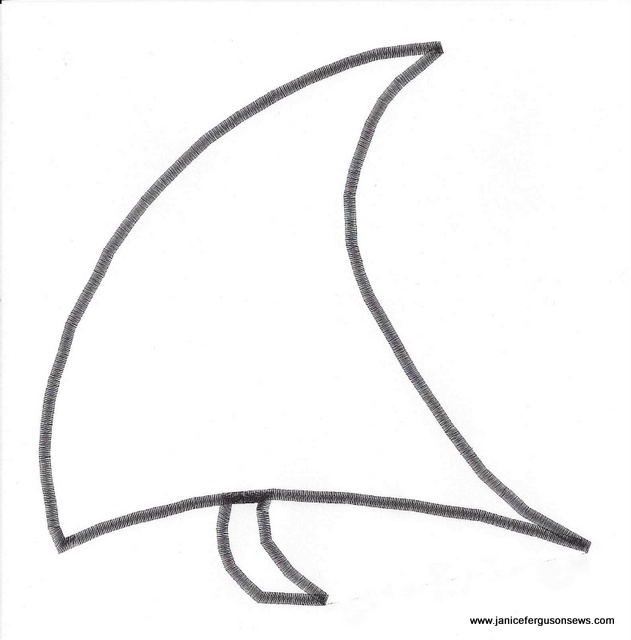
The template is at the end of this post, but you could just as easily draw your own. If you download the .jpg and print it, you can resize as needed.
I really enjoyed making this. I hope you get a chance to stitch one for your home.
Materials and Supplies
• Dish towel 18â€x27†with 1-2†contrasting border–this one is from All About Blanks
• Pillow insert 16†x 12â€
• Thread- variegated green for tree, brown for trunk, white for construction,
gold metallic for tree top bow
• Buttons-30-50 tiny round (no shank), 5-8 medium, 5 large round, 1 gold star button or charm
• Notions: 1 sheet white tissue paper, spray adhesive, washaway marker
Instructions
1. Iron a crease at towel’s vertical center.
2. Trace tree template at center and just above decorative hem border. Reduce machine tension.
3. Fill in tree trunk with straight stitches in brown thread, following curve of trunk.
4. Select feather stitch, adjust to W 5.0~ L 5.0. Another decorative stitch would also work.
5. Apply spray adhesive to tissue paper. Adhere paper to back of towel, covering area of tree outline.
6. Sew feather stitching with green variegated thread beginning at lower left corner of tree. Sew over the bottom line then pivot and sew side to side. Do not cut threads. Follow the curve of the previous row. TIP: Because right side of tree is shorter than left, it helps to start rows which begin on the left a little higher than on right.
7. Remove tissue paper, wash out marker lines and iron when dry. Return machine tension to normal.
8. Sew buttons to tree and metallic thread bow to top. TIP: With towel on flat surface, place buttons in a pleasing arrangement. Take a picture and refer to that as you stitch the buttons.

9. Hand stitch bow and gold charm in place. Sew large buttons along contrasting hem.
10. Sew ends together with 2†seam allowance. Overlap plain end with decorative hem by 3â€.
11. Trim seam allowance to ½†and finish raw edge with zig zag. Turn right side out and insert pillow form.
12. Yeah! You have a 2014 Christmas pillow.


6 responses to “Christmas Pillow–not ME”