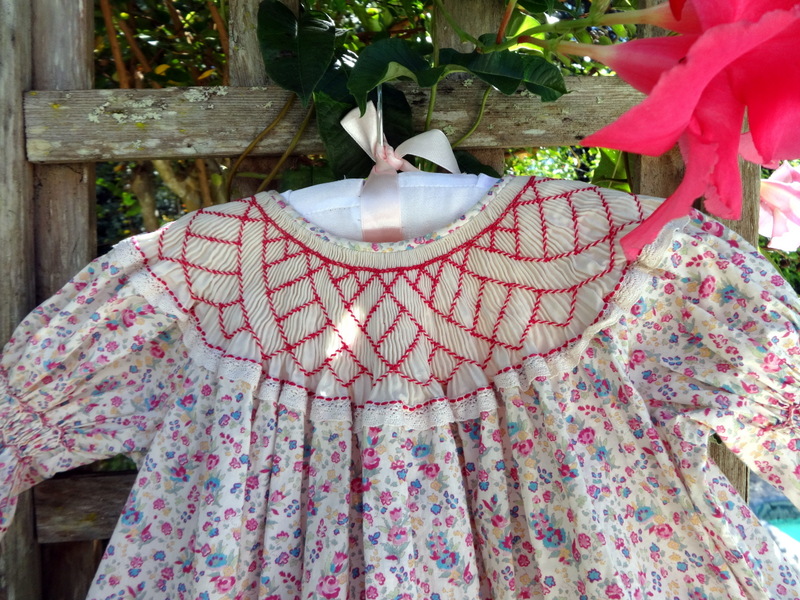
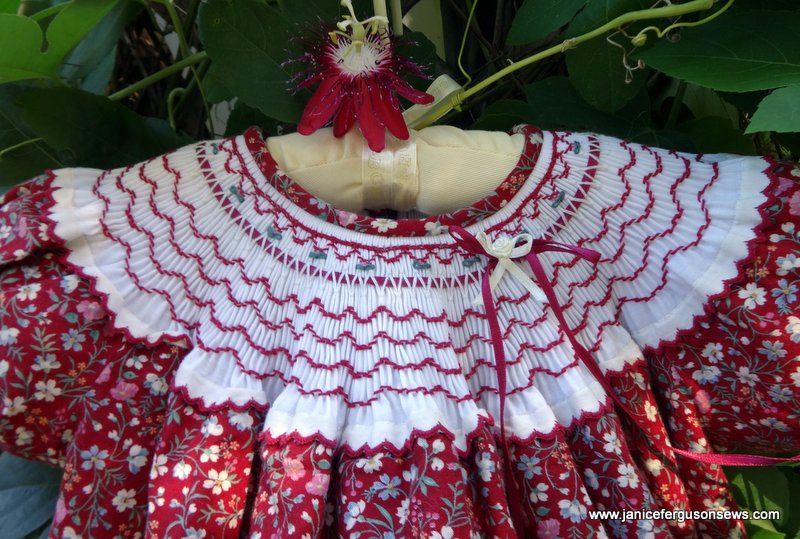
This little novelty bishop and two others were loaned to a friend many years ago. I had forgotten all about them until they were returned last week. Of course, they will end up in the closet of our toddler granddaughter, Vivian Rose, though most of them will have a bit of a wait until she grows into them.
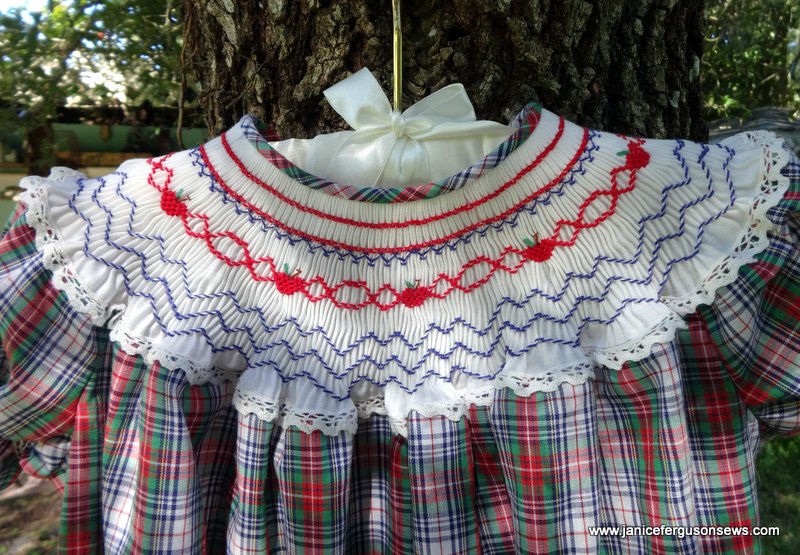
Vivi will probably be 4 or 5 before she wears this classic plaid school dress.
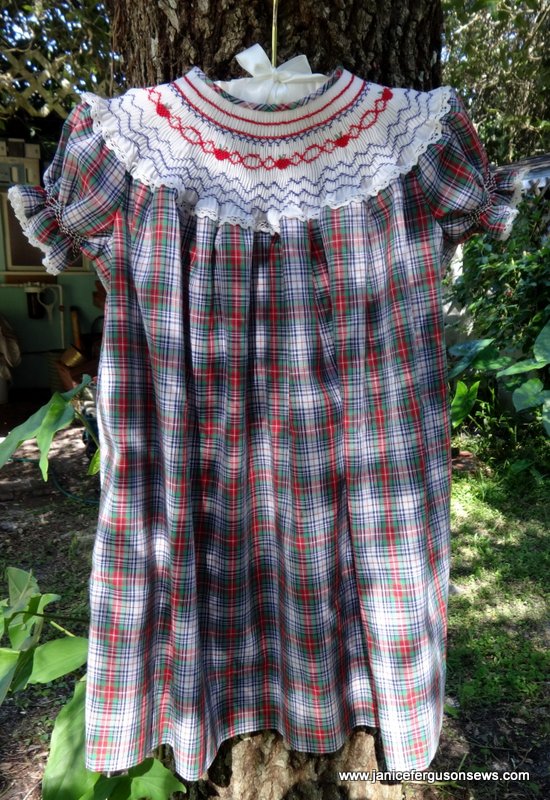
Excuse the ugly section of my potting shed shown in the background. It really is nicer than that. See here.
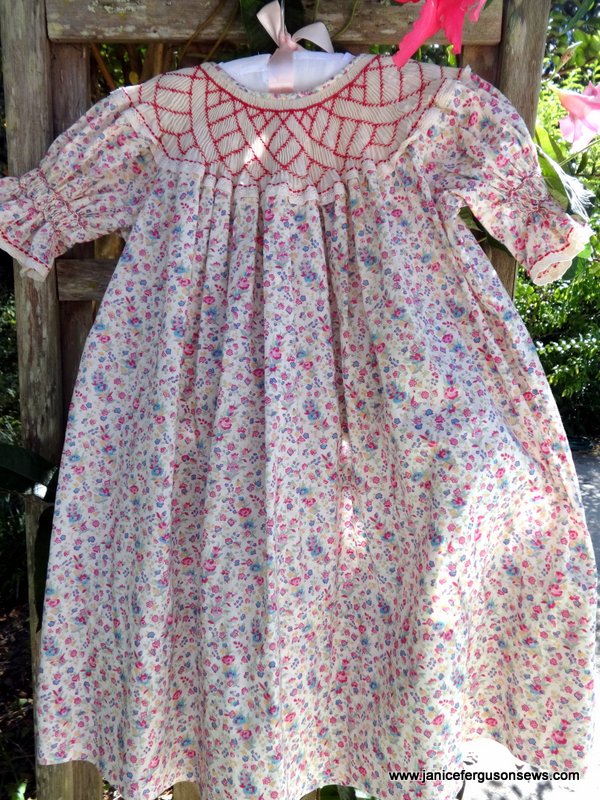
I don’t know what happened to the Liberty bishop shown below. The print is uniformly faded, as if it had spent time in a tub with bleach water. But the deep rose floss used for smocking is not faded at all. Oh, well, it has not lost its inimitable, silky Liberty hand and still has enough life left in it to serve as a pre-school play dress.
Seeing all three together, I was reminded of how much I like this technique. So along with the how-to info, I am sharing it again with pictures of these new/old dresses and a few others that have been posted earlier.
So why is it called a “novelty bishop?” About a hundred years ago I took a pleater class at the first SAGA regional seminar which was held in Spartanburg, SC. Students were instructed on pleating yoke dresses, sleeves, inserts, bishops and what the instructor called “novelty items.” Those were smocking projects which fit into none of the above categories, such as Children’s Corner Carol or Trudy Horne’s Toddler Smocked Apron. So I called this novel technique “Novelty Bishop” and wrote an article for Sew Beautiful magazine.
Detailed directions for applying this technique to an existing bishop pattern are posted here.
Note that on each dress there is a trim stitched to the seam line between the smocked fabric and the body of the dress. That is not necessary for construction, but I like the way it defines the smocked area and covers up a utility seam.
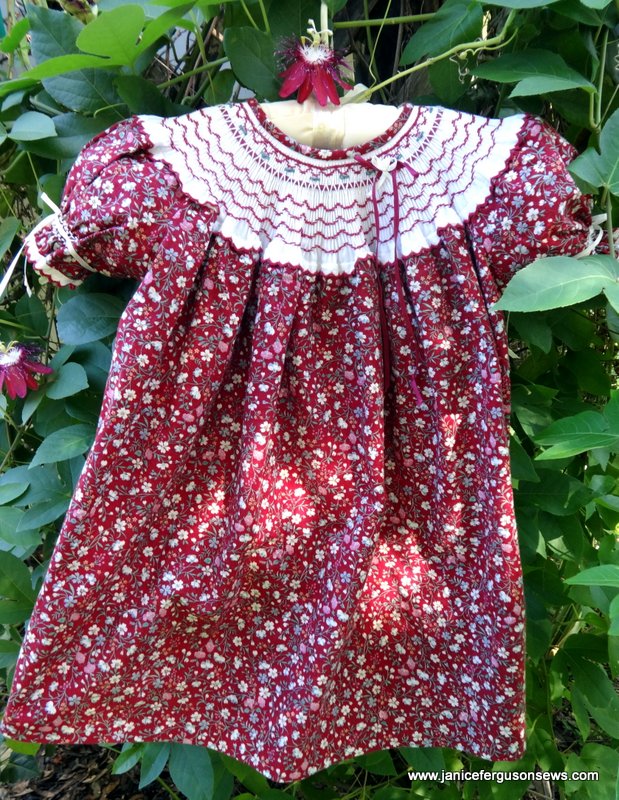
Here are a few other novelty bishops that might inspire you to try one of your own.
The substitute fabric is pleated in one long strip across the width of the fabric. No seams. Hurrah! But 45 inches is not long enough for sizes above 3 or 4. After that, two pieces must be seamed together to achieve the width needed to match the circumference of the front, back and two sleeves.
Still, running just one flat seam through the pleater is much easier than coming face to face with 4 French or zig zagged seams. That center front seam is open to the right side and pressed before pleating. Then a few pleats are released so the seam can be neatly covered with a tab of fabric to match the skirt. See the Liberty goat dress below.
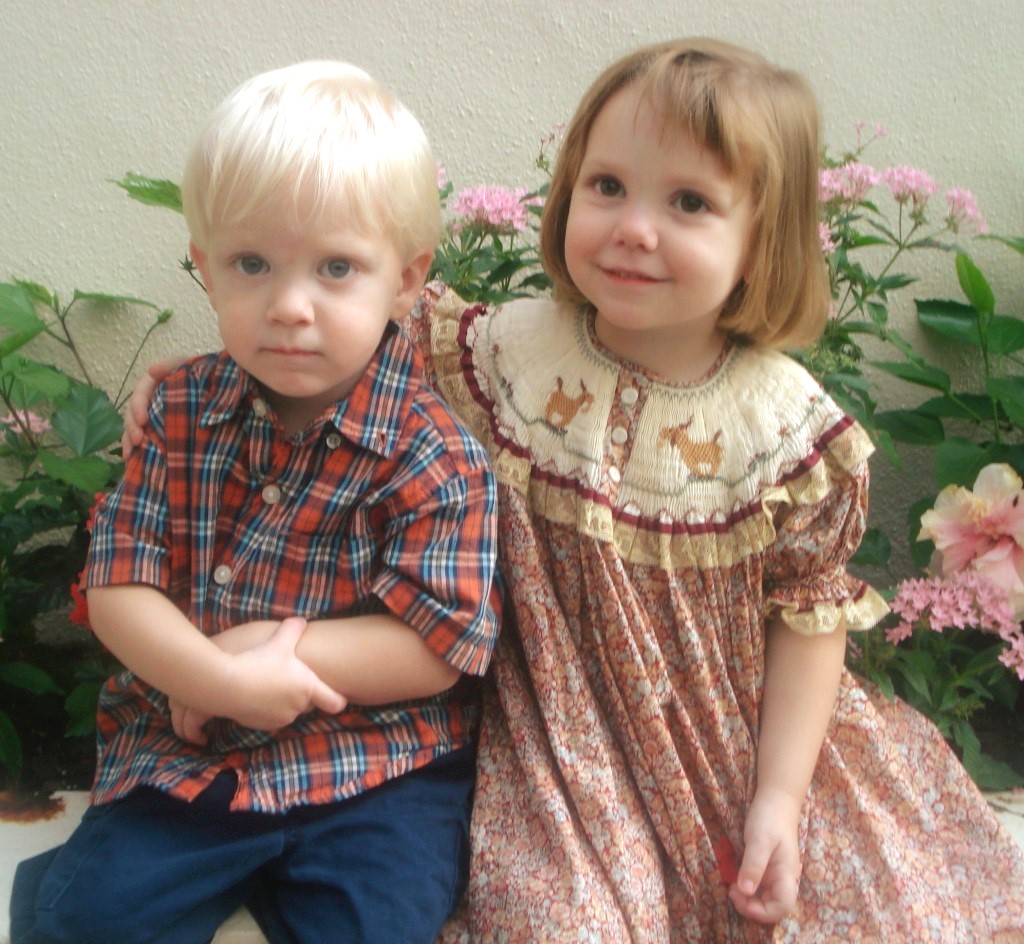
For details, see Liberty Goat Dress post. Can you tell that grandson Robert does not want to have his picture taken?
This dress is now being worn by granddaughter Vivian Rose.
So what do you think of novelty bishops? Why not consider this technique the next time you are ready to start a bishop.



2 responses to “Novelty Bishop~A Novel Technique”