I’m getting ready to post some new garments I made using a few of the delightful new Disney designs. They have really updated the characters and created very contemporary designs. I stitched a new Minnie on CC Callie, Ariel on a two piece play set, and Nemo on a beach scene baby outfit.
With the new Brother machines being introduced there is a lot of Disney excitement. I thought you might enjoy this old post with my daughter’s tutorial for her castle pin/bulletin board.  This is a great back-to-school activity for kids and parents.
~~~~~~~~~~~~~~~~~~~~
It was a fabulous weekend, full of fun.  Rebecca had a project in mind so after the downtown Mardi Gras Dog Parade (details below the tutorial), this is was our family project. It really is useful to anyone, young and old. It would be great for teachers.
What is it for, you might ask? Well, read her explanation below.
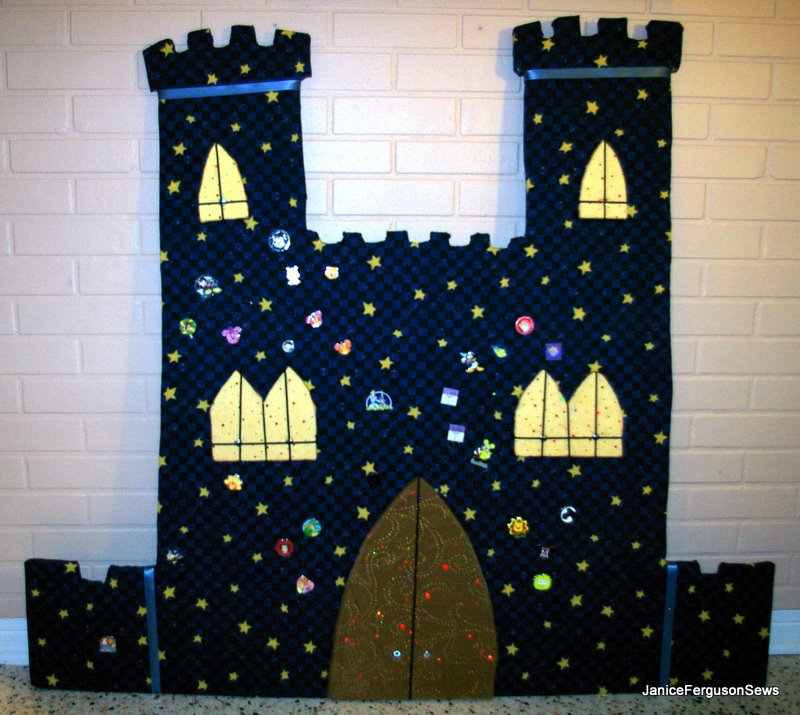
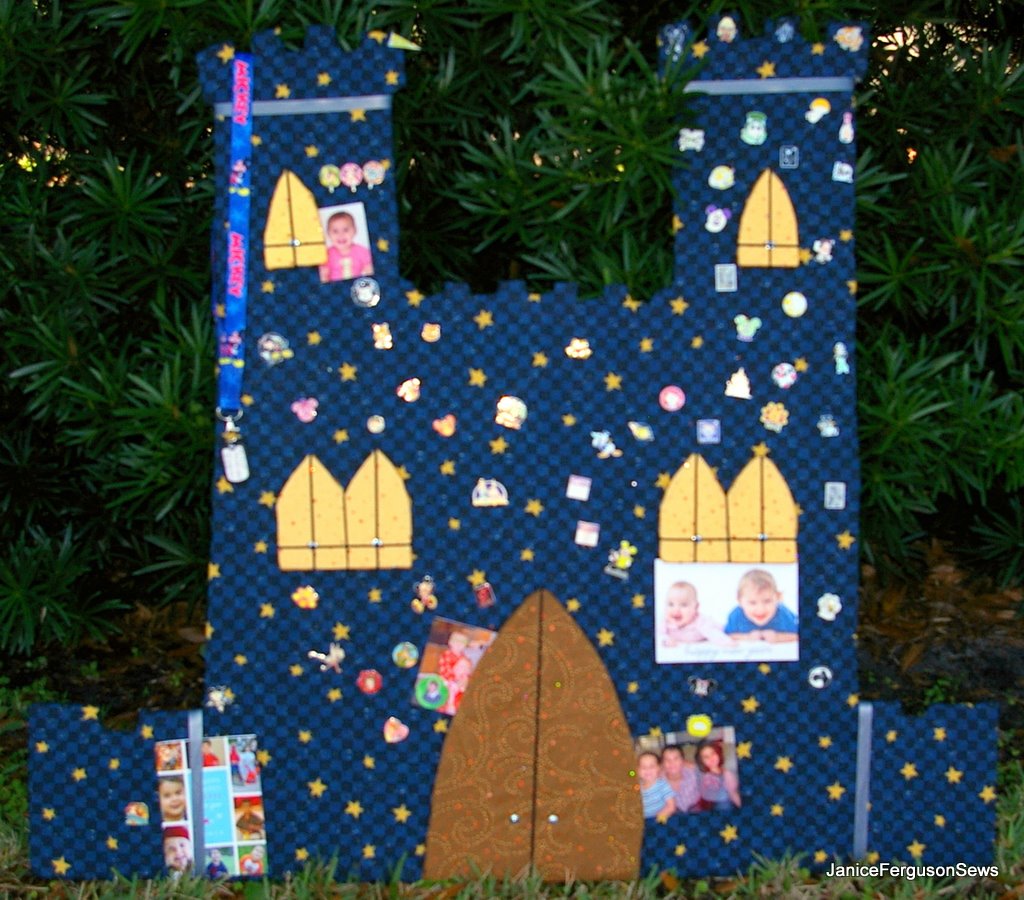
Of course, she knew that I would have all the textile/craft supplies she would need, so she and her father went to Lowe’s for the basic board. It was very satisfying for me to use up the bundle of star Daisy Kingdom print I had just purchased at Goodwill (5 yds. @ $2.99 total!) for the basic castle cover. We also used a piece of glittery fabric (also from Goodwill for .50) for the windows and doors.
Rebecca has written up a how-to that should make it easy to reproduce this or create a similar board.~~~~
I got the Disney bug this winter and decided it was time to introduce our son to Walt Disney World’s Magic Kingdom. Wouldn’t it be a wonderful to see the wonder in his eyes? (See Cutest Little Boy does DisneyWorld.)
While planning for our first visit, Mama told me how Laurel and Robert had gotten pin craze at Disney. On their last visit, Laurel had been indulged with a lanyard and one pin for roughly 10$ each. When I started asking amongst friends and neighbors, it turns out lots of kids had their own Disney pin collections. Most kids have dozens of pins. At 10$ a pin, that adds up. Yikes!
I wasn’t sure if Alastair would be interested in Disney pin trading or not, but I wanted to be prepared in case he made the same doe-eye’d plea my adorable niece did to her Mama. I bought a kit of 1 lanyard and 10 second-hand pins through a very nice Ebay store. It was perfect, and a complete except for a Disney ‘medal’ to hang from the middle. The kit was a hit, and Alastair traded for a few pins from some of the Disney Cast Members.
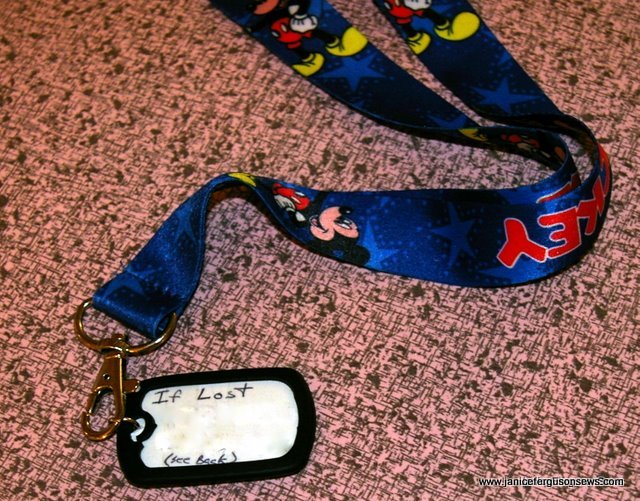
My husband had the great idea to use the lanyard as a way to tag Alastair for our trip. He crafted a little homemade dog tag with both of our cell phone numbersin case our son got separated from us (numbers removed from the image, but you get the idea).
Once home with a lanyard packed with pins, I wondered what to do with it. After a day that was just magical for our little family, putting the memento up in the closet just didn’t seem right.
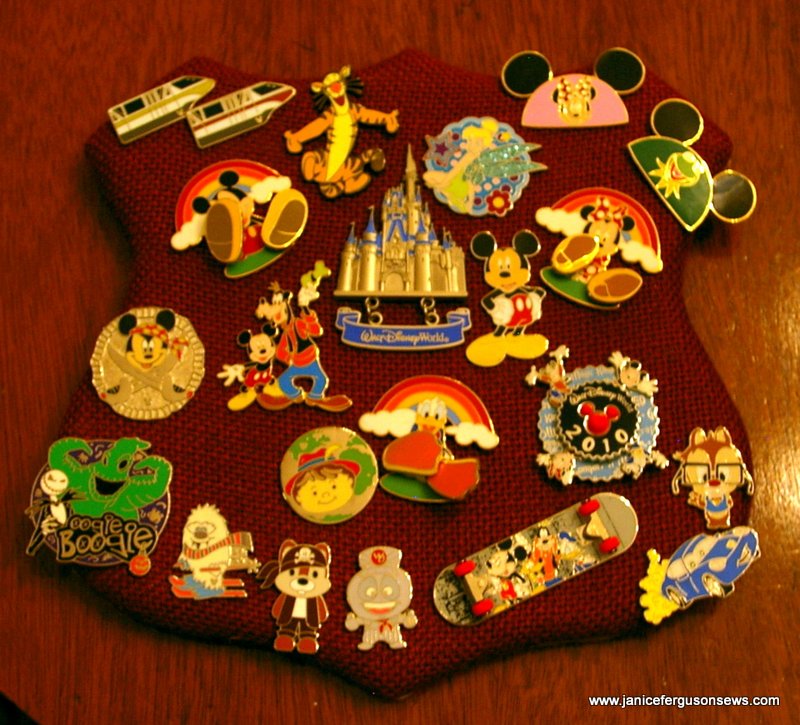
It turns out there is a wonderful little family business that sells pin boards called Bauble® Board (www.baubleboard.com) I purchased the shield Bauble® Board for 17$ (including shipping!) and couldn’t be more pleased. The board arrived in the mail some 4 days after placing the order, was exactly as I requested, and professionally finished. That, and I was supporting small family business right here in America. What’s not to love?
Over time, I thought that both the pins and the board were great, but didn’t I need, well, more?!?
Many more pins! And a great big Bauble® Board! And I wanted the board to be part pin board, part activity board, part rotating picture frame for all of Alastair’s loved ones. I had some serious shopping to do.
I found some second hand collections on Ebay and was in business. With our little house and limited storage, I could put up pins for gifts for my niece and nephew, neighborhood Disney pin-trading kids, and general rewards for Alastair without taking more than a half a shoebox worth of space. The possibilities stretched forward.
Next, I got a quote for a darling owl shaped Bauble® Board to fit in with his Harry Potter themed nursery, but decided that it just wasn’t going to be big enough. I started thinking that a great big Medieval castle was just the thing, but I wasn’t sure if I could justify the cost of commissioning one from Bauble® Board. Besides, I wasn’t sure if I could define how I wanted it to look exactly, and once it arrived, I doubted I would be able to modify it without diminishing it’s professional quality.
So, what’s a girl to do? Why, it was time to visit my Mama, of course. Together, we put together a great big castle activity/pin board in an evening.
My poor Mama – a homemade pin board is not up her alley. On a few occasions when I took shortcuts, she became so unsettled I think it bordered on causing her physical pain. She’ll lie to her grave and tell everyone – including herself – that she loved every minute she spent with her daughter. In time, she’ll even remember it that way. And so we go on. (Personally, I had a blast!)
The construction is highly suspect, so ladies, try not to fall out of your chairs. Â Materials for the pin board consist of:
- An image for inspiration
- Large sheet of pressed insulation board, 10’x4’x1/2†sheet for $7.30 + tax from Lowes
- (8) 1†finishing screws
- 2.5 yards of 48†wide fabric
- ¼ yard of sheer sparkly fabric
- Scrap accent fabric (I used yellow and brown)
- Ribbon
- Sharpy, the color of your base fabric
- Hot glue gun
- Staple gun
- Jigsaw
- Screwdriver
- 2 sawhorses
The project was completed in a single eight hour period. This includes travel time to Lowes, a Publix run, dinner with the family, time to bath my son and niece, and so on. Total project time with materials in hand took closer to 2-4 hours. The board itself is a piece of pressed insulation board from Lowes.
To determine the suitability of a potential board, I used my earring as a test case. If I could pierce the material with the earring back and it held securely, I had a match. (I recommend you bring a pin with you, or an earring you don’t mind mangling.) This pressed insulation board is not the ideal material for pin boards, but it was the best match given the choices at hand at the nearby hardware store. Perhaps you know of a better source for the pin board, and can share your knowledge?
To make your own pin-board, collect the materials and be sure to consider details like a paper plate or empty cereal box to rest your glue gun on. Also consider handling your staple gun with extreme care. As a self-described klutzmo from a long line of klutzmos (from my father’s side, of course), I took precautions like wearing eye protection, keeping small children far away, and never, ever, rushing to grab the staple gun or hot glue gun. I suggest everyone do the same.
Trace out a pattern directly on the board material. This gets covered, so don’t worry if you monkey it up a bit. Use the jigsaw to cut out the pattern while resting the board itself across a pair of saw horses. In my case, the edges of the board frayed pretty significantly, but it didn’t matter. All edges were covered (mostly) on the board itself with fabric.
If you choose a dimensional activity/pin board, cut out additional shapes (in the castle, I cut out an additional windows and double door).
Dust off all boards thoroughly. Touch up all corners with the Sharpy to mitigate any gaps from stretching the fabric over the corners.
Measure out your fabric to cover the board generously, then double the fabric over. This technique of doubling the fabric was something I learned from Bauble® Board and has proven true already. Don’t skip this step – it adds life to your pin board’s aesthetics. As you move pins around on the board, you invariably leave little holes behind. With two layers of fabric, the holes shift ever so slightly and cover the hole underneath. It’s working well for me and Alastair already.
Stretch the fabric across the board and staple the material down generously. Cut away any extra material, and overlap across the back between 2 and 4 inches. Add glue when turning corners or doing notches in the design (I recommend against a 13 notch design, btw. My construction is downright sloppy after notch #3). If you have any dimensional pieces to go on top of the base board, cover those as well.
Add the dimensional pieces with 1†long finishing screws. You’ll want these placed carefully and securely. Tuck the screws behind ribbon where you can, and where you cannot, try to incorporate them into the design.
Next, add ribbon. I used slate blue ribbon to define more castle architectural features, but I was fantasizing about making a castle for a little girl with ribbons streaming from the towers and draping over the doors and windows. Had I indulged, my truck loving, boot stompin’ little boy would have thought the castle was for someone else. Sigh.
But I digress.
The final product is 3.5 feet tall, 5 feet wide, and propped up against the wall in his bedroom. I’m going to leave it there for a week or so before I’m confident that it is where I want it to live. When I’m sure, I’ll have Harvey screw it directly to the wall a few inches above the baseboard.
Despite this project being so far out of Mama’s domain, I thought she should share it with each of you because the children in your lives may enjoy something custom made for them so they can define themselves on their board. With the advent of Facebook and MySpace, we should all be familiar with the concept that the world is always trying to define itself. This board may be just the thing for your little pin collector, budding athlete (ribbon board), movie buff (tickets and tween pinups), etc.
Then again, if you can’t bring yourself to wield a staple gun on fabric, you can get a pin/activity board drop-shipped just a click away. The kind folks at Bauble® Board will even do a custom ordered board for you.~~
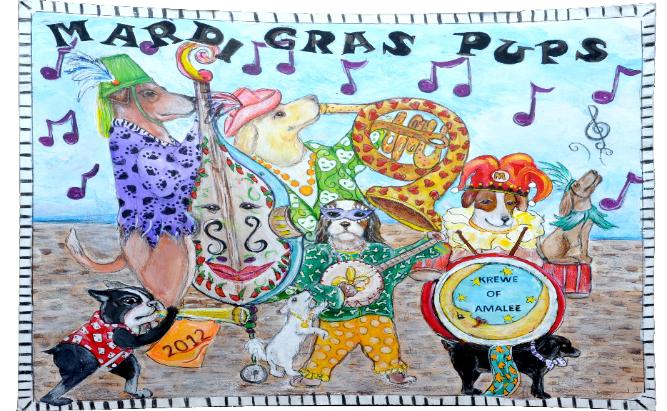
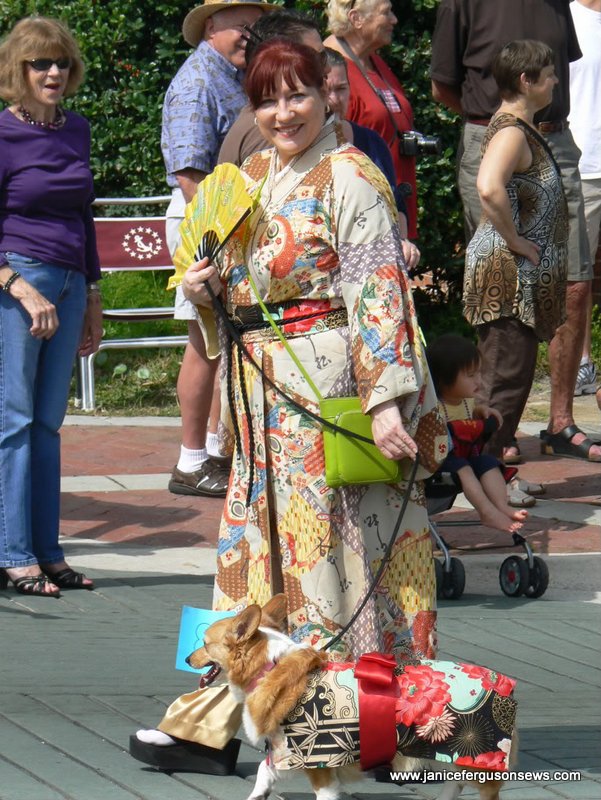
Mardi Gras Dog Parade
This is a fun annual event in our town. The the grandchildren loved the dogs and were intent on catching beads thrown to the roadside crowds.
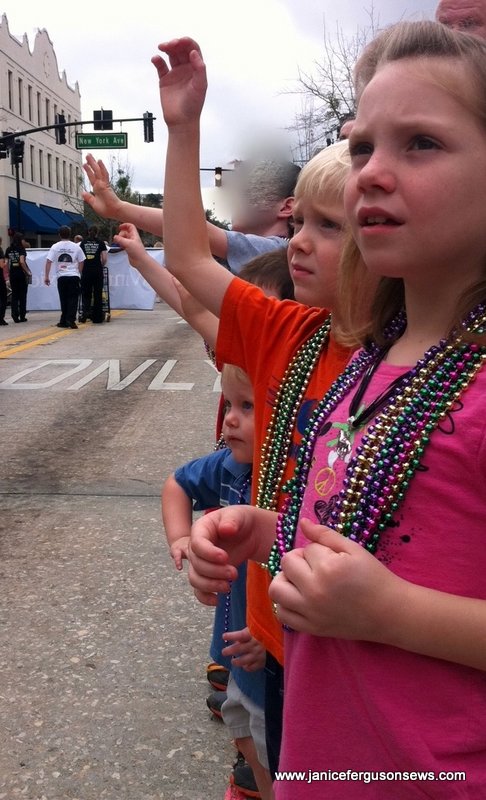
My three grandchildren on a rare gloomy Florida day, watching the dog parade and hoping for more fun Mardi Gras beads.
What a fun weekend we had.



One response to “Tutorial: Disney Project & Fun for All”