Well, I promised this tutorial would be posted today “if the good Lord’s willin’ and the creeks don’t rise.” I have to tell you that I’m not sure the Lord was willing but the creeks did not rise. So I took the normal water level as a reluctant “okay” from above, even though just about everything else that could have thwarted my goal today did.
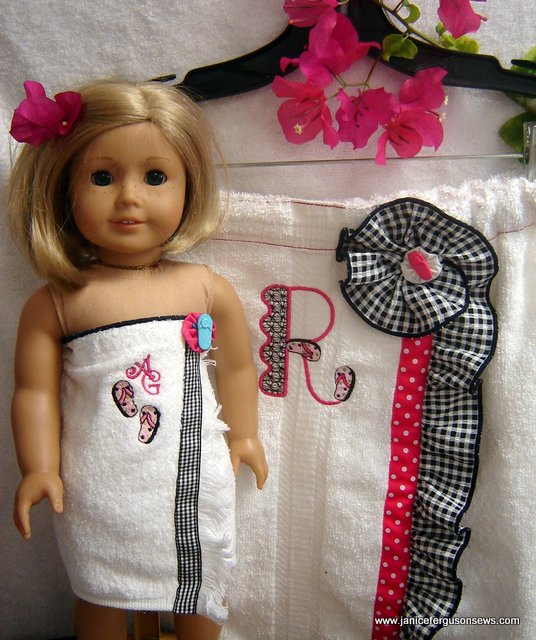
After the pictures from my granddaughter’s 8th Spa-tacular Birthday Party were posted, the American Girl spa wrap has gotten a lot of attention, as well as many requests for the long promised tutorial. This is a follow up to the Girlie Spa Wrap for the girl doll owners.
So all day and into the wee hours of early morning, I have held on to this tutorial mission with the determination of a Pit Bull (FYI, I love Pit Bulls). Finally, here it is. Please let me know if you find any errors. I didn’t have the luxury of reviewing this for a day or so before posting it. That makes me really nervous.
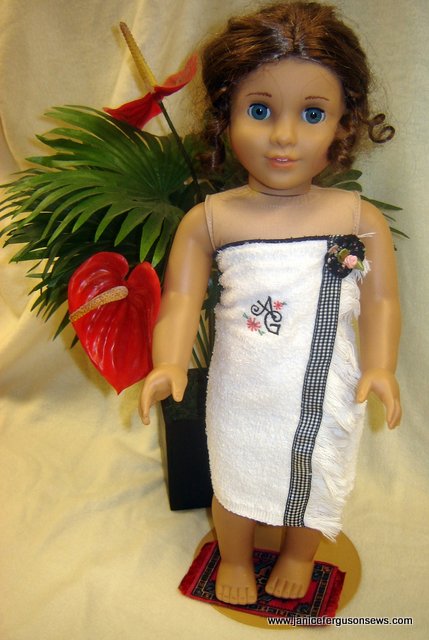
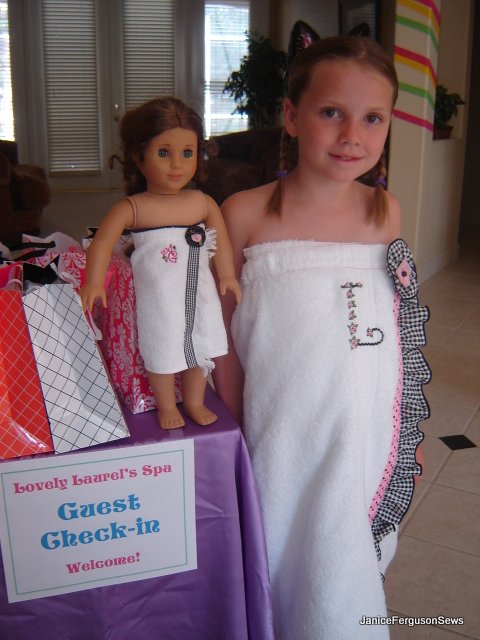
For new readers, matching girl and doll spa wraps were made as party favors for each guest attending Laurel’s birthday celebration.
These are easy to make, but the it is important to get the sequence of steps just right. It took me a few tries so I hope this little tutorial is helpful and saves you some time. No need for any of us to re-invent the wheel.
As a thank you for reading my blog, I am offering two free machine embroidery designs.The AG monogram and a yo-yo made mostly in the hoop will be emailed to anyone posting their request as a comment (see below).
Like all bloggers, I really, really enjoy reader comments. So whenever you get a chance or find a post particularly interesting, I would love to hear your comment.
Now on to the tutorial.~~~~~~
You will need:
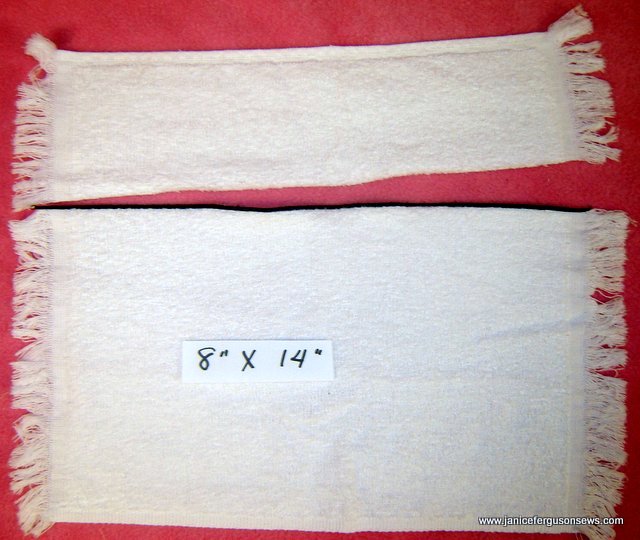
- 1 fingertip towel 14″ (not counting fringe) x 12 1/2″
- 10″ gingham ribbon
- monofilament thread
- 3″ soft velcro 1/2 wide
- 3 1/2″ square scrap of fabric for yo-yo
- 3 1/2″ scrap of water soluble stabilizer or tissue paper for yo-yo
- ribbon rose or novelty button
OPTIONAL (2 free machine embroidery designs free–post request as a comment)
- yo-yo machine embroidery design
- AG monogram design
- machine embroidery supplies: stabilizer and threads
DIRECTIONS:
1. Cut fingertip towel from 12 1/2″ to 8 1/2″.
2. Serge rolled hem with wooly nylon or roll and whip top edge with your heaviest thread, 12 wt-30 wt.
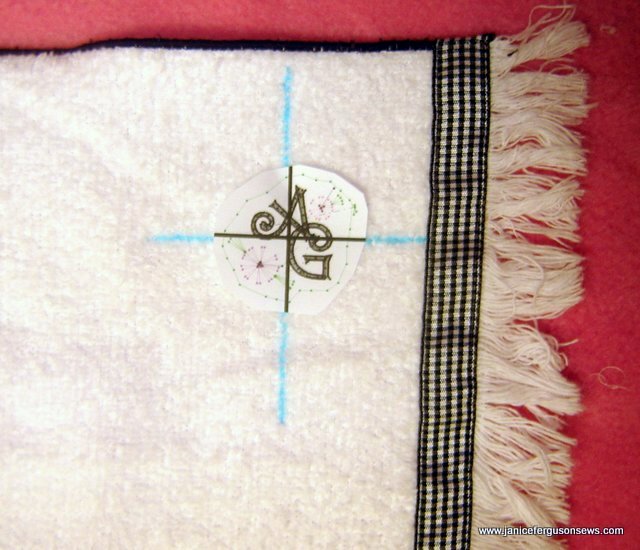
3. With matching or monofilament thread, stitch ribbon to one edge, next to fringe. Fold ends under to wrong side.This is most easily done with a glue stick.
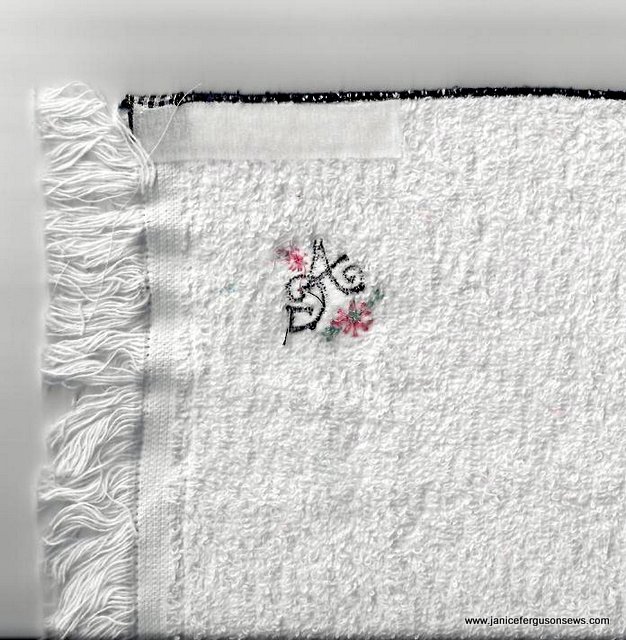
4. FOR OPTIONAL MACHINE EMBROIDERED MONOGRAM: Mark placement for embroidery design as desired or 2″ down from top edge, 1 1/2″ to left of ribbon. Remember that the 1/2″ velcro will be sewn along the top edge. NOTE: FYI, after finishing this wrap, I wish I had centered the embroidery 1 1/2″ down and 1″ from ribbon. See photo of finished wrap to determine if that suits you.
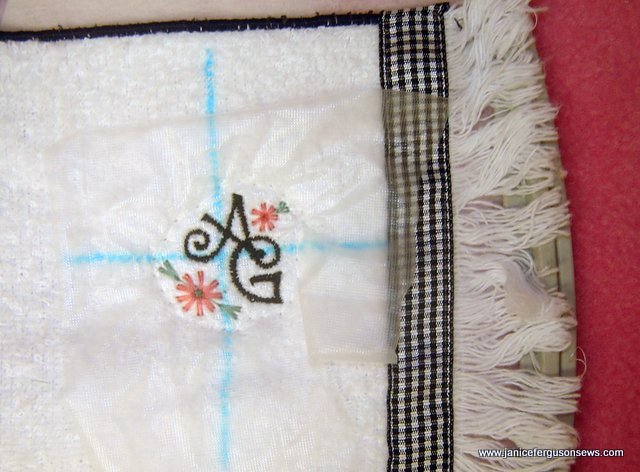
5. Embroider monogram. Of course, you cannot hoop the towel, so it will be placed on hooped tearaway stabilizer. Then the basting frame around the design will stitch the towel to the hooped stabilizer and secure the water soluble stabilizer. After embroidery is complete, remove both stabilizers.
6. On no-ribbon (left) side of wrap, stitch 3″ scratchy (hook side) velcro to top, right side of spa wrap. This will face away from the doll’s body.
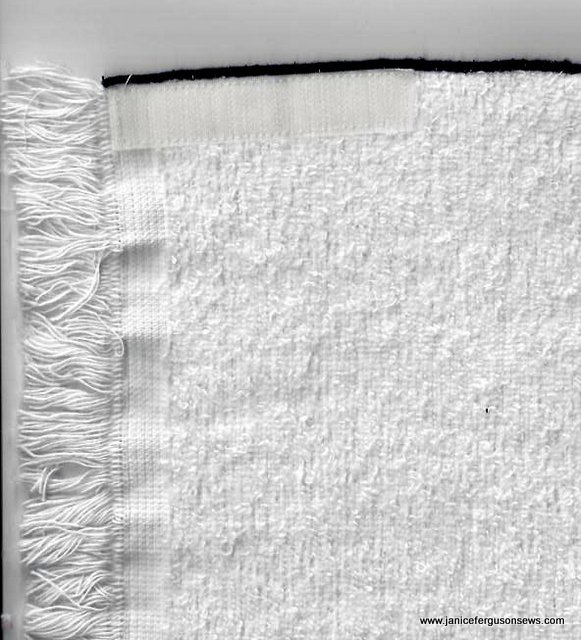
7. On wrong side of wrap, above the embroidery and beside the ribbon attachment, stitch 3″ soft (loop side) velcro.
MAKE YO-YO WITHOUT EMBROIDERY MACHINE
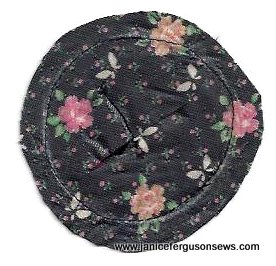
1. Without an embroidery machine, simply draw a 2 3/4″ circle on right side of fabric. It doesn’t have to be exactly this size. Slightly larger or smaller will make little difference.
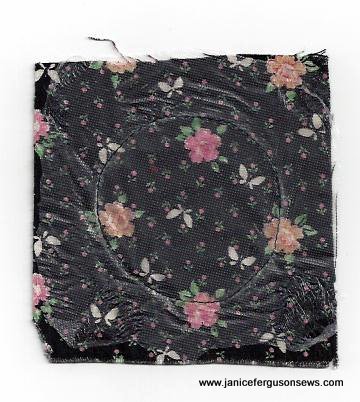
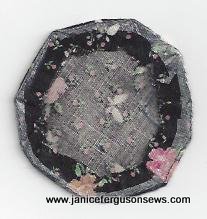
1. fabric with 1 3/4″ circle drawn on right side, 2. water soluble stabilizer or tissue placed over fabric, 3. straight stitched on drawn line
2. Place water soluble stabilizer or even tissue paper over fabric. Stitch RIGHT ON DRAWN LINE. NOTE: If using tissue paper, draw line on paper instead of fabric because the drawn line will not be visible through the tissue.
3.Trim fabric and stabilizer 1/4″ from line of stitching. Slit stabilizer or paper.
4. Turn right side out like a pillow top. Press. Then gently remove stabilizer or paper.
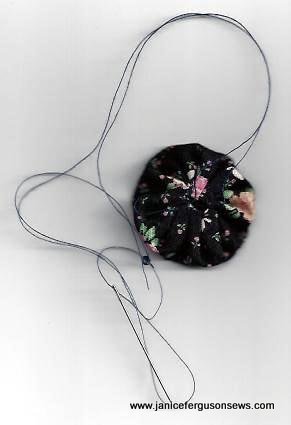
5.With 20″ length of strong thread with a hefty knot at the end, work big, hunky 1/4-3/8″stitches around the circle, close to the outer folded edge. Use tails to pull up yo-yo. Knot off but don’t cut tails.
MAKE YO-YO WITH EMBROIDERY MACHINE
1. Load file into your machine. Hoop yo-yo fabric right side up and water soluble stabilizer on top in 4 x 4 frame.
2. Embroider design then follow steps #3-5 above.
ATTACH YO-YO TO WRAP
1. Cut knot from thread tail. Use the longer thread tails to work a few hand stitches through the center of the yo-yo to the back, ending at the front center of the yo-yo. Knot again to the other tail and clip threads.
2. Sew ribbon rose to center of yo-yo, either by hand or machine.
3. Rinse out marked lines.
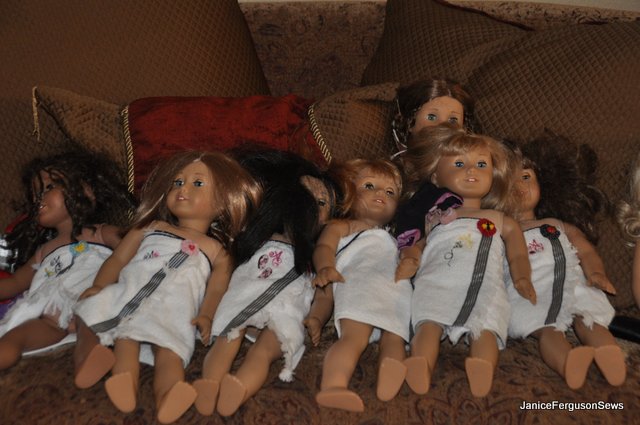
4. Wrap up an American Girl doll.



492 responses to “AG Doll Spa Wrap Tutorial & Free ME Designs”