There have been several questions and comments about the spa wraps I made for my granddaughter’s spa birthday party.  The most frequent question is how to get a proper fit, especially for children who are not available for measuring.
After a lot of trial and error, mistakes and do-overs, I think I finally have the sequence and details worked out. So here is a step-by-step spa wrap tutorial from sizing to finish that I hope will be helpful.
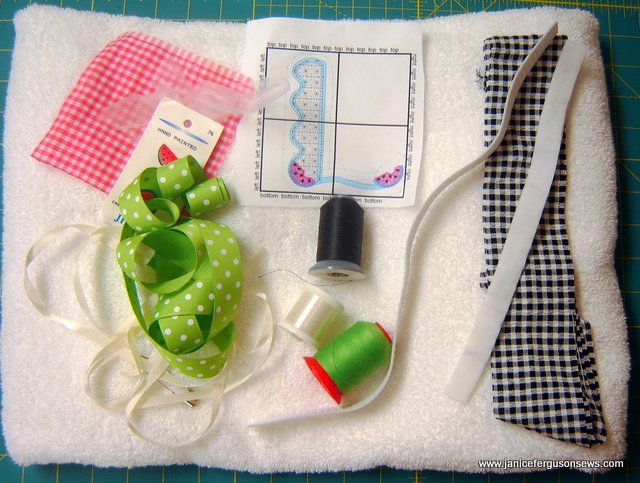
Materials you will need to make spa wrap. Note: my color ink cartridge ran out today. On the embroidery design template, the blue is supposed to be green.
REQUIREMENTS
- 1 bath towel (not too thick)
- black gingham 2″ x 60″
- 30″ green grosgrain ribbon 3/4-1 1/2″ wide
- 1 novelty button (watermelon button is hidden by ribbon)
- 4″ scrap for yo-yo
- water soluble stabilizer~4″ square for yo-y0, 8×8″ to cover embroidery
- embroidery design for monogram to match button
- 10″ velcro
- 10-18″ 3/4″ elastic
- green thread for embroidery and top stitching
- black thread for embroidery
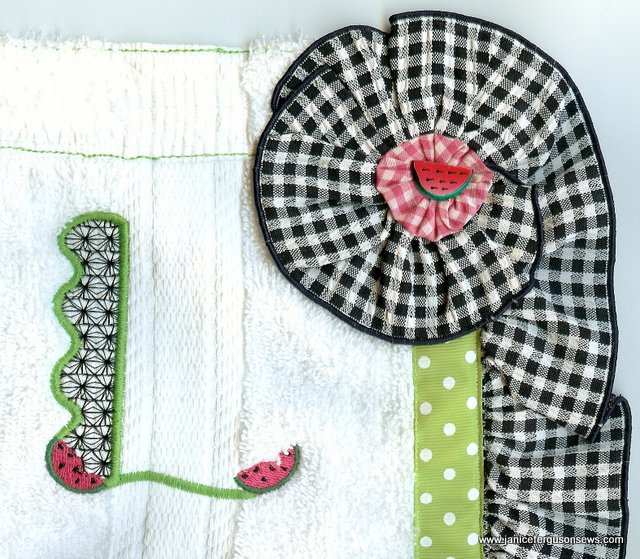
- monofilament thread for stitching ribbon in place
- 30-36″ scrap ribbon with large safety pin
SIZING–The standard/average chest measurements below are from a chart found on-line. Â Â If you are unable to measure your spa wrap recipient, just guestimate by age.
The only component of the wrap that requires a child-specific measurement is the elastic. The following formula worked perfectly for 9 girls, ages 5-10, none of whom were measured. Simply deduct 12″ from the chest measurement on the chart below. Of course, if the child is larger or smaller than average, take that into account.
- Children’s sizes  1     2      3     4     5     6     6X
- Â Â Â Chest” Â Â Â Â Â Â 18.5 Â Â Â Â 20 Â 20.5 Â Â 21.5 Â Â 22.5 Â Â Â Â 23
- Girls’ sizes     7     8      10      12    14
- Â Â Â Chest “Â Â Â Â Â Â 23 Â Â Â Â Â 24 Â Â Â 25.5 Â Â Â Â 27 Â Â 28.5
This works because the wrap has a 10″ overlap, closed with velcro. This allows for a wide range of adjustments when the wrap is worn. The other 2″ is for stretch in the elastic. So from the chest measurement, 10″ is subtracted for velcro, and 2″ for stretch. For example, the size 7 standard measurement is 23″. After subtracting 12″ , the suggested elastic length is 11″. Easy peasy.
QUICK OVERVIEW
- Fold short side hem to right side and stitch in place.
- Make casing
- Embroider monogram
- Insert elastic
- Attach velcro
- Make gingham ruffle
- Join ruffle to towel
- Stitch grosgrain ribbon over raw edge of ruffle
- Create gingham rosette
- Make and attach yo-yo
- Sew on novelty button
DIRECTIONS
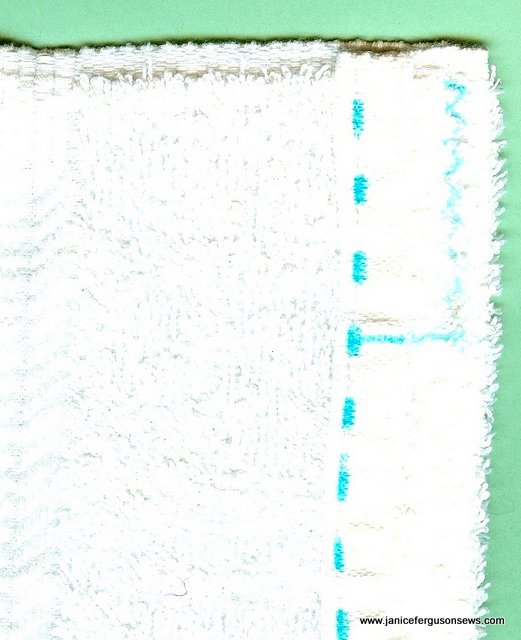
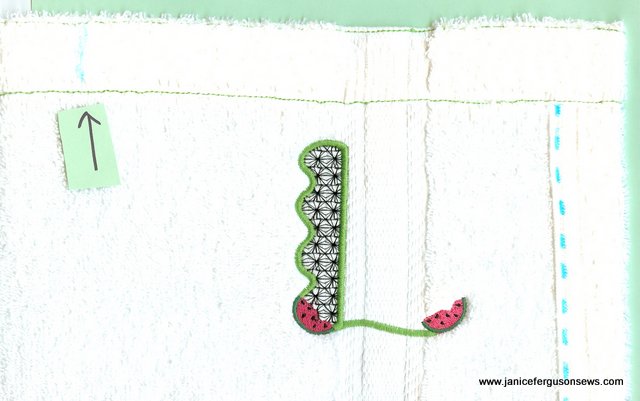
1. Fold one short side over approximately 1″ to front, exposing hem. Straight stitch in place with lengthened stitch, approx. L. 3.5 . NOTE: Decorative grosgrain ribbon will be sewn over hem so it will be held securely by that row of stitches.
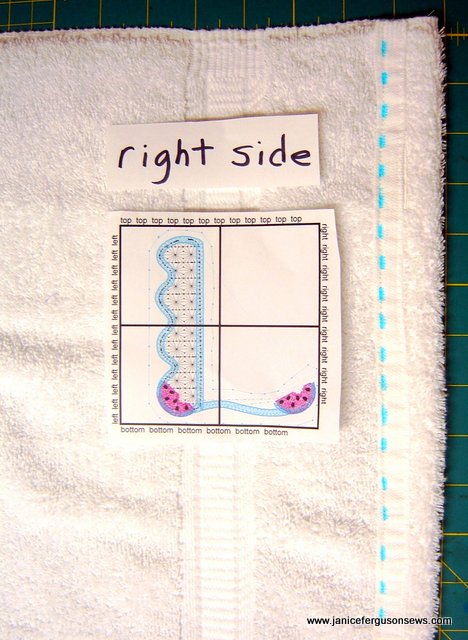
Hem on short side is folded from wrong to right side of towel and stitched in place. Blue dashes indicate L. 3.5 straight stitching, which doesn’t show up in photo.
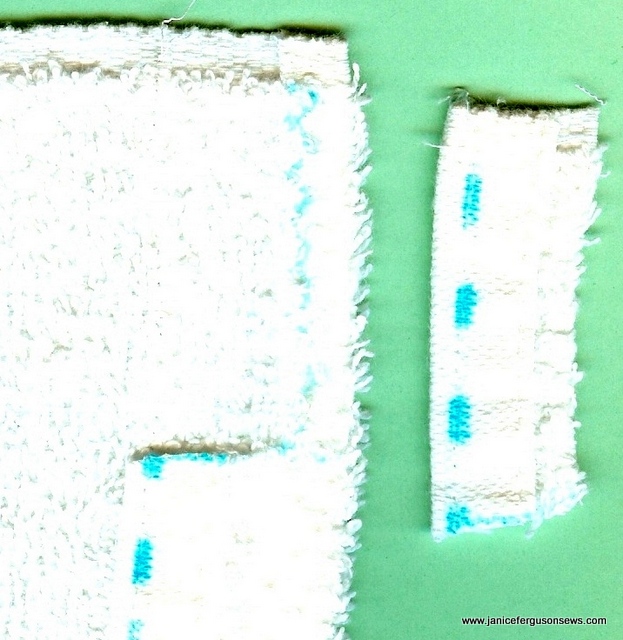
2. Reduce bulk at casing: On right side, draw a horizontal line 2 1/2″ from top of towel. Work zig zag stitch from top to line, about 1/4 to 1/2″ in from fold.
3. Pick out straight stitches from top to drawn line, at the end of zig zag. Cut away notch from above line and to zig zag stitches. This removes bulk.
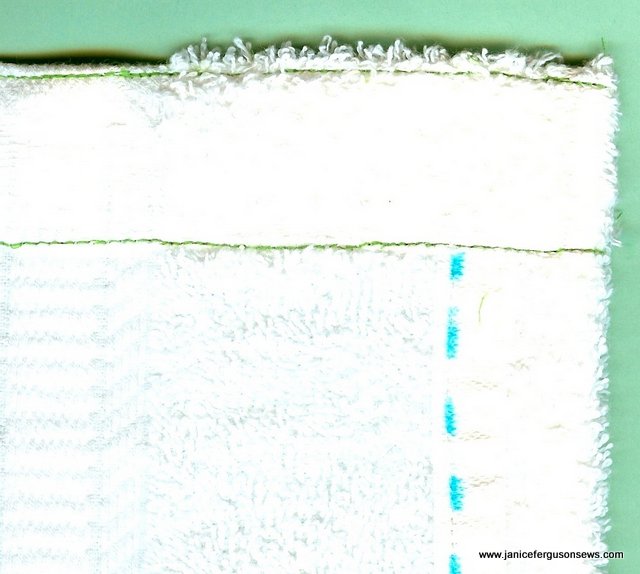
4. Casing: Fold top edge (long side of towel) down 1-1/2″ to right side. With green thread in needle and bobbin, work triple straight stitch very close to bottom of casing. Repeat with edge stitch foot 1/8″ (or so) from folded edge. NOTE: Without triple straight stitch, the stitches bury themselves into the terry cloth and are not prominent enough to suit me.
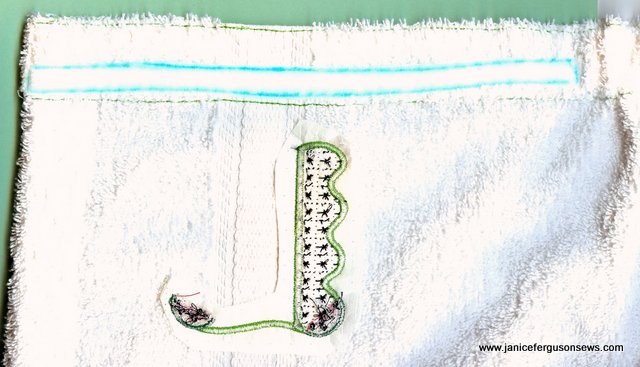
5. Embroider monogram to finish 1-1″ from folded over hem edge. Cover embroidery area with water soluble stabilizer.
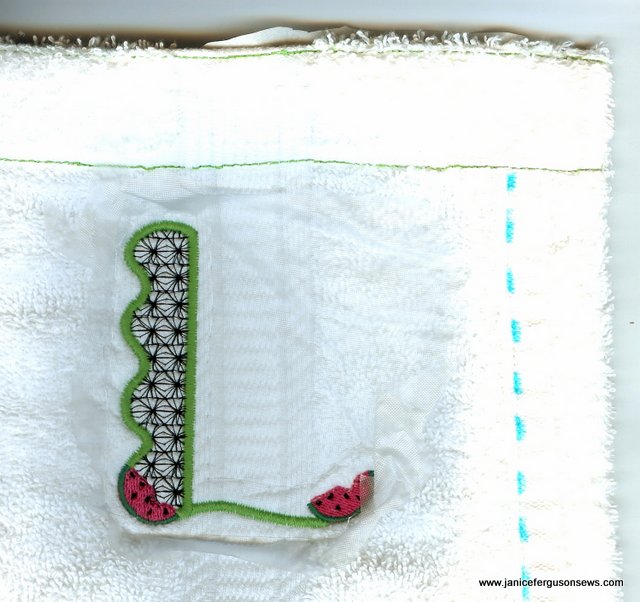
Water soluble stabilizer covers embroidery area. This monogram design is from Five Star Fonts Lacy Girl Font collection.
ELASTIC AND VELCRO
6. Draw line through casing 10″ from either short side. This marks the beginning and end of the elastic and the beginning of the 10″ of velcro.
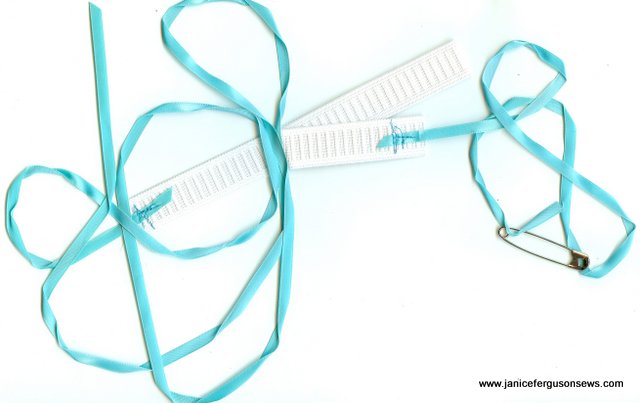
7. Sew at least 12″ scrap ribbon to one end of elastic. Attach large safety pin to this ribbon.  Sew another piece of scrap ribbon at least 20″ long to other end of elastic.
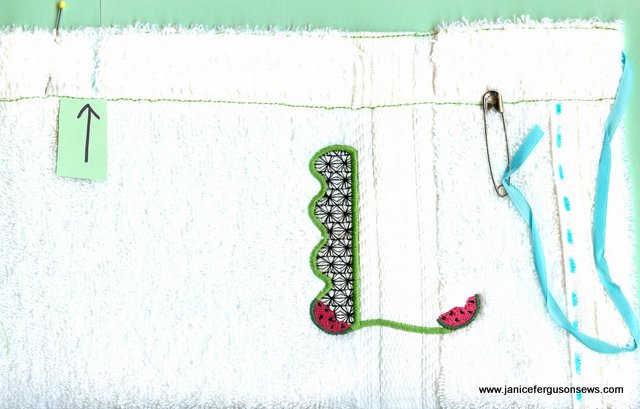
8. Insert safety pin into casing and pull elastic through until it meets the drawn line at 10″. The elastic can be felt through the terry cloth. Pin in place and then stitch vertically, securing elastic along marked blue line. Pull ribbon out as far as possible and cut away. Whatever is left in the casing is of no concern.
Repeat at opposite end of casing.
9. Stitch loop side (soft side) of 10″ velcro to wrong side of wrap, above monogram. Butt velcro to front edge of casing, stitching close to edge. This not only attaches the velcro but closes the casing opening. Velcro should extend to beginning of elastic.
10. Stitch hook side of velcro (scratchy side) to RIGHT side at opposite end of casing. NOTE: After velcro is stitched down, trim off all eight sharp corners to avoid scratching tender skin.
Ruffle, Ribbon and Rosette:
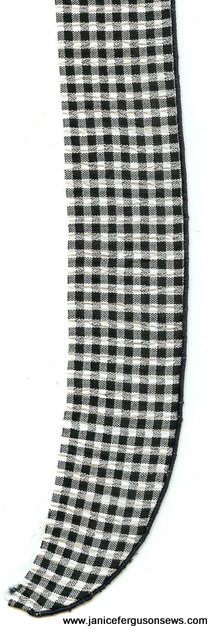
11. Curve both ends of 2″ x 60″ black gingham. Finish one side with tiny shirttail hem, rolled and whipped edge or serged rolled hem, using wooly nylon to improve coverage.
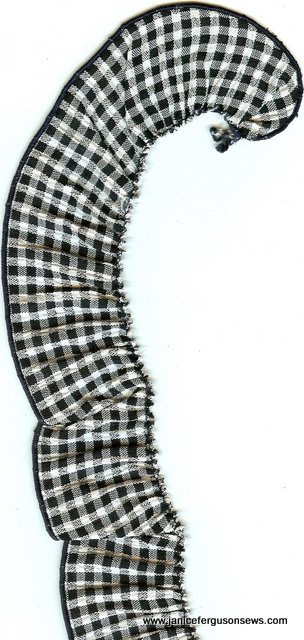
12. Gather raw edge by serging with differential feed and lengthened stitch or by using sewing machine gathering foot. Make sure the finished gathered ruffle is longer than the short side of the towel.
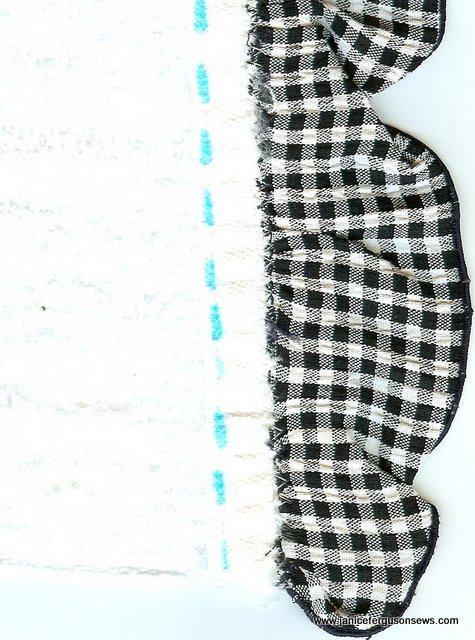
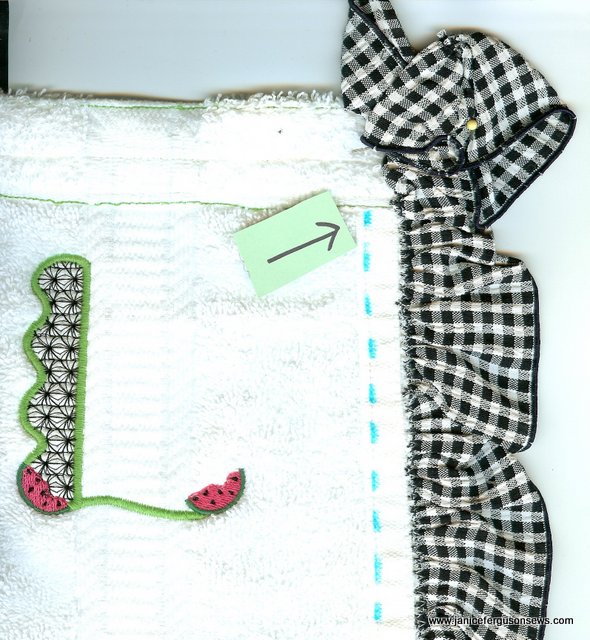
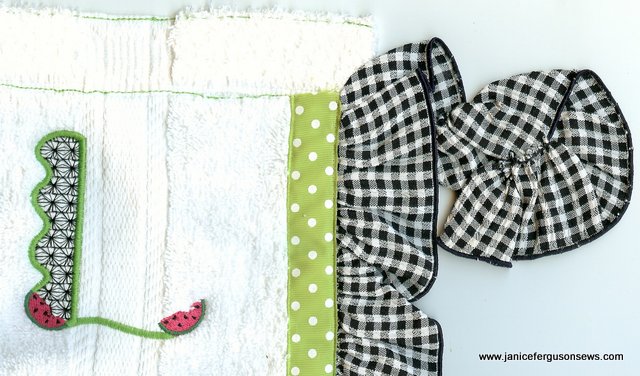
13. Beginning at bottom of wrap, butt raw edge of ruffle to folded over hem. Stitch in place with zig zag L 2 W. 4.0.
14. Stop zig zag at lower row of stitching at casing (see arrow). Leave ruffle unattached to wrap but pinned in place.
14. Cover raw edge of ruffle and folded over hem with grosgrain ribbon.  Using monofilament thread in the needle, begin straight stitching ribbon at first line of casing stitching (at arrow). At bottom edge fold under raw edge of ribbon and continue stitching up opposite side..  This is most easily done with an edge stitch foot.
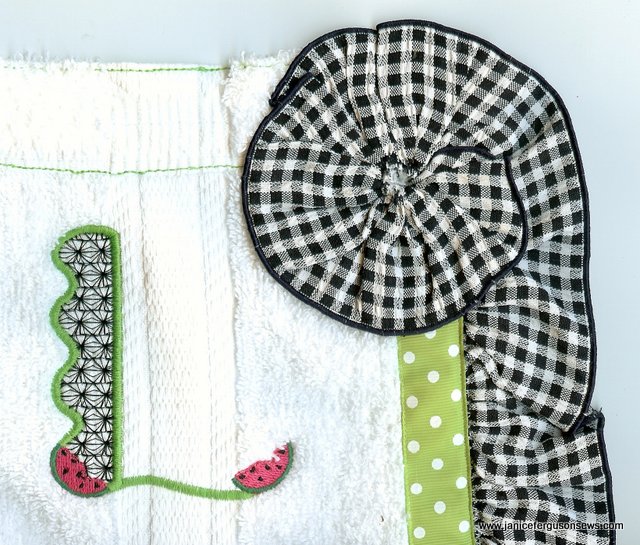
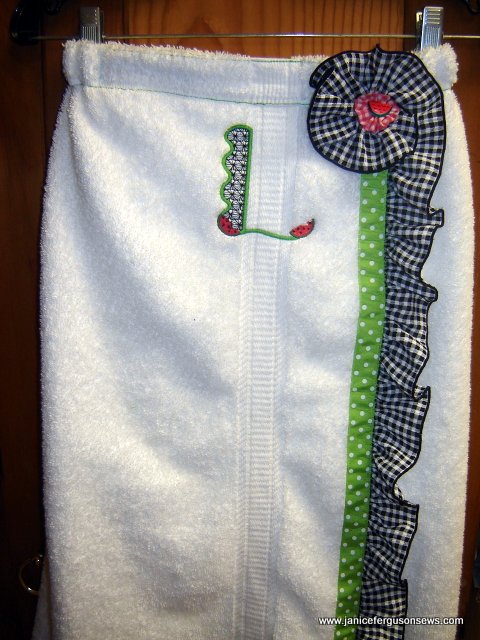
15. Twist excess gingham ruffle form rosette. Draw up center tight enough that raw edges will be covered by yo-yo or large button.
It may be necessary to work a row of hand stitched gathering thread. Stitch rosette in place. NOTE: I find the easiest way to do this is to stitch free motion, with no presser foot.Â
YO-YO’S
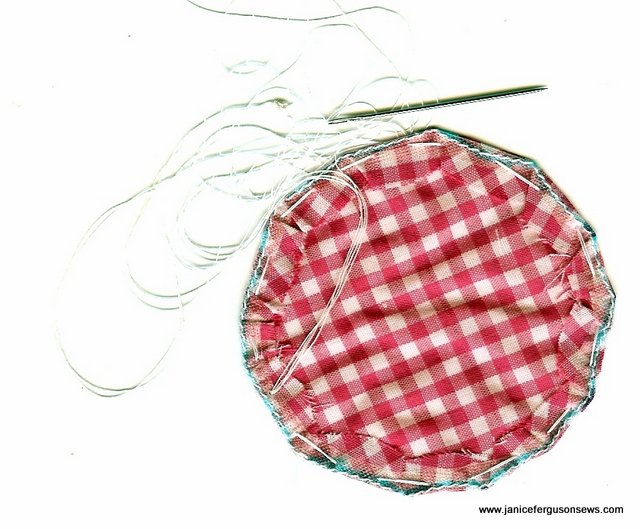
16. With washaway marker, trace a circle onto yo-yo fabric. I used a spray starch can lid.   Place water soluble stabilizer on RIGHT SIDE then straight stitch on blue line. NOTE: The gingham used in the photo is two sided so it doesn’t matter which side the stabilizer is on. But if you are using a fabric with right and wrong side, be sure you have the right side up. I have made waaaaay too many yo-yo’s wrong side out to neglect stressing this.
17. Trim 1/4″ from stitching line. Cut slit in stabilizer.
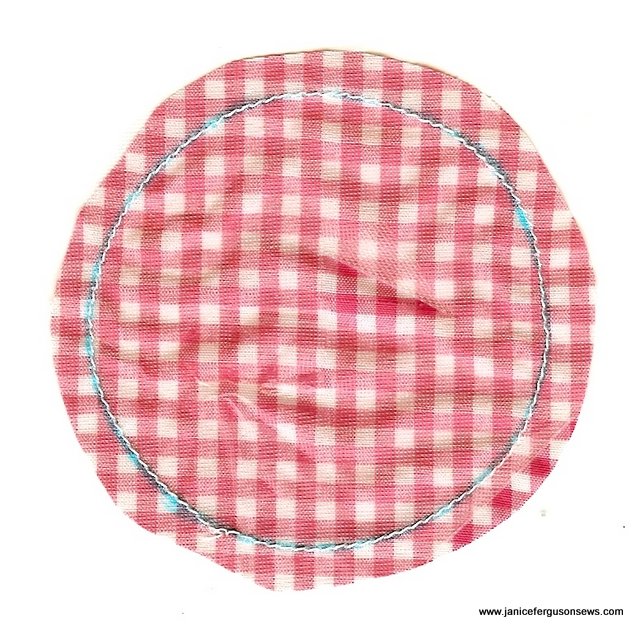
Trim 1/4″ from stitching line. Cut slit in stabilizer in order to turn right side out, like a pillow.
18. Turn right side out. Press. Trim away as much stabilizer as possible in order to reduce the bulk when dclosing yo-yo up.
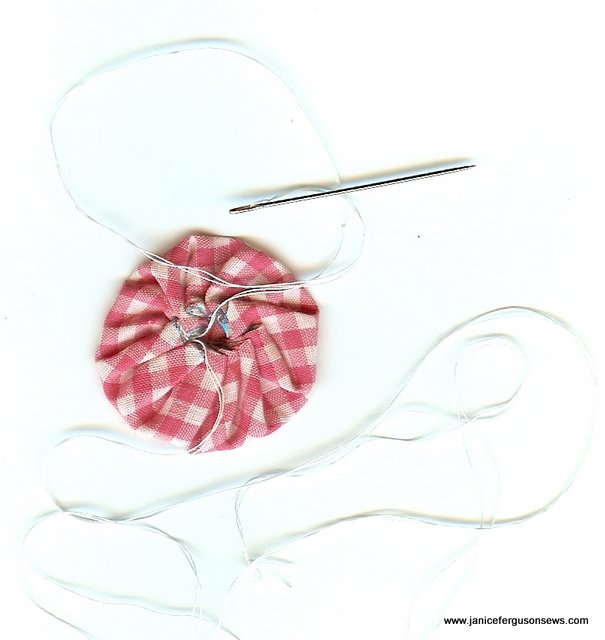
19. Thread handsewing needle with a 24+ ” length of doubled thread, knotted at one end.  Take big but fairly regular stitches close to the folded edge. Start and stop on inside of circle.
20. Pull both thread tails and draw yo-yo up as tight as possible. Knot but do not cut thread tails.
21. Use one thread tail to hand stitch yo-yo to center of gingham rosette. Use the the other to sew the button in place.
HURRAH! Finished.
MISCELLANEOUS THOUGHTS
Gingham ruffle: I just happened to have a piece of 60″ wide poly/blend seersucker gingham on hand. The rosette was an after thought when the serger gathered ruffle was too long for the side of the wrap. Most gingham is 45″ wide and would certainly work as the ruffle. Then, if you still want a rosette, it could easily be made from another length of gingham.
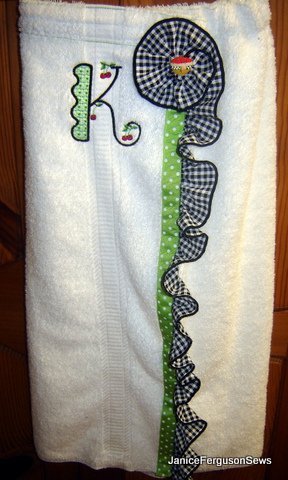
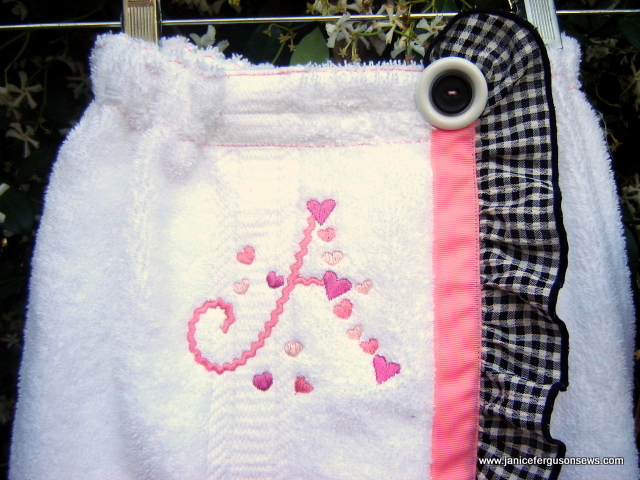
This is the first wrap I made. The ruffle was cut to fit the wrap so there was no excess for a rosette.  Only a button decorated the top.
Casing and front edge: These were folded to the right side to avoid possible irritation on my little Princess granddaughter’s delicate skin. I’m not sure she would be unable to sleep if there were a pea under her mattress, but I’m not taking any chances with spa wraps.
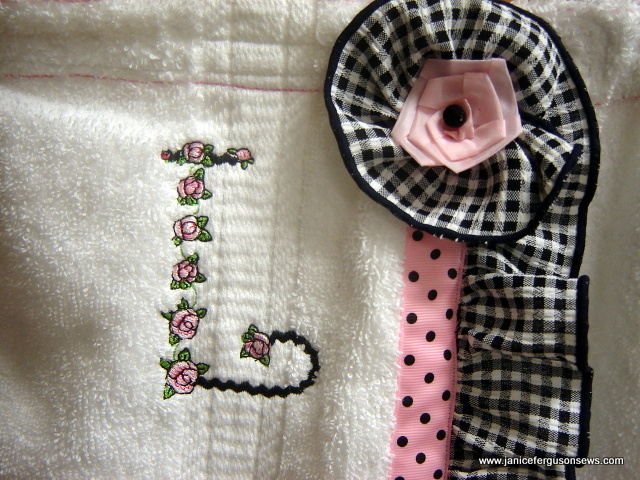
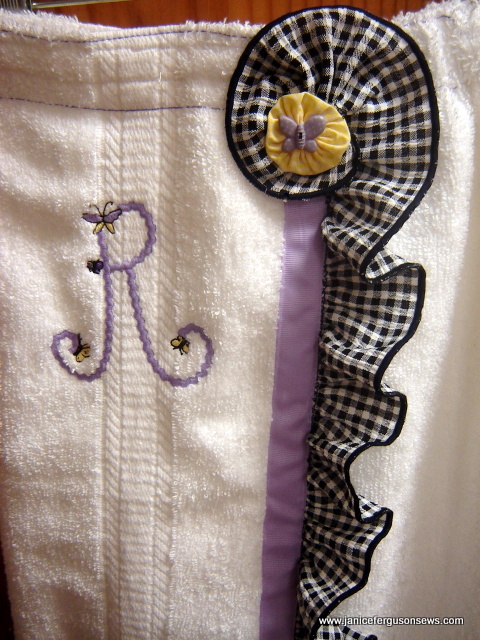
Monograms: The Lacy Girl font from Five Star Fonts was used for this wrap. But their really darling Ric Rac Jelly Bean Font was also used on three of the wraps for the spa party. The jelly beans were replaced with butterflies.
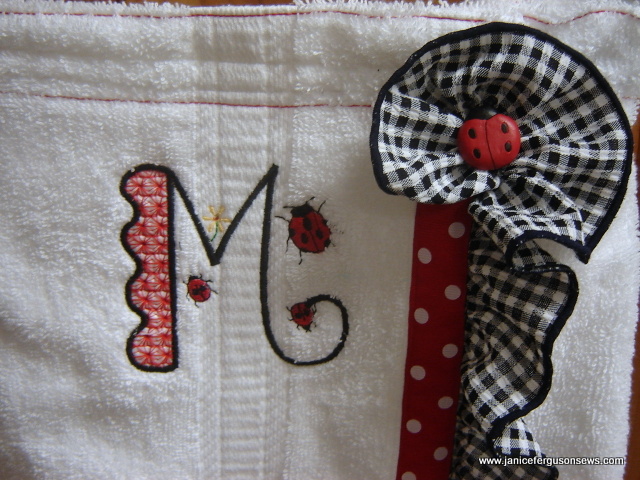
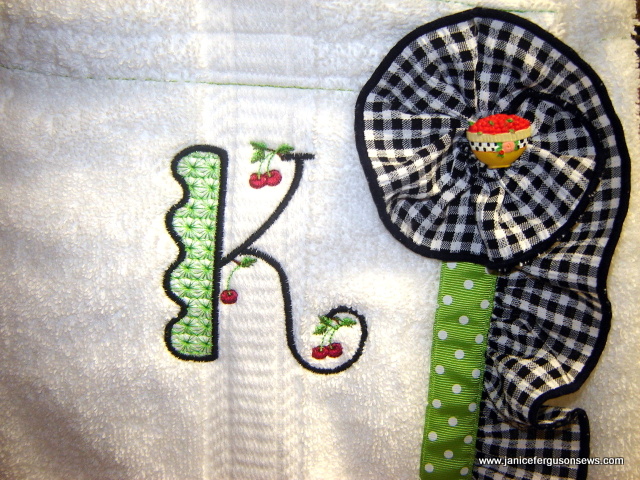
Yo-yo’s: These are decorative, but were only necessary to cover the raw edges at the center of the rosette. Both the ladybug and bowl of cherries buttons were large enough that a yo-yo was not used.



21 responses to “Girlie Spa Wrap Tutorial”