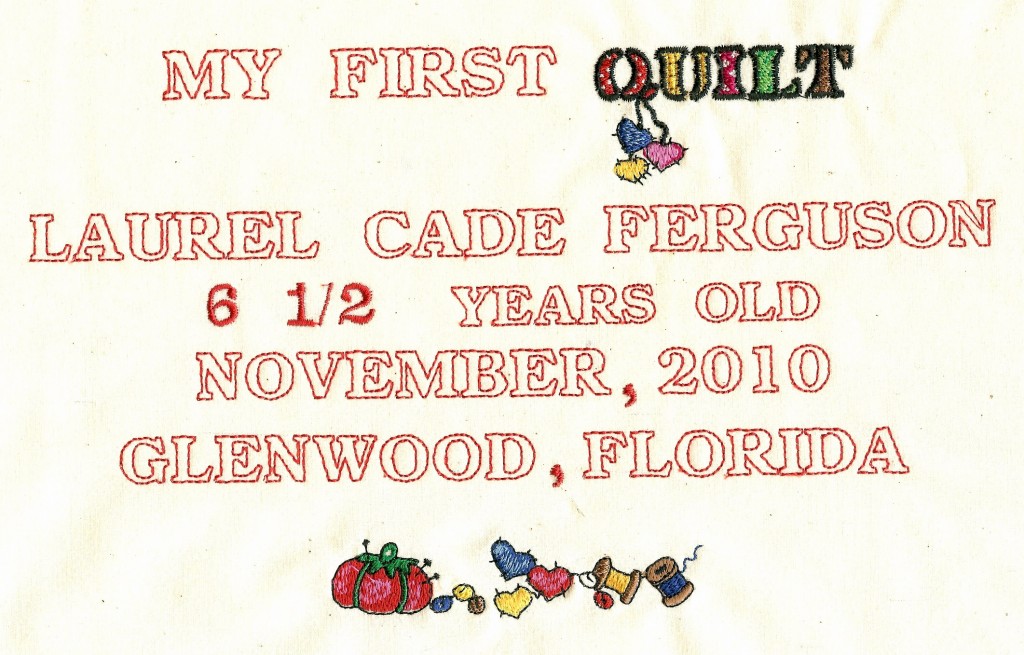
Laurel did not finish her quilt before she and her brother went home today. But she did manage to stitch out this quilt label.
While their parents enjoyed a mini vacation to celebrate their 15th anniversary, our grandchildren gave us four fabulous, fun filled, hectic days.
Aside from doing their regular homeschool work, Laurel quilted with me and Robert worked on a woodworking project with his grandfather.  They roasted marshmallows over a roaring bonfire, made 5-minute artisan bread (recipe below), spent an afternoon at the library….and more.

Grandchildren are such fun. They make us feel so young when we are with them, and so old–and tired–after they have gone home. Now Bob and I need a mini vacation.
Today, in a flurry of activity before our time ran out, Laurel managed to stitch out her quilt label. Because her sweet little Brother PE 300S machine has only a 4×4 embroidery field, she stitched the label on my ULT2003D, using the largest hoop. She loved the upgrade but confided that she is more comfortable with her own machine.Â
I explained that it’s best to document certain information about the quilt so that’s what she did. It includes everything but her birthday, which you could probably figure out, and social security number, which you probably could not.
We worked together with BuzzXplore and BuzzEdit2 to design the label. The text alone was just too boring for Laurel’s taste, so we added designs from the Annie Lang Quilts 3 collection from Amazing Designs.
Now for some Nana Fun. Yesterday’s bread making activity was so successful, fun and educational. While learning “America the Beautiful,” they were curious about the “amber waves of grain” phrase. So we discussed wheat and grains and that, of course, led into bread making. I had tried this recipe some time ago and thought it was just the thing to do with the children.
It really does take about 5 minutes to mix this up. It sits for a few hours and then in a matter of minutes, you pop it in the oven. There is no kneading.
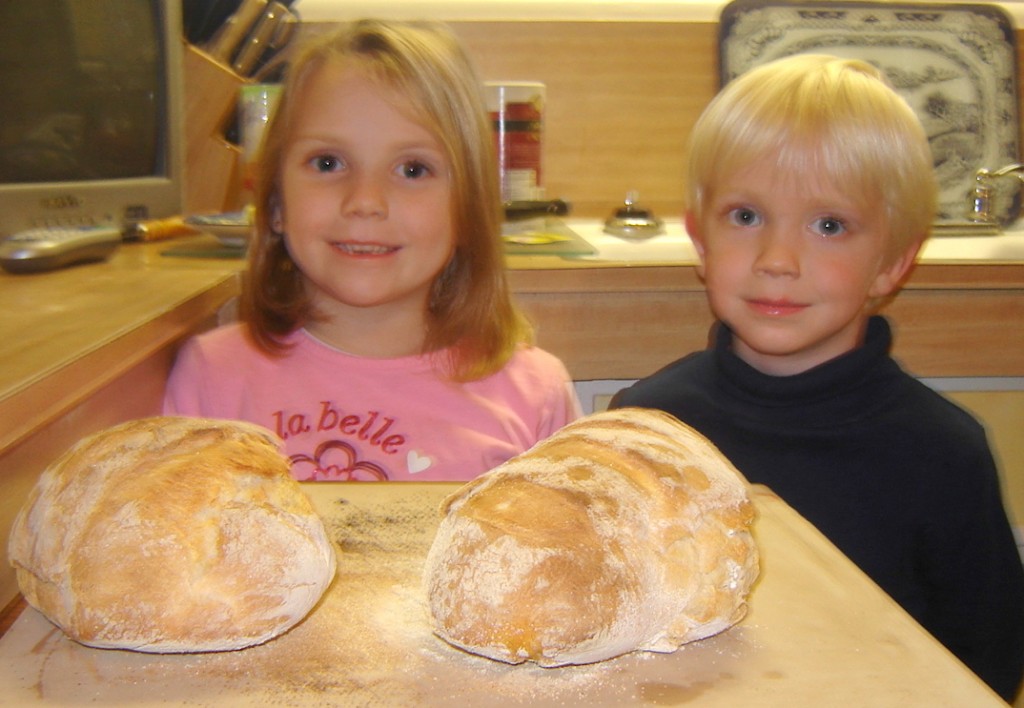
We made two loaves and had enough dough left over to make up a third loaf this morning. The children were so proud when they gave  the hot-out-of-the-oven loaf to their parents.
This bread is fabulous. Check out the Youtube  video link and give it a try. http://www.youtube.com/watch?v=HSOoH686_b8
Adapted from “Artisan Bread in Five Minutes a Day,”  by Jeff Hertzberg and Zoë François
- 1 1/2 tablespoons yeast (We used 2 packages of Fleischmann’s Rapid Rise/Highly Active Yeast)
- 1 1/2 tablespoons salt coarse salt (kosher or sea salt)
- 3 cups tepid water
- 6 1/2 cups unbleached, all-purpose flour, more for dusting dough (*you can replace about 1 to 1 1/2 cups of white flour with any whole grain flour with great results).
- Cornmeal
1. In a large bowl, mix yeast and salt into 3 cups warm water. Add flour, and stir to combine completely. Let dough rise in a warm place for at least two hours, until it rises and collapses (up to 5 hours – or even overnight won’t hurt it). The dough may be baked at this point, or refrigerated for later use.
2. Cover dough, but make sure it is not airtight – gases need to escape – and place in fridge. When you are ready to use it, throw a small fistful of flour on the surface and use a serrated knife to cut off a piece of the size you desire. (The authors recommend a 1 pound loaf – which means cutting off grapefruit-sized piece of dough). Turning the dough in your hands, stretch the surface of the dough and tuck in under. The surface will be smooth, and the bottom with be bunched.
3. Dust a pizza peel (or any flat surface – I use a rimless cookie sheet) with cornmeal. (This prevents sticking, and adds a nice, rustic crunch. You can use flour instead, but you’ll need to use a very generous dusting). Allow dough to rest in a warm place for 40 minutes – longer (up to an hour and a half) if you use some whole wheat flour in place of the white, or if you make a larger loaf.
4. Twenty minutes before baking, preheat oven to 450 degrees with baking stone (or overturned baking sheet) inside on the middle rack, plus a shallow pan on the top rack. Throw a small fistful of flour over the dough, slash it 2-4 times with a serrated knife (in a cross, a tic-tac-toe, or a fan), and slide it into the oven, onto the baking stone. Throw 1-2 cups of tap water into the shallow pan, and quickly shut the oven door to trap steam inside. Bake for 30 minutes, or until crust is well browned and bread sounds hollow when you knock on the bottom.


3 responses to “Quilt Label”