YO-YO’S:  This was really fun.  Suzanne Sawko has always been charmed by yo-yo’s and made a vest of Liberty yo-yo’s for an article in Creative Needle magazine. But she did it the fast and easy way. She created a machine embroidery design that does the most tedious part of yo-yo construction, turning under the raw edge, most of it bias. I’ve always kept that technique in mind…..
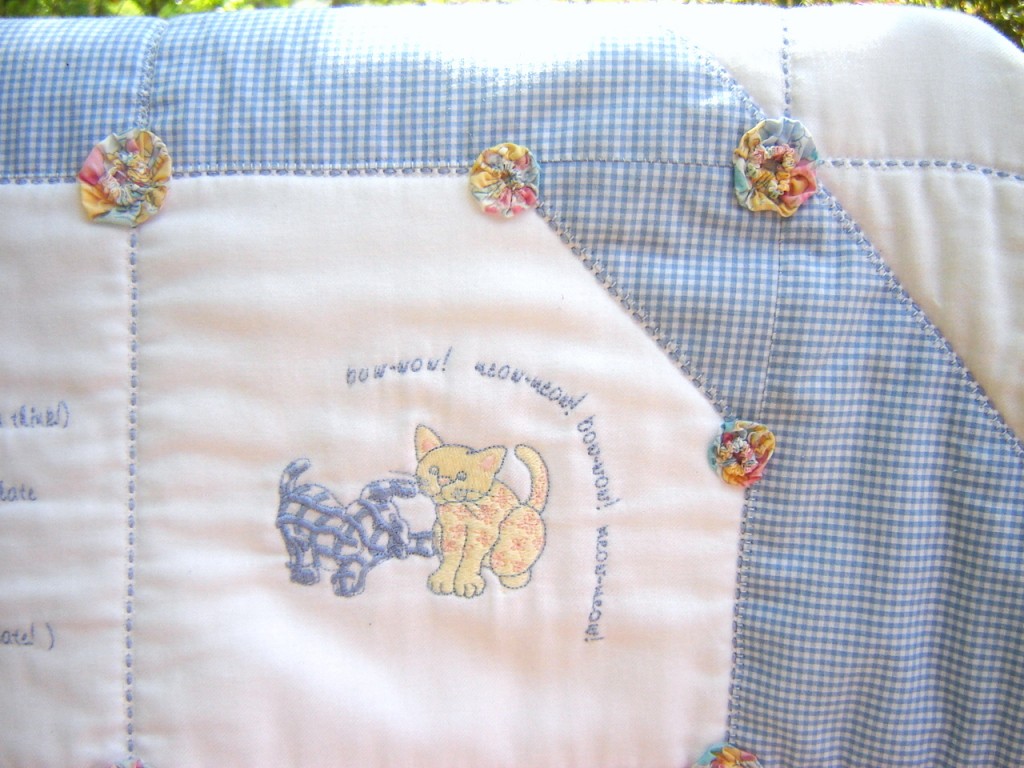
After completing the floss weaving through the entredeux and pinstitch on this quilt, it needed something. There was a bit of congestion at the entredeux intersections and it just lacked……dimension. That was my objection to the design. It lacked dimension. So I decided to make yo-yo’s with Suzanne’s machine embroidery file. The technique is so simple, so obvious, so neat. And it could be done without an embroidery machine.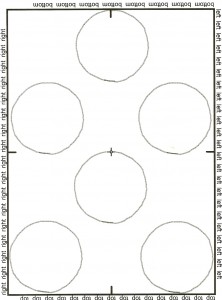
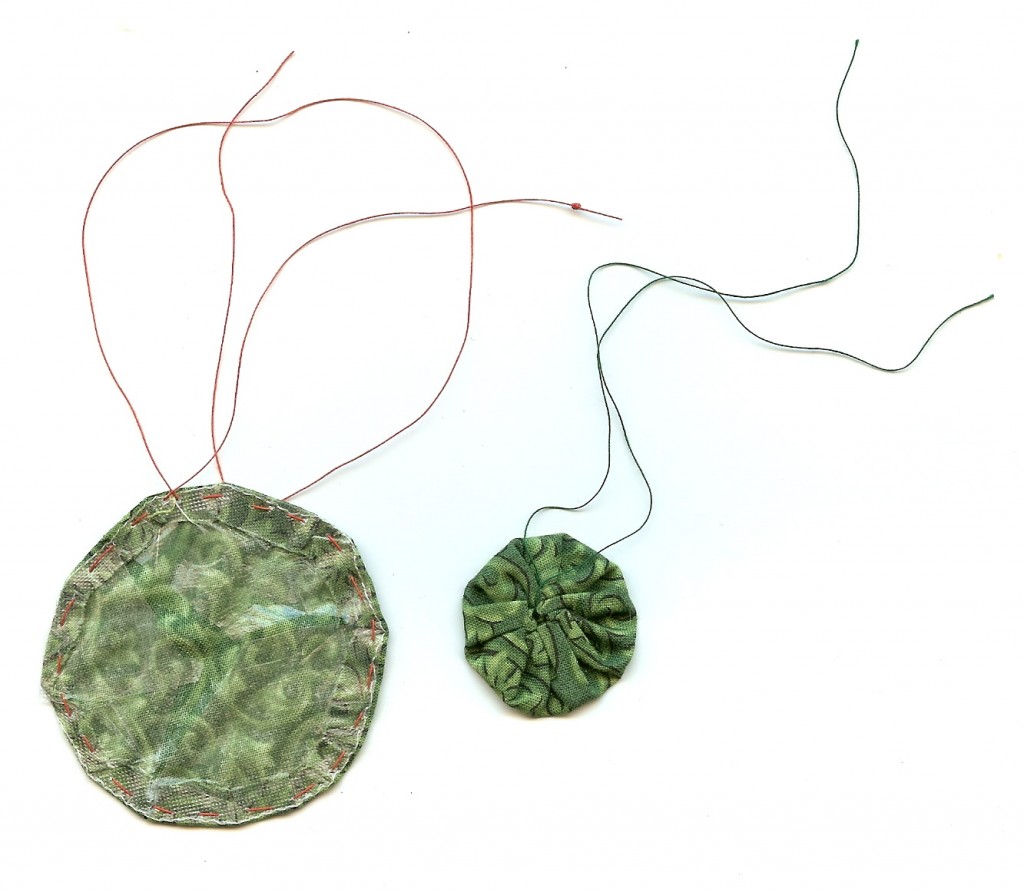
Liberty and regular, original weight Solvy (or other water soluble stabilizer) was hooped together, with the Liberty right side facing up, covered with Solvy. Then 6 circles were straight stitched, at least 1/2″ apart, the smaller size in the 5 x 7 hoop (130mm x 180mm) and the larger size in the  160mm x 260mm hoop.  After the stitching was complete, the Liberty and Solvy were removed from the hoop and cut out, 1/4″ away from the stitching line. A slit was made in the Solvy and the circle turned, like a pillow top.  Using a point turner, the outline was smoothed and then the circle was pressed. The result is a perfectly turned circle.Â
Next, I  simply ran a running stitch (no smaller than 1/8″ long) around the perimeter of the circle. Then, with the turned edge securely held in place with those stitches, the water soluble stabilizer was cut away, the running stitch drawn up and knotted.  Voila’! A perfect yo-yo.
Anyone with sewing software can create such a design file,  but for those who are interested, two design files will be sent upon request. The larger file  creates yo-yo’s the size of a quarter, the other yo-yo’s are the size of a dime. For those without hoop embroidery capability, the circles could simply be drawn on the fabric and stitched free motion. The finishing and result would be just the same.
If you look carefully at the quilt top, you will see that on either corner of the smaller triangle that creates the snowball, the smaller yo-yo is used. At each intersection, a yo-yo was stitched in place, free motion, covering the congestion and adding an element of dimension.
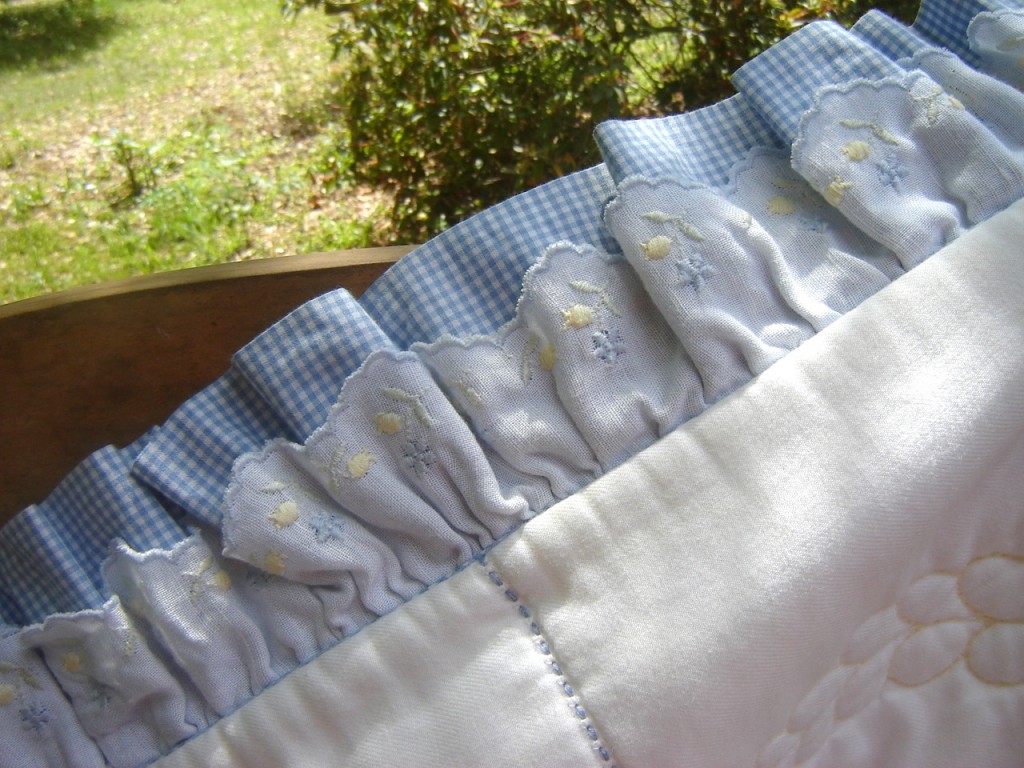
BINDING: Swiss flannel strips were cut for binding. Bias was cut from the blue gingham pima cotton and used to make piping. More gingham was cut on the straight of grain for the ruffle. The quilt corners were rounded.
The edges were bound with a gingham ruffle extending behind a lovely piece of linen Swiss embroidered edging from Bear Threads.
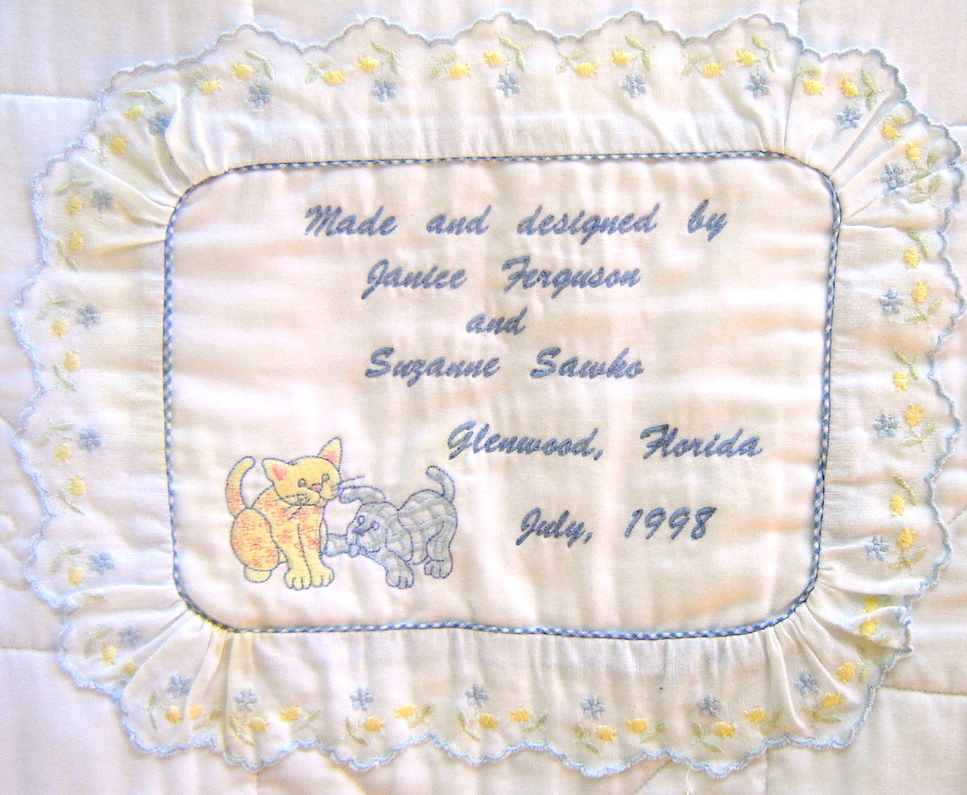
LABEL:Â The label was machine embroidered, bordered with the Swiss embroidery and hand stitched to the back of the quilt.
This has been one very long project post. Kudos to those who plowed through. I hope you discovered a new technique or two in all this verbiage.


2 responses to “Gingham Dog Quilt Part III”