Good bye playpen. Hello Pack ‘N Play!
As soon as I knew that our first grandchild was on the way, I found myself at Babies R Us in a state of shock. I had birthed, burped, breastfed and badgered two beautiful, bouncing babies into happy, successful adulthood.
And yet here, in the mall of moppets and mothers, I was a stranger in a strange land. Nothing was the same, nothing was familiar. I had less than 6 months to get up to speed, to be knowledgeable about a grandmother’s tools of the trade.
One of the first stops on the steep learning curve was the Pack ‘N Play. It turns out that playpens aren’t just for playing anymore. They’re for packing! And that’s what the Pack ‘N Play is– an easily packable playpen.
With a padded floor that can be suspended at two levels, most Pack ‘N Plays include a removable change table and a diaper caddy that hangs to the side. So, I learned that with one of these beauties thrown in the trunk or, more likely, the back of the minivan or SUV, baby could travel with his own portable nursery.
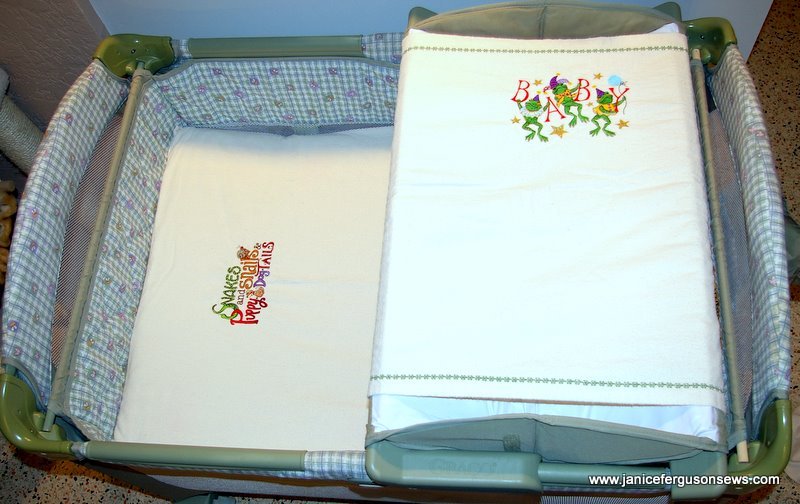
The padded floor has a vinyl covering, for easy clean up. But the last thing I wanted against the tender face of my slumbering grandchild was vinyl. So my first “modern project for old fashioned Nanas” was two sets of sheets, one pima cotton, one flannel, for the Pack ‘N Play and a few covers for the little change table.
Before I began, I checked Babies R Us and, in fact, there were two for sale, one blue and one pink. Both were just one quality grade above burlap, were as supple as poster board and cost $15 each. That was 5 years ago. I haven’t checked since then.
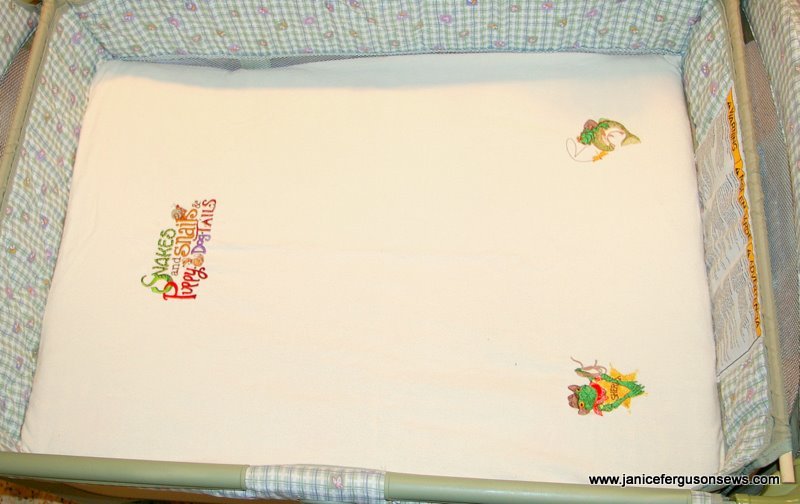
Like so many utility items, making a Pack N Play sheet is neither difficult nor time consuming. It takes just a yard of 44-45″ fabric, pima cotton, flannel or even a quality polycotton blend. The standard size for the padded floor is 26″ x 36″. The pima cotton or flannel is cut 36″ down the selvage and torn across the full width. This will render a piece 44″ x 34″. I simply serged the raw edges. This allows for a 4″ pocket in which to slide the pad, like a fitted sheet.
Be sure to mitre the corners like the corners of an envelope. I used no elastic and no gathers. When Baby is older, stronger and moving around, he must not be able to pull the corner of the sheet away from the pad. If this happens, it can be a danger to the little occupant.
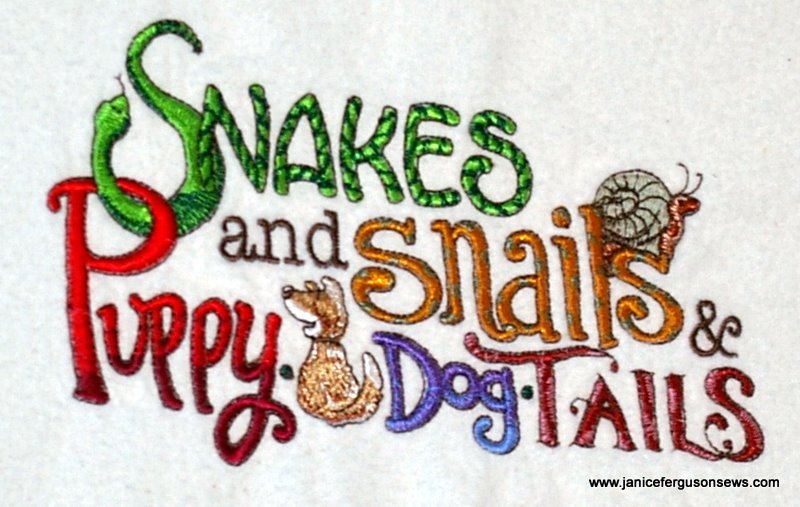
I had so much fun with the embroidery on this project. The Snakes and Snails design on the sheet is from Amazing Designs Boys collection.
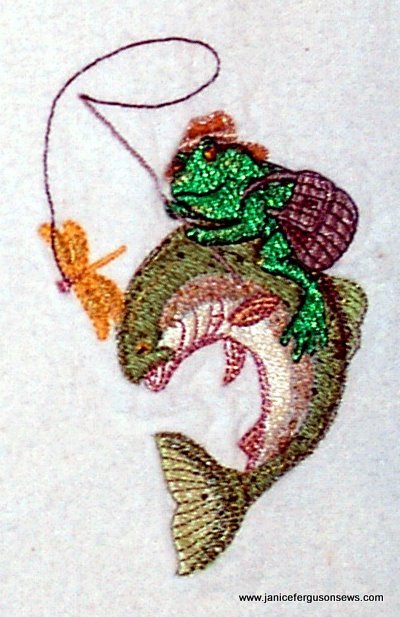
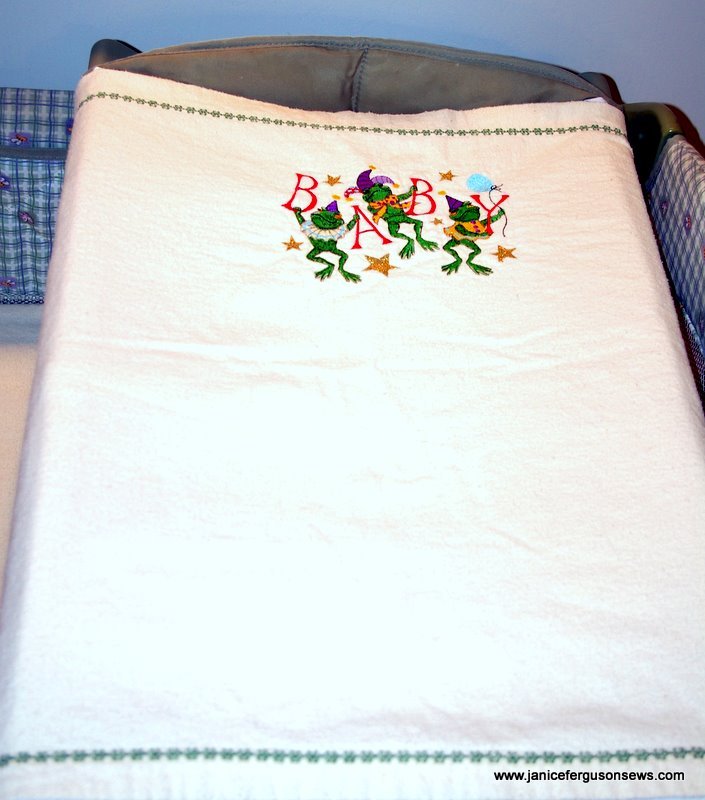
Bernina’s Fanciful Frogs provided most of the designs. Choosing which frogs to embroider was hard. They are all soooooo cute! Because one of Alastair’s grandfathers is an avid fisherman the Fishing Frog was selected. The Baby Frog design on the change table is also from the Fanciful Frog collection.
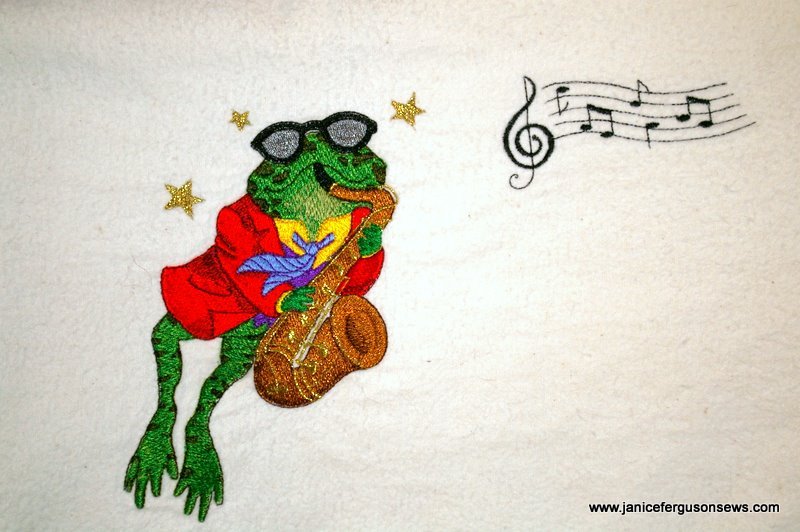
The sax player seemed appropriate due to Alastair’s father’s Cajun roots and the fact that he played the sax in the marching band during his college years at Penn.
First, serge each edge or finish it with a shirttail hem. At each corner, draw a line 4″ from the outer edge. The intersection of these lines will be a top corner of the sheet. Embroider, if you choose to, then fold the corner diagonally and sew from the intersection of the lines to the edge, on the marked line perpendicular to the edge. Then you are done!
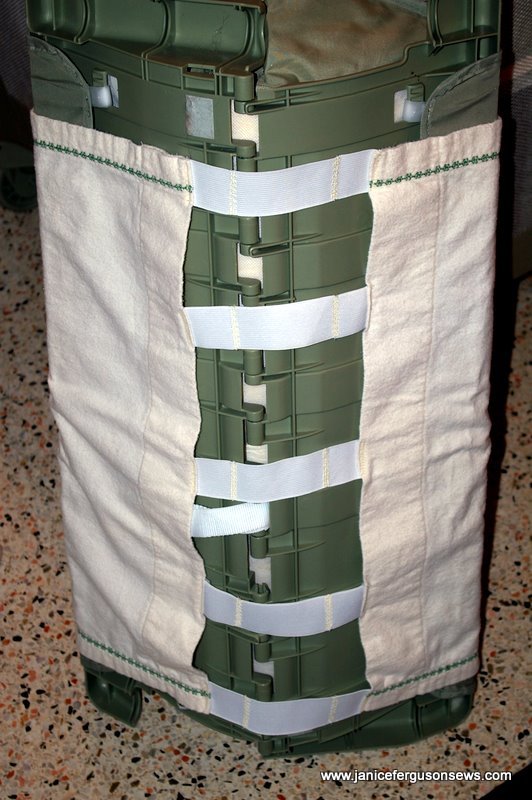
The cover for the change table is nothing more than matching piece of fabric finished off at 27″ head to toe and 31″ side to side. The 31″ sides are joined with five 6 1/2″ of elastic. You can see that I first made the elastic too short and had to insert another piece. The change table is hinged, and when folded slides easily into the cover.
Bedding sets for Pack ‘n Play are so cute with embroidery and so handy with or without it. My daughter and daughter-in-law both have been very pleased with these.


Pingback: Quickie Hostess Gift | Janice Ferguson Sews